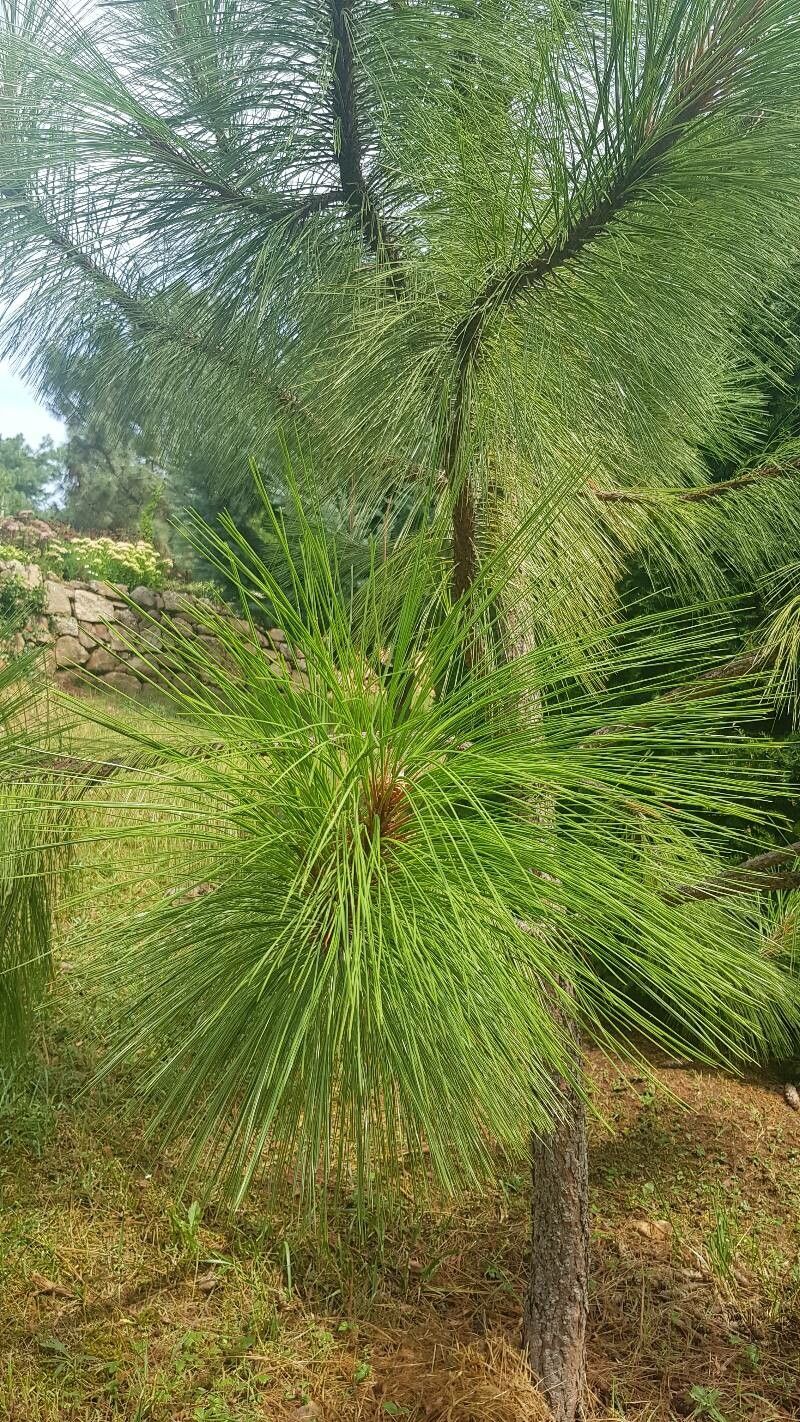
Oh, Pinus durangensis! What a magnificent conifer. If you’ve ever admired its graceful form and the delightful scent of its needles, you’re not alone. There’s something incredibly special about nurturing a new life from a tiny cutting or a hopeful seed. It’s a connection to nature that’s deeply satisfying, and believe me, watching those first new roots emerge is a thrill that never fades.
Now, I won’t sugarcoat it entirely. For the absolute beginner, Pinus durangensis can be a bit of a patient project. It’s not quite as “stick it in the ground and forget it” as some other plants. But with a little understanding and a touch of care, it’s absolutely achievable, and the reward? A beautiful tree you’ve helped bring into the world.
The Best Time to Start
Timing is everything in gardening, and with Pinus durangensis, we’re usually looking at the late spring to early summer. This is when the plant is actively growing and likely to have the energy reserves needed to develop new roots. You’ll want to select stems that are semi-hardwood – they’ve matured a bit from the very soft new growth of spring, but aren’t yet fully woody. Think of it like a firm but still slightly flexible pencil.
Supplies You’ll Need
Gathering your tools beforehand makes the whole process smoother. Here’s what I usually have on hand:
- Sharp Pruning Shears or a Clean Knife: For making clean cuts to avoid damaging the stem.
- Rooting Hormone: A powder or gel will significantly boost your chances. I prefer a powdered one with IBA (Indole-3-butyric acid).
- Well-Draining Potting Mix: A good base is equal parts peat moss or coco coir, perlite, and coarse sand. Don’t use regular garden soil; it compacts too easily.
- Small Pots or Trays: Clean containers with drainage holes are essential.
- Plastic Bags or a Greenhouse: To create a humid environment.
- Spray Bottle: For misting.
- Gloves: To keep your hands clean.
Propagation Methods
For Pinus durangensis, stem cuttings are our most reliable route. It’s a tried-and-true method that gives us a genetic duplicate of the parent plant.
Taking Stem Cuttings:
- Select Your Cuttings: Head out in late spring or early summer. Look for healthy, vigorous shoots that are semi-hardwood, as I mentioned. You want cuttings that are about 4-6 inches long.
- Make the Cut: Using your sharp shears, make a clean cut just below a leaf node (where the needles attach to the stem).
- Prepare the Cutting: Gently remove the needles from the bottom 2-3 inches of the cutting. This area is where the roots will form, and we need to expose it.
- Apply Rooting Hormone: Dip the bottom, denuded end of the cutting into your rooting hormone, ensuring it’s well coated. Tap off any excess.
- Plant Your Cuttings: Fill your pots with your prepared potting mix. Make a pilot hole with a pencil or your finger that’s big enough for the stem. Insert the cutting into the hole, making sure the bottom nodes are buried. Gently firm the soil around the stem.
- Water and Cover: Water the potting mix thoroughly but gently. Then, cover the pots with a clear plastic bag, securing it with a rubber band. This creates that crucial humid microclimate. You can also place them in a small greenhouse.
The “Secret Sauce” (Pro Tips)
Here are a couple of things I’ve learned over the years that can really make a difference:
- Callusing is Key: Before you even dip in the rooting hormone, I sometimes like to leave the stripped part of the cutting exposed to the air for a few hours. This helps it “callus over”, which can prevent rot and actually encourage better root formation later.
- Bottom Heat is Your Friend: If you have the means, placing your pots on a heat mat designed for plant propagation can dramatically speed up root development. These mats provide a consistent, gentle warmth that mimics ideal soil temperatures.
Aftercare & Troubleshooting
Once your cuttings are planted and covered, the waiting game begins.
- Keep it Humid: Check the plastic covers daily. If you see condensation, that’s good! If it looks dry, give the roots a gentle misting with your spray bottle.
- Bright, Indirect Light: Don’t put your new cuttings in direct, scorching sun. A spot with bright, indirect light is perfect.
- Patience, Patience, Patience: Roots can take anywhere from a few weeks to a few months to develop. You can gently tug on a cutting after about six weeks; if there’s resistance, you’re likely getting roots!
- Watch for Rot: The most common sign of failure is rot. If you see stems turning black and mushy, it’s a sign of too much moisture and not enough air circulation. Unfortunately, these are usually lost causes. Ensure your soil isn’t waterlogged.
A Encouraging Closing
Growing new plants is an adventure, and there will be successes and learning experiences. Don’t get discouraged if not every cutting takes. With Pinus durangensis, each attempt is a step closer to understanding its needs. So, gather your supplies, get your hands a little dirty, and enjoy the quiet satisfaction of nurturing these beautiful trees. Happy propagating!
Resource:
https://identify.plantnet.org/k-world-flora/species/Pinus%20durangensis%20Martínez/data