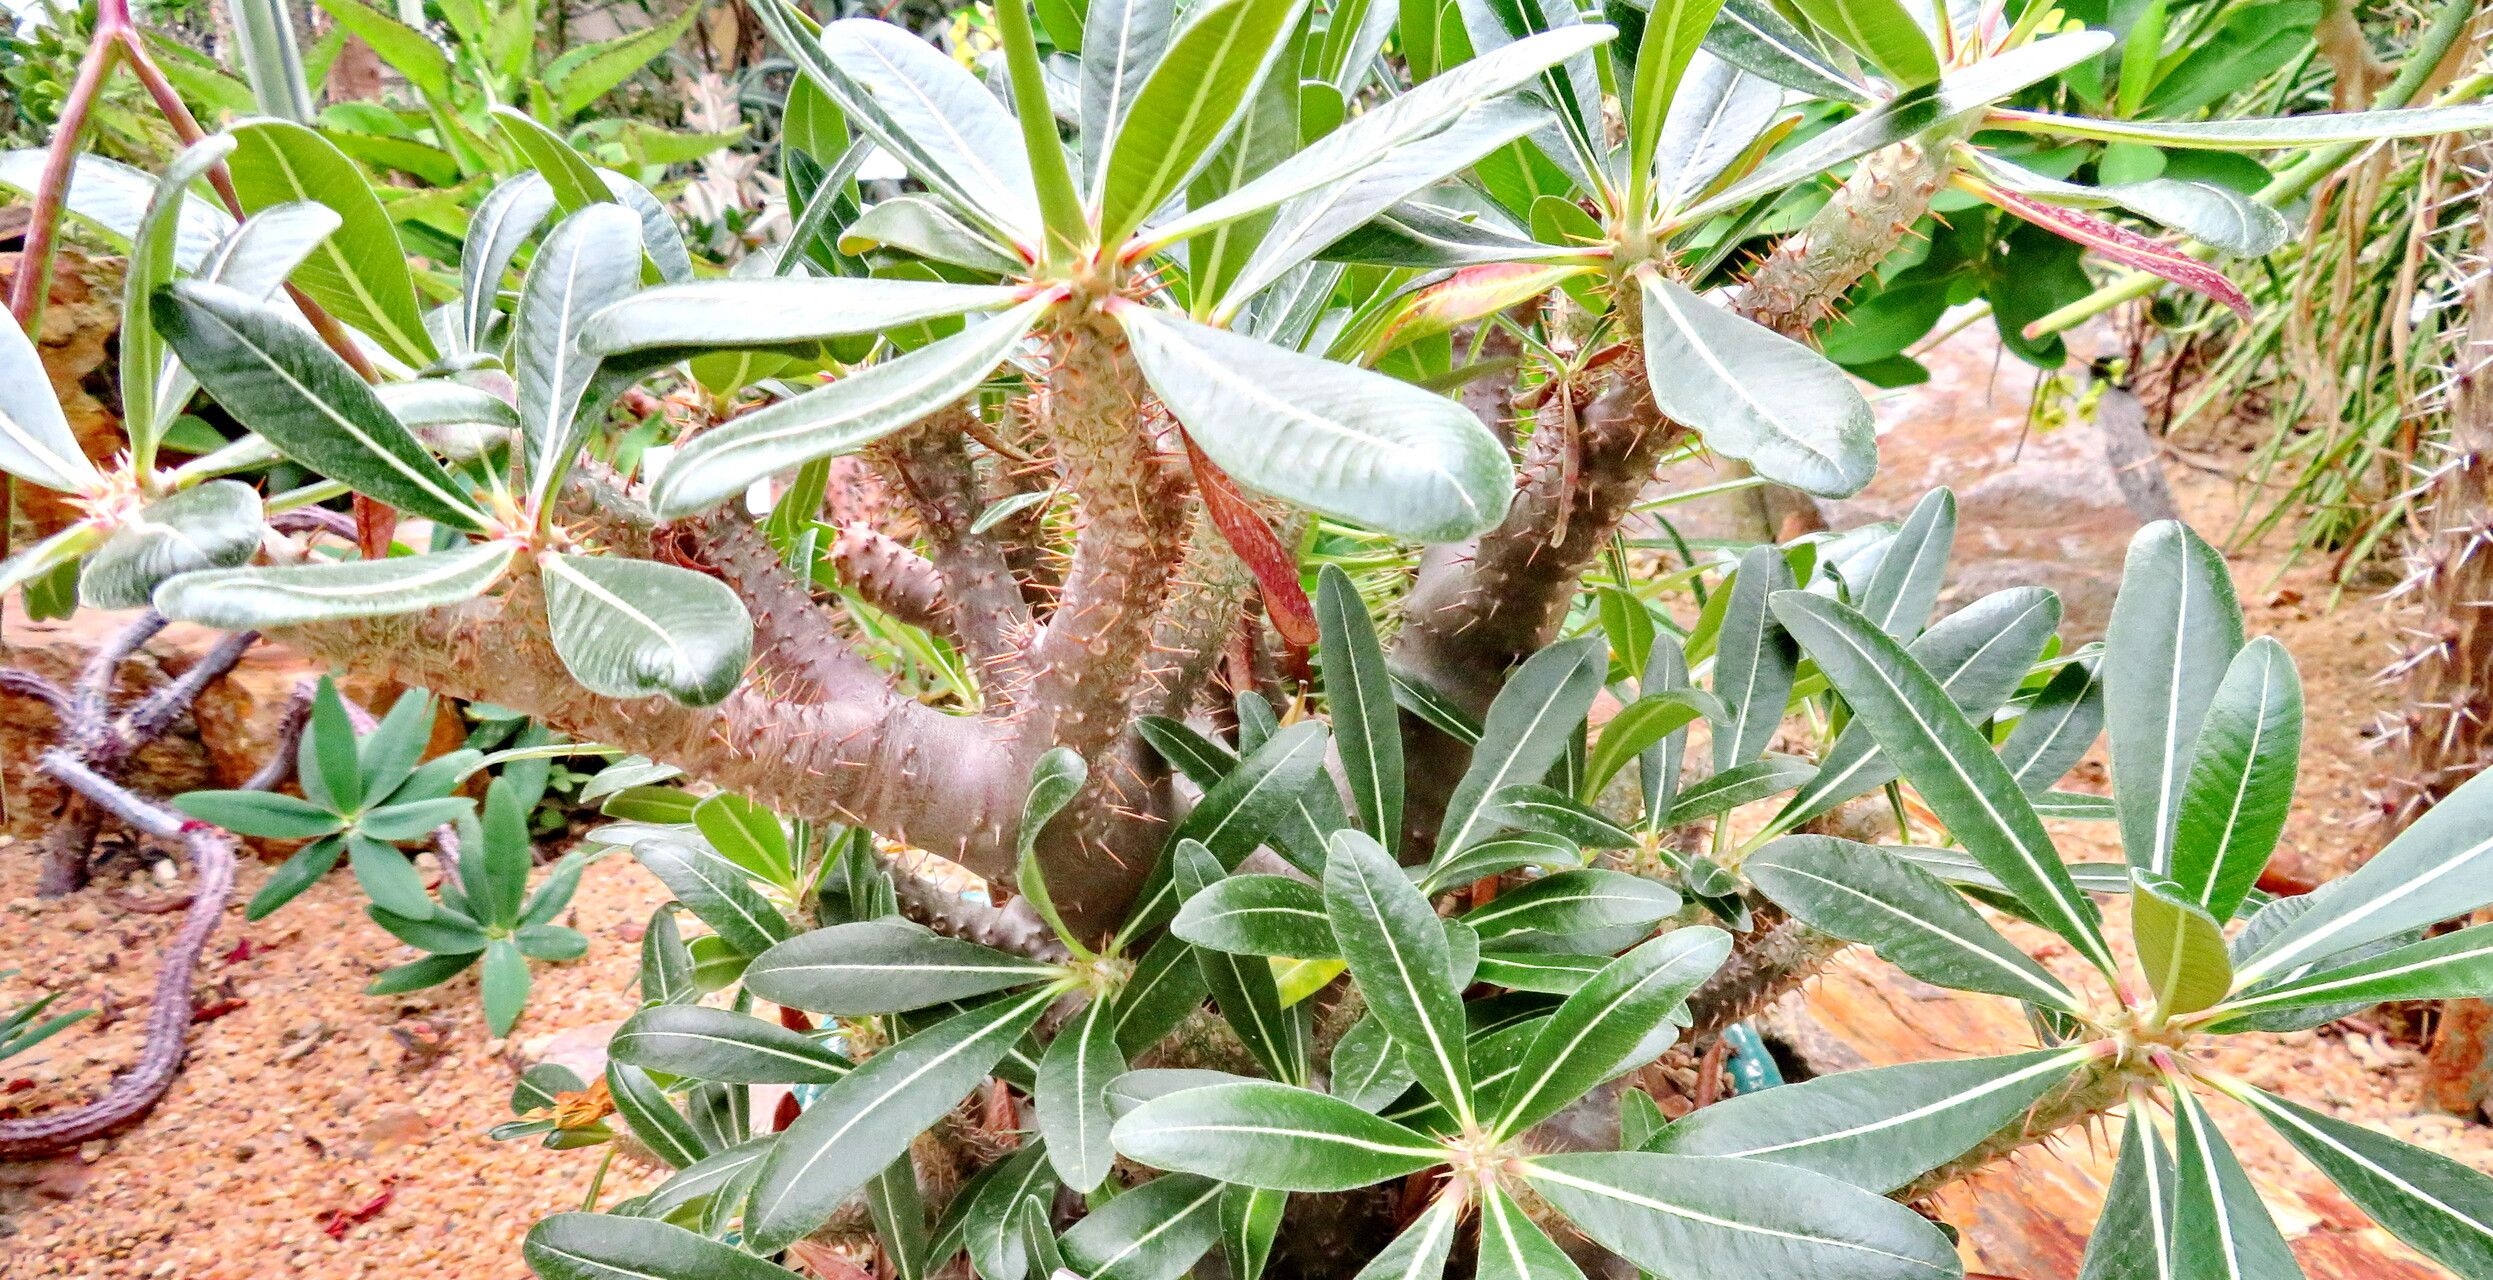
Hello there, fellow plant lovers! Today, we’re diving into the wonderful world of Pachypodium densiflorum, also known as the short-stemmed Madagascar palm. If you’ve ever seen one of these beauties, you know what I mean. They’re like little, squat, architectural wonders with their swollen trunks and crowns of vibrant green leaves. Propagating them is incredibly rewarding, giving you a chance to expand your collection or share these unique plants with friends. Now, I’ll be honest, Pachypodiums aren’t the easiest plants to start from scratch, but with a little patience and the right approach, it’s absolutely achievable. Don’t let that deter you!
The Best Time to Start
For Pachypodium densiflorum, the sweet spot for propagation is during its active growing season. This is typically from late spring through summer, when the plant is full of energy and ready to surge ahead. Trying to propagate when the plant is dormant in winter is just asking for disappointment. We want our cuttings to have plenty of warmth and light to encourage root development.
Supplies You’ll Need
Here’s a quick rundown of what you’ll want to have on hand:
- Sharp, clean pruning shears or a sterile knife: For taking cuttings.
- Rooting hormone (optional but recommended): A powder or gel works well.
- Well-draining potting mix: A cactus/succulent mix is a great base. You can amend it further with perlite or pumice for even better drainage.
- Small pots or seed trays: With drainage holes, of course!
- Gravel or perlite (for bottom drainage in pots): An extra layer of insurance against soggy roots.
- A heat mat (optional but helpful): To provide gentle warmth from below.
- A clean spray bottle: For misting.
- A clear plastic bag or propagation dome: To create a humid environment.
Propagation Methods
While Pachypodium densiflorum can be grown from seed, it’s a much slower process. For a quicker payoff, we’ll focus on stem cuttings.
Stem Cuttings:
This is my go-to method for Pachypodiums.
- Choose your cutting: Look for a healthy stem that’s at least 4-6 inches long and has a few sets of leaves. Ideally, you want to take it from a side shoot or the top of a mature plant.
- Make the cut: Using your sharp tool, make a clean cut just below a leaf node. This is where roots are more likely to form.
- Let it callus: This is crucial! Pachypodiums store a lot of water, and the cut surface needs to dry and form a scab to prevent rot. Place the cutting in a dry, well-ventilated spot for several days, or even a week, until the cut end is completely dry and leathery.
- Apply rooting hormone (optional): Once callused, dip the cut end into your rooting hormone, tapping off any excess.
- Plant the cutting: Fill your small pot with your well-draining mix. Make a small hole in the center and insert the callused end of the cutting. Gently firm the soil around it.
- Provide initial care: Water lightly, just enough to moisten the soil. Place the pot in a bright location, out of direct, harsh sunlight. You can cover the pot with a clear plastic bag or a propagation dome to maintain humidity, but make sure to open it for an hour or two daily to allow for air circulation.
The “Secret Sauce” (Pro Tips)
Here are a few things I’ve learned over the years that really make a difference:
- Don’t drown your cutting: When you water after planting, less is more. You’re aiming for slightly moist soil, not soggy. Overwatering is the fastest way to invite rot.
- Bottom heat is your friend: If you have a heat mat, place your potted cutting on it. This gentle warmth encourages root growth from the bottom up, mimicking ideal growing conditions.
- Be patient with the callus: I can’t stress this enough. If you rush the callusing process and plant a wet cutting, you’ll likely end up with a mushy mess. Give it time to dry properly.
Aftercare & Troubleshooting
Once you start to see tiny roots emerging (you might feel a gentle tug when you lightly pull on the cutting, or see roots peeking out of the drainage holes), it’s time to adjust your care.
Continue to keep the soil lightly moist and provide bright, indirect light. As the plant establishes, you can gradually introduce it to more direct sun. You can also start fertilizing with a diluted succulent fertilizer once you see significant new growth.
Troubleshooting:
- Rot: This is the most common issue. If your cutting turns mushy, smells bad, or looks black and slimy, it’s likely rotted. Unfortunately, at this point, it’s usually beyond saving. Prevention is key here – good drainage and avoiding overwatering are your best defenses.
- No roots after weeks/months: Don’t panic! Some Pachypodiums are just slow pokes. Ensure it’s getting enough light and warmth. If the stem is still firm and green, it might just be taking its sweet time.
Happy Growing!
Propagating Pachypodium densiflorum might take a bit of extra care and patience, but the joy of seeing a new little trunk emerge and leaves unfurl is totally worth it. Don’t be afraid to experiment, learn from any setbacks, and most importantly, enjoy the process of nurturing a new life right from your own hands. Happy gardening!
Resource:
https://identify.plantnet.org/k-world-flora/species/Pachypodium%20densiflorum%20Baker/data