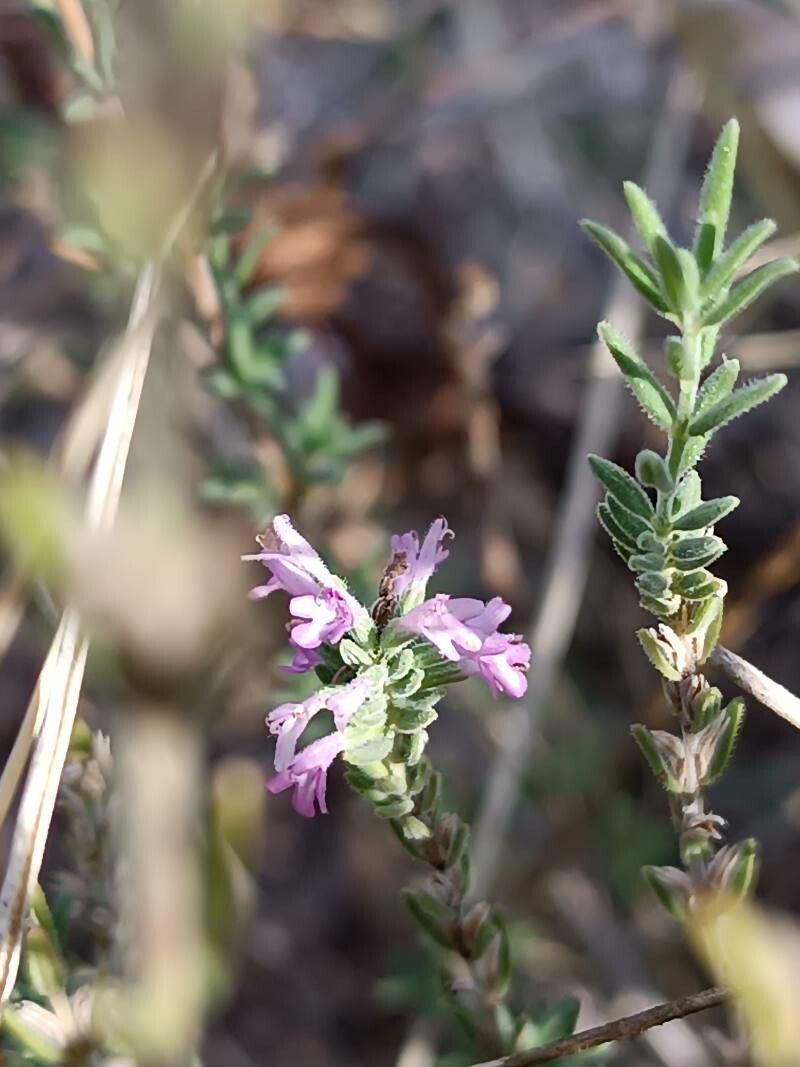
Oh, I’m so glad you’re interested in Micromeria juliana! This little herb is such a delight. Its tiny, aromatic leaves are absolutely divine, and it grows into these lovely, bushy mounds that just beg to be touched. Plus, there’s something incredibly satisfying about coaxing a new plant into life from just a snippet of the old one. It’s a wonderfully rewarding journey, and I promise, it’s not nearly as daunting as it might seem. In fact, I’d say it’s quite beginner-friendly!
The Best Time to Start
For the highest success rate with Micromeria juliana, I find that the late spring to early summer is absolutely prime time. The plant is actively growing then, meaning it has plenty of energy to put into forming those new roots. Waiting until after your plant has settled into its growing season, perhaps after a bit of a tidy-up, is generally best. Avoid trying to propagate when it’s stressed, like during a heatwave or when it’s just been repotted.
Supplies You’ll Need
Here’s what you’ll want to have on hand before you dive in:
- Sharp pruning shears or a clean knife: For taking clean, precise cuttings.
- Rooting hormone (optional but recommended): A little boost can speed things up.
- Small pots or seed trays: I like to use 4-inch pots for cuttings.
- Well-draining potting mix: A mix of perlite, peat moss, and a bit of compost works beautifully. You can also buy a good quality seedling mix.
- Water: For moistening the soil and for water propagation.
- A plastic bag or propagation dome: To create a humid environment.
- Labels or plant tags: To keep track of what’s what!
Propagation Methods
Let’s get our hands dirty! We’ll focus on the easiest and most reliable method for Micromeria juliana: stem cuttings.
- Select Your Cuttings: Look for healthy, non-flowering stems on your established plant.
- Take Your Cuttings: Using your clean shears or knife, cut a piece of stem about 4-6 inches long. Make the cut just below a leaf node – that little bump where a leaf grows out from the stem. This is where roots are most likely to form.
- Prepare the Cuttings: Gently remove the lower leaves from the cutting. You want to expose the stem for rooting. Leave just a few leaves at the top to help with photosynthesis.
- Apply Rooting Hormone (Optional): If you’re using rooting hormone, dip the cut end of the stem into the hormone powder or gel. Tap off any excess.
- Plant Your Cuttings: Fill your small pots with the prepared, moistened potting mix. Make a pilot hole with your finger or a pencil.
- Insert and Water: Gently push the cutting into the soil, making sure the leaf nodes you cleared are below the soil surface. Firm the soil gently around the stem. Water lightly to settle the soil.
- Create Humidity: I like to place a clear plastic bag loosely over the pot, or use a propagation dome. This traps moisture and creates a mini-greenhouse effect. Make sure the leaves aren’t touching the plastic if possible.
The “Secret Sauce” (Pro Tips)
Now, here are a few of my little tricks that tend to make all the difference:
- Air Circulation is Key: While we want humidity, we don’t want stagnant air, which can lead to rot. Every couple of days, I’ll lift the plastic bag or open the dome for a few minutes to let fresh air circulate. It’s a simple step, but crucial!
- Bottom Heat Magic: If you have a seedling heat mat, placing your pots on it can significantly speed up rooting. That gentle warmth encourages root formation from below, almost like the plant is getting a warm hug from the earth.
- Don’t Overwater! This is a biggie. The soil should be consistently moist, but not waterlogged. Soggy soil is the quickest way to a sad, rotted cutting. Think of it as a wrung-out sponge.
Aftercare & Troubleshooting
Once your cuttings have been planted, keep them in a bright spot, but out of direct, harsh sunlight. Remember that humidity? Keep it up for the first few weeks.
You’ll know your cuttings are rooting when you gently tug on them, and feel resistance. You might even see tiny white root tips poking out the bottom of the pot if you peek. At this point, you can gradually acclimate them to normal conditions by removing the plastic bag or dome over a few days.
Now, what if things go wrong? The most common culprit is rot. If you see your cutting turning mushy or black, it’s usually a sign of too much moisture and not enough air circulation. Don’t despair! Just toss the rotted cutting and try again, remembering those humidity and air circulation tips. Sometimes, a cutting just won’t take, and that’s okay too. It’s all part of the learning process!
A Little Encouragement to Close
Be patient with your little Micromeria juliana cuttings. They’re working their magic beneath the soil, and sometimes it takes a bit of time. Enjoy watching them grow, and remember that every gardener, no matter how experienced, has had cuttings that didn’t quite make it. What matters is that you tried, you learned, and you’re bringing more green into the world. Happy propagating!
Resource: