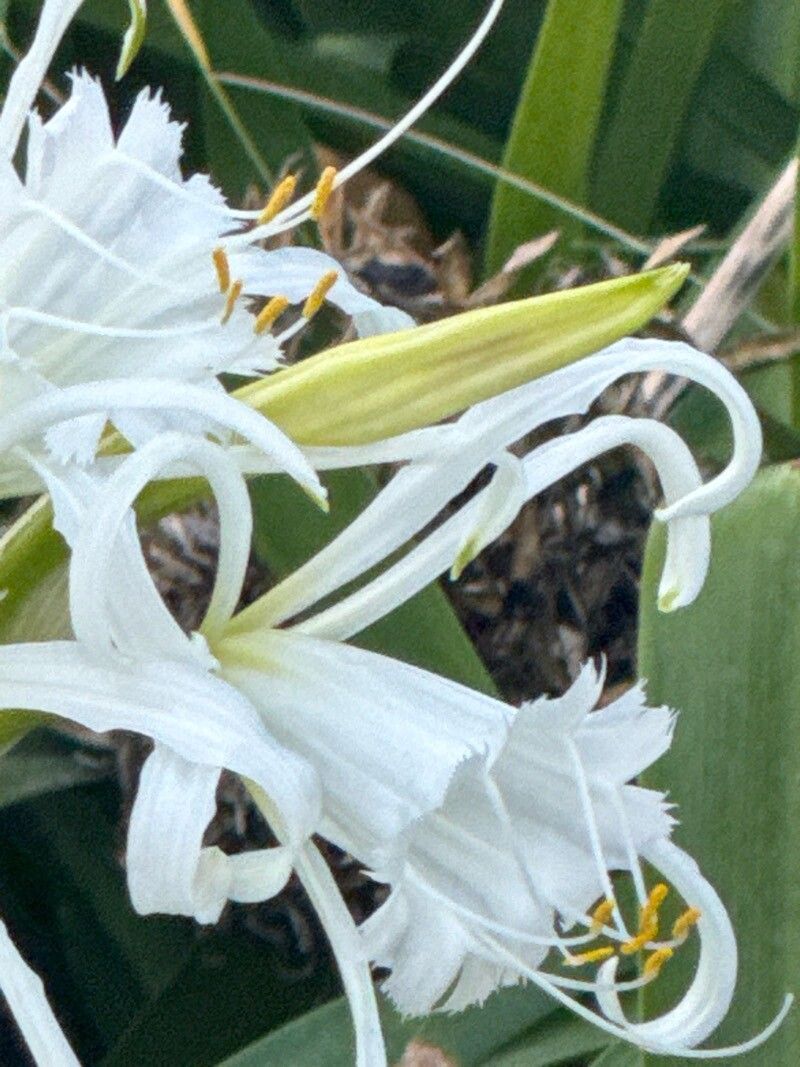
Hello there, fellow garden lovers! I’m so excited to chat with you today about one of my favorite spring bloomers: the delightful Hymenocallis liriosme, often called the Swamp Lily or Spider Lily. Those gorgeous, fragrant white flowers with their long, spidery petals are just breathtaking. And the best part? You can easily multiply these beauties for your own garden or to share with friends.
Propagating the Swamp Lily is a wonderfully rewarding experience. It’s not a fussy plant at all, which makes it a fantastic choice, even if you’re new to the gardening game. Watching a tiny bulb or a sliver of a leaf transform into a whole new plant is pure magic.
The Best Time to Start
The absolute sweet spot for propagating Hymenocallis liriosme is during its active growing season. This typically means late spring or early summer, right after it finishes flowering. You can also do it in early spring before strong new growth really kicks off. The plant is healthy and has plenty of energy to put into making new roots.
Supplies You’ll Need
Gathering your tools beforehand makes the whole process smoother. Here’s what I usually have on hand:
- Sharp pruning shears or a clean knife: For making clean cuts.
- Well-draining potting mix: A 50/50 blend of compost and perlite or coarse sand works wonders.
- Small pots or seed trays: With drainage holes, of course!
- Rooting hormone (optional but helpful): Especially if you’re dividing bulbs.
- Watering can or spray bottle: For gentle watering.
- A warm spot (optional but beneficial): For encouraging root development.
Propagation Methods
There are a couple of really effective ways to get more Swamp Lilies. Let’s dive in!
Division (The Easiest Way)
This is my go-to method because it’s so straightforward. Swamp Lilies naturally form offsets, or baby bulbs, around the mother bulb.
- Gently unearth the plant. In late spring or early summer, carefully dig up the entire clump. You want to be careful not to damage the bulbs.
- Separate the offsets. Gently break away any smaller bulbs that have formed around the base of the main bulb. They should come off fairly easily. If one is stubborn, you can use your clean knife or pruners to make a clean cut.
- Inspect the bulbs. Make sure each offset has at least one healthy-looking bud or growing point. Remove any mushy or damaged bits.
- Replant. You can plant these new bulbs directly into the ground or into pots filled with your well-draining mix. Plant them about 4-6 inches deep, with the pointed end (where the leaves will grow) facing up. Water thoroughly.
Leaf Cuttings (A Bit More Patience Required)
This method is a bit more experimental but can be very rewarding when it works! You’re essentially using a part of the leaf to generate a new plant.
- Select a healthy leaf. Choose a mature, strong leaf from a healthy plant. Cut it cleanly at the base using your pruning shears.
- Divide the leaf. You can cut the leaf into sections, about 3-4 inches long.
- Plant the cuttings. You have two main options here:
- In pots: Fill small pots with your well-draining mix. Insert the cut end of each leaf section about 1-2 inches deep into the soil. Gently firm the soil around them.
- In water: This requires a little more attention. Place the leaf sections in a jar or vase of water, ensuring only the cut end touches the water, not the leaf itself. This prevents rot.
- Provide a humid environment. For both methods, cover the pots or vase with a clear plastic bag to create a mini-greenhouse effect. This helps maintain humidity, which is crucial for root development.
- Be patient! It can take several weeks, or even months, for roots to form. Keep the soil consistently moist but not soggy. Change the water every few days if using the water method.
The “Secret Sauce” (Pro Tips)
After years of getting my hands dirty, I’ve picked up a few tricks that really boost success.
- My absolute favorite tip for bulb division is to let the separated offsets air dry for a day or two before replanting. This allows any cut surfaces to callous over, greatly reducing the risk of rot. It’s a simple step that makes a big difference!
- When propagating from leaf cuttings, provide gentle bottom heat if you can. Setting your pots on a heat mat specifically designed for seedlings can significantly speed up root formation. It mimics that lovely warm soil they crave.
Aftercare & Troubleshooting
Once you see those tiny roots appearing, it’s time to nurture your new little Swamp Lily!
- For divided bulbs: Continue to water consistently, keeping the soil moist but not waterlogged. They’ll start sending up new shoots.
- For leaf cuttings: Once you have a good root system (at least an inch or two long), you can carefully transplant them into small pots with your well-draining mix. Water them in gently.
Common signs of failure usually involve rot. If your cuttings or bulbs turn mushy and brown, it’s likely due to too much moisture and not enough air circulation. If you see this, immediately remove the affected parts to prevent it from spreading. Don’t be discouraged if you lose a few – it happens to the best of us! Just try again.
A Encouraging Closing
Propagating Hymenocallis liriosme is a joyful journey. It requires a bit of patience, a touch of tenderness, and a whole lot of garden love. Enjoy the process, learn from each attempt, and before you know it, you’ll have an abundance of these elegant beauties gracing your garden. Happy growing!
Resource:
https://identify.plantnet.org/k-world-flora/species/Hymenocallis%20liriosme%20(Raf.)%20Shinners/data