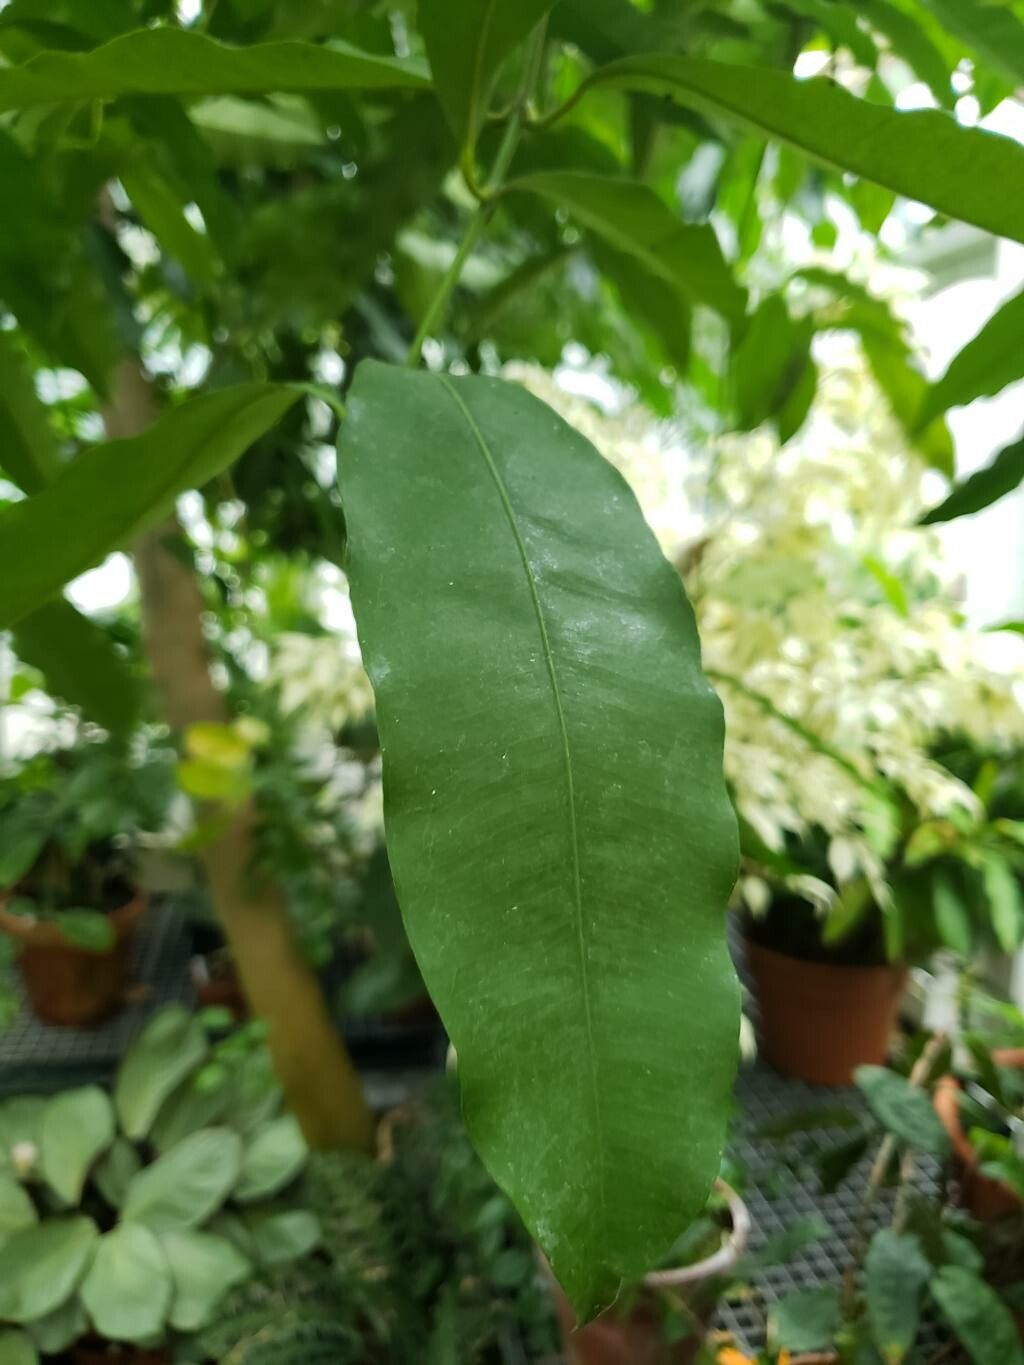
Oh, hello there! So, you’ve fallen under the spell of Garcinia brasiliensis, haven’t you? It’s such a special plant. Its glossy leaves and the promise of delicious, tangy fruit make it a real gem in any garden. And the best part? You can bring more of this beauty into your life by propagating it yourself! It’s a wonderfully rewarding process, watching a tiny cutting transform into a new plant. Now, I wouldn’t say it’s the absolute easiest plant for a complete beginner to propagate, but with a little patience and the right approach, you’ll be celebrating your successes in no time.
The Best Time to Start
For Garcinia brasiliensis, spring or early summer is your golden ticket. This is when the plant is actively growing and has plenty of energy to dedicate to rooting. Look for stems that are neither brand new and super soft, nor old and woody. You want that happy medium – slightly hardened off, yet still pliable.
Supplies You’ll Need
Gathering your tools beforehand makes the whole process much smoother. Here’s what I always have on hand:
- Sharp pruning shears or a clean knife: For making the initial cuts. Sterilize these before you begin!
- Well-draining potting mix: A good blend of peat moss, perlite, and a little sand works wonders. You can also find specific seed starting mixes that are light and airy.
- Rooting hormone powder or gel: This is a game-changer, especially for slightly trickier-to-root plants like this.
- Small pots or trays: Clean ones, of course. 4-inch pots are a good starting point.
- Plastic bags or a propagator: To create a humid microclimate around your cuttings.
- Watering can or mister: For gentle watering.
- Labels and a marker: You’ll want to know what you planted and when!
Propagation Methods
While Garcinia brasiliensis can be grown from seed, propagating from stem cuttings is generally more reliable for getting a plant true to its parent.
Stem Cuttings (The Most Common Method)
- Take Your Cuttings: Select healthy, current-season growth. You’re looking for pencil-thick stems that are about 6-8 inches long. Make a clean cut just below a leaf node. This is where the magic usually happens for rooting. Remove the lower leaves, leaving just a few at the top to help the plant photosynthesize.
- Apply Rooting Hormone: Dip the cut end of your stem into the rooting hormone. Gently tap off any excess. This stuff really encourages root development.
- Plant Your Cuttings: Fill your clean pots with your well-draining potting mix. Make a hole with your finger or a pencil, deep enough to insert the cutting. Place the cutting into the hole and gently firm the soil around it.
- Create Humidity: Water the soil thoroughly until it drains from the bottom. Then, place your potted cuttings into a clear plastic bag, sealing it to create a mini-greenhouse. You can also use a propagator lid if you have one. This high humidity is crucial!
The “Secret Sauce” (Pro Tips)
After years of trial and error, I’ve learned a few tricks that really up my success rate.
- Don’t let the leaves touch the water: If you decide to try water propagation with a few cuttings (which can be fun to watch!), make sure not a single leaf is submerged. Leaves in water will simply rot, which is the opposite of what we want.
- Bottom heat is your friend: If you have a seedling heat mat, place your pots on it. This gentle warmth from below encourages root growth significantly. It mimics the warm soil of its natural environment and gives those roots a much-needed boost.
Aftercare & Troubleshooting
Once your cuttings are potted and tucked into their humid little homes, they need a bit of TLC.
- Light: Place them in a brightly lit spot, but out of direct, harsh sunlight. Dappled shade is perfect.
- Watering: Check the soil moisture regularly. You want the soil to be consistently moist but never waterlogged. Mist the leaves occasionally, especially if you’re not using a plastic bag.
- Checking for Roots: After a few weeks, you can gently tug on a cutting. If you feel resistance, you’ve got roots! You can also look for new leaf growth – that’s a good sign too.
- Troubleshooting: The most common issue you’ll encounter is rot. If you see a cutting turning mushy or black, unfortunately, it’s usually a lost cause. This is often due to too much moisture or poor air circulation. If your cuttings look wilted and dry, it might be low humidity or not enough water.
A Encouraging Closing
Propagating Garcinia brasiliensis is a journey, and like any good garden endeavor, it requires a dash of patience. Don’t be discouraged if your first few attempts aren’t picture-perfect. Every gardener has their share of learning experiences! Just keep at it, enjoy the process of nurturing these new lives, and soon you’ll be rewarded with your own little Garcinia babies. Happy gardening!
Resource:
https://identify.plantnet.org/k-world-flora/species/Garcinia%20brasiliensis%20Mart./data