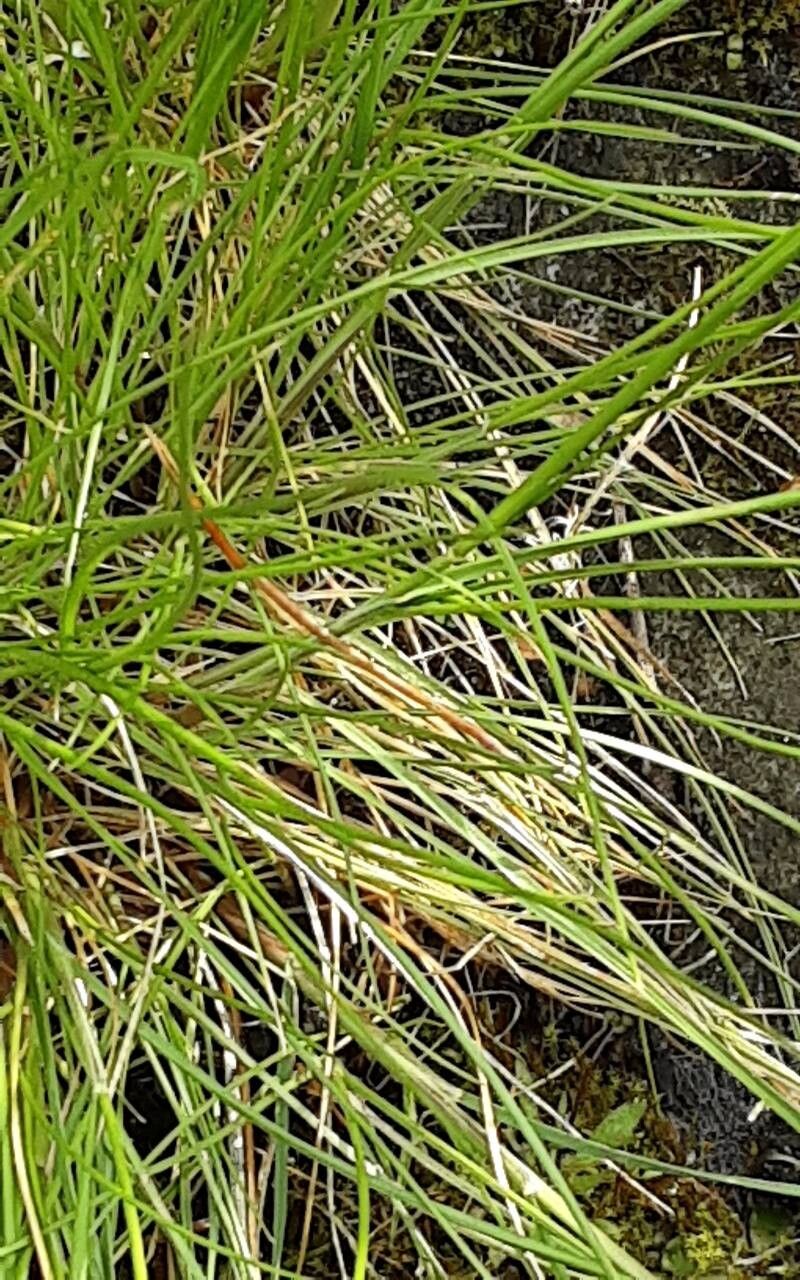
Hello fellow garden enthusiasts! Today, we’re diving into the delightful world of Festuca gautieri, often known as Fescue grass. If you haven’t met this beauty yet, imagine a clump of soft, emerald-green, arching blades that seem to shimmer in the sunlight. It’s a fantastic choice for adding texture and movement to your garden beds, borders, or even stunning containers. And the best part? Propagating it is surprisingly achievable, even if you’re just starting out with your green thumb. It’s truly rewarding to watch a tiny piece of your favorite plant grow into a new, vibrant specimen.
The Best Time to Start
For Festuca gautieri, the sweet spot for propagation is late spring or early summer, after the plant has had a chance to really wake up after winter. This is when the plant is actively growing and has the most energy to put into developing new roots. Trying to propagate when the plant is dormant or stressed is a recipe for disappointment.
Supplies You’ll Need
Ready to get your hands dirty? Gather these goodies:
- Sharp pruning shears or a clean knife: For making clean cuts.
- Potting mix: A well-draining mix is key. I like to use a blend of equal parts peat moss, perlite, and compost. You can also buy a good quality seed-starting mix.
- Small pots or trays: Clean ones! This is crucial to prevent disease. Yogurt cups with poked drainage holes work in a pinch too.
- Rooting hormone (optional but helpful): This can give your cuttings a little boost.
- Watering can or spray bottle: For gentle watering.
- Plastic bags or a propagation dome: To create a humid environment.
Propagation Methods
Festuca gautieri is most easily propagated through division or by taking new shoots. Let’s walk through it:
Method 1: Division (My Favorite for Fescue!)
This is, in my opinion, the easiest and most successful way to multiply your Festuca gautieri.
- Dig it up: Gently dig up your established Festuca gautieri clump. You can do this anytime during its growing season, but spring is ideal.
- Tease it apart: Once the clump is out of the soil, you’ll see natural divisions. Use your hands or a sturdy trowel to gently pull or cut the root ball into smaller sections. Each section should have its own healthy roots and some foliage.
- Pot them up: Pot each division into its own container filled with your well-draining potting mix. Make sure the crown (where the leaves emerge from the roots) is at or just above soil level.
- Water and settle: Water thoroughly until water drains from the bottom.
Method 2: Taking New Shoots
This method is similar to taking cuttings, but with Fescues, we’re looking for those lush, new shoots.
- Identify and select: Look for healthy, vigorous new shoots that are just emerging from the base of the plant. These are typically softer and have more energy than older, woody stems.
- Make the cut: Using your sharp shears or knife, carefully cut the shoot from the parent plant. Try to get a small section of the base where roots might already be starting to form.
- Prepare the shoot: You can gently remove any lower leaves that might fall below the soil line. If you’re using rooting hormone, dip the cut end into it now.
- Plant it: Stick the cut end into a pot filled with your potting mix. Don’t plant it too deep; just enough to hold it upright.
- Create humidity: Mist the soil and the shoot lightly. Then, cover the pot with a plastic bag or place it under a propagation dome. This traps moisture, which is essential for the shoot to root.
The “Secret Sauce” (Pro Tips)
After years of gardening, you pick up a few tricks that make a world of difference. Here are my top tips for Festuca gautieri:
- Don’t drown your cuttings: While
humidityis crucial with the shoot method, too much sitting water can lead to rot. Make sure your pots have excellent drainage and that the soil is moist, not soggy. - Embrace the “wiggle test”: Once you think your divisions or shoots have rooted (this can take a few weeks to a couple of months), give them a gentle tug. If there’s resistance, you’ve got roots!
- Think like the parent plant: When dividing, always aim to give each new section plenty of healthy roots and at least a few shoots of foliage. This balanced start is vital for it to thrive.
Aftercare & Troubleshooting
Once your new Festuca gautieri has roots, it’s time for a little attentive care.
- Continue gentle watering: Keep the soil consistently moist but not waterlogged. As they establish, you can gradually let the soil dry out slightly between waterings.
- Gradual acclimatization: If you covered your new plants with a plastic bag or dome, gradually remove it over a week or so to let them get used to the normal humidity levels.
- Potting up: Once the new plants have a decent root system and are showing vigorous new growth, you can transplant them into larger pots or directly into your garden.
Now, what if things go wrong? The most common issue is rot, which is usually caused by overwatering or poor drainage. If you see a shoot wilting and turning mushy, it’s likely a lost cause. Don’t despair, just start again with fresh material and pay close attention to watering. Sometimes, cuttings simply refuse to root, and that’s okay too! Gardening is a journey of experimentation.
A Encouraging Closing
Propagating Festuca gautieri is a wonderfully satisfying experience. It allows you to expand your garden’s beauty and share these lovely grasses with friends. Be patient, observe your plants, and celebrate every little success. Happy gardening!
Resource:
https://identify.plantnet.org/k-world-flora/species/Festuca%20gautieri%20(Hack.)%20K.Richt./data