Oh, hello there! Come on in, pull up a chair. I’ve got a fresh pot of coffee brewing, and I’m so excited to chat with you today about a truly delightful plant: Clethra hondurensis, or as some of us affectionately call it, the Honduran Pepperbush.
A Fragrant Friend You’ll Want More Of
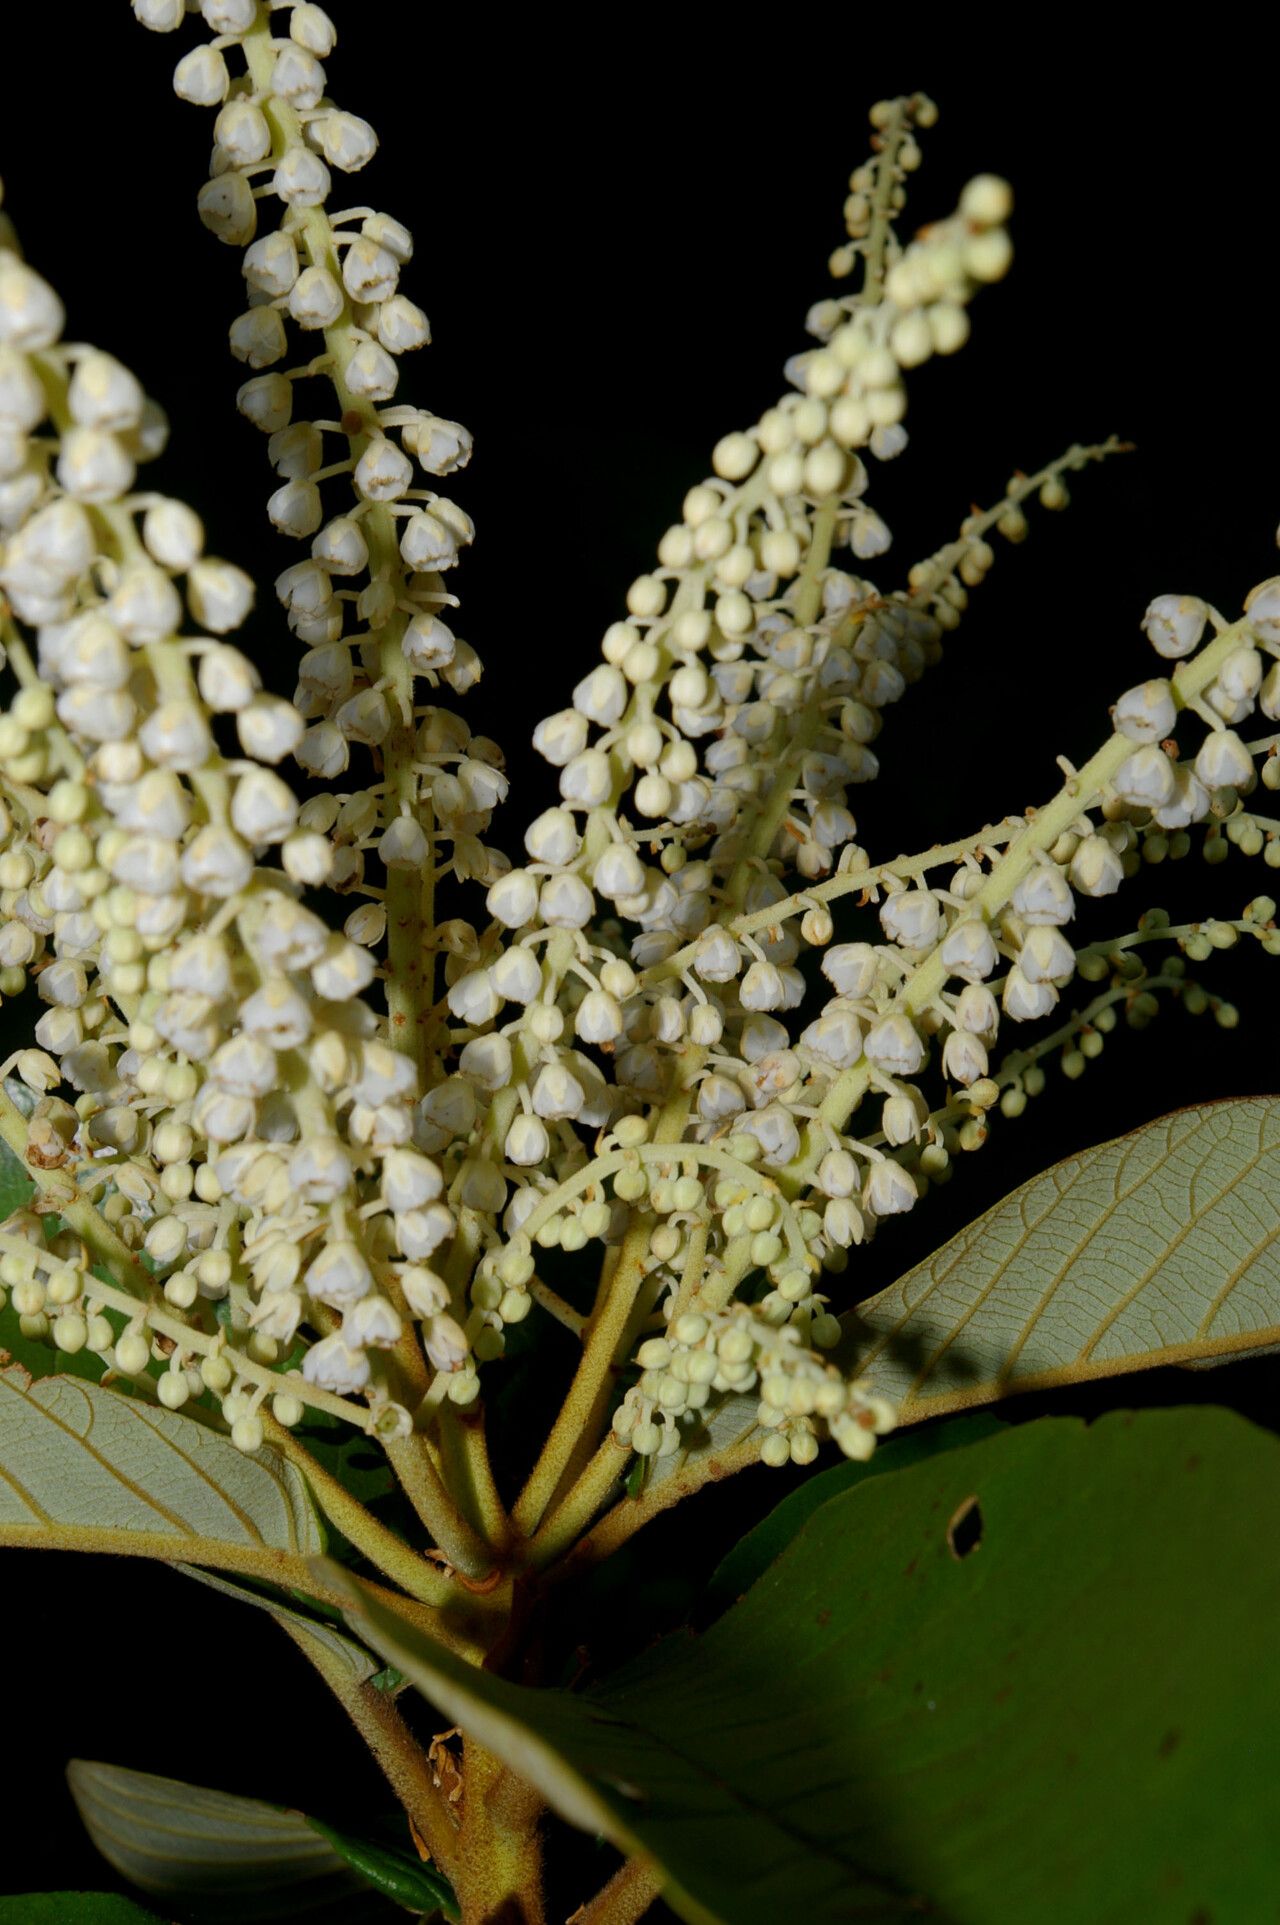
There’s something so special about the Clethra hondurensis. It’s that delightful peppery fragrance in late summer, the way its glossy leaves catch the sunlight, and those lovely spikes of flowers that hummingbirds just adore. It brings a whisper of the tropics to our gardens, doesn’t it? And honestly, once you’ve enjoyed its beauty for a season or two, you’ll likely find yourself wanting more. Propagating this gem is incredibly rewarding, giving you a head start on filling your garden beds or sharing with fellow plant lovers. Now, if you’re new to propagation, Clethra hondurensis can be a little bit of a grower’s challenge compared to your average geranium. But don’t let that deter you! With a little patience and these tips, you’ll be well on your way.
When to Get Your Hands Dirty
The sweet spot for propagating Clethra hondurensis is really in the early to mid-summer. This is when the plant is actively growing, but the stems have started to mature a bit. You want to look for stems that are firm but still flexible, not the very soft, brand-new growth or the fully woody, old stems. Think of it as the “pencil-thick” stage. This is when they have the best chance of rooting.
What You’ll Need to Get Started
Gathering your supplies ahead of time makes the whole process much smoother. Here’s what I like to have on hand:
- Sharp, clean pruning shears or a razor blade: For making those precise cuts. Sterilize them with rubbing alcohol before you start!
- Rooting hormone (powder or gel): This stuff is a real confidence booster for your cuttings.
- A well-draining potting mix: I usually make my own by mixing equal parts perlite and peat moss or coco coir. You can also buy a good quality seedling or propagation mix.
- Small pots or propagation trays: Clean ones are a must.
- Plastic bags or a clear plastic dome: To create that humid environment your cuttings need.
- A small watering can or spray bottle: For gentle watering.
- Gravel or small stones (optional): For drainage in pots.
Let’s Get Propagating! Stem Cuttings Are Your Best Bet
For Clethra hondurensis, stem cuttings are generally the most successful and straightforward method. It’s how I’ve had the most luck.
- Take Your Cuttings: On a pleasant morning, use your sharp shears to take 6-8 inch cuttings from healthy, vigorous stems. Make your cut just below a leaf node – that’s the point where a leaf attaches to the stem.
- Prepare the Cuttings: Gently remove the lower leaves from your cuttings, leaving just a few at the top. This prevents them from rotting once planted. If your remaining leaves are large, you can even cut them in half to reduce water loss.
- Apply Rooting Hormone: Dip the cut end of each prepared cutting into your rooting hormone. Tap off any excess.
- Plant Your Cuttings: Fill your small pots or trays with your moistened potting mix. Make a small hole with a pencil or your finger, and gently insert the cutting, ensuring the bottom few nodes are buried in the soil.
- Water Gently: Water your newly planted cuttings lightly to settle the soil around the stems.
- Create a Humid Environment: This is crucial! You can cover the pots with clear plastic bags (supported by stakes so they don’t touch the leaves) or place them under a plastic dome. This traps the moisture, mimicking the conditions cuttings need for root development.
My “Secret Sauce” for Extra Success
Now, here are a few things I’ve learned over the years that can really give your Clethra hondurensis cuttings a boost:
- Bottom Heat is Your Friend: Once your cuttings are potted and covered, placing them on a heated propagation mat can make a world of difference. This gentle warmth encourages root formation from below, significantly speeding up the process. If you don’t have a mat, a sunny windowsill away from direct, scorching sun often provides enough ambient warmth.
- Don’t Drown Them, Just Keep Them Moist: While humidity is key, soggy soil is the enemy. Your goal is for the soil to feel consistently moist, like a wrung-out sponge, not waterlogged. Overwatering can lead to rot before roots even have a chance to form. If the soil is looking dry, give it a light misting or a gentle watering.
- Patience and Observation: Honestly, this is the biggest secret. Don’t be tempted to pull up your cuttings every few days to “check for roots.” Leave them be! The best way to tell if roots are forming is by gently tugging on the cutting. If you feel resistance, you’ve likely got roots! You’ll usually see new leaf growth before you feel significant root development, too.
Aftercare and What to Watch For
Once you’ve successfully rooted your cuttings and they start showing signs of new growth, it’s time to transition them.
- Acclimatize Gradually: Slowly begin to remove the plastic cover for a few hours each day, gradually increasing the exposure over a week or two. This helps your new babies adjust to the drier air outside their humid little world.
- Pot Up When Ready: When your rooted cuttings have a decent root system (you’ll see roots emerging from the drainage holes, or they feel reliably resistant when gently tugged), you can pot them up into slightly larger containers with a good quality, well-draining potting mix.
- Troubleshooting Rot: The most common issue you might face is rot. If you see stems turning black and mushy, or the leaves are wilting and no growth is happening, it’s likely rot. This is usually due to too much moisture and not enough airflow. Unfortunately, once rot sets in, it’s hard to save the cutting. Best to discard it and try again, paying close attention to keeping the soil just moist, not wet.
Keep Growing!
Propagating plants can feel a bit like magic, can’t it? Watching a little piece of stem transform into a whole new plant is such a thrill. Be patient with yourself and your Clethra hondurensis. Not every cutting will make it, and that’s perfectly okay. Each attempt is a learning opportunity, and soon you’ll have a whole collection of these fragrant beauties. Enjoy the process, and happy gardening!
Resource:
https://identify.plantnet.org/k-world-flora/species/Clethra%20hondurensis%20Britton/data