Hello fellow garden enthusiasts! You know, there are some plants that just sing to you, aren’t there? For me, Baccharis rufidula is one of them. That lovely texture, the way it handles a bit of neglect – it’s a real gem for so many gardens. And the best part? It’s surprisingly easy to share that beauty by propagating it yourself! I’ve been coaxing new life from my plants for years, and I’m so excited to walk you through the process. If you’re new to plant propagation, this is a fantastic place to start.
The Best Time to Start
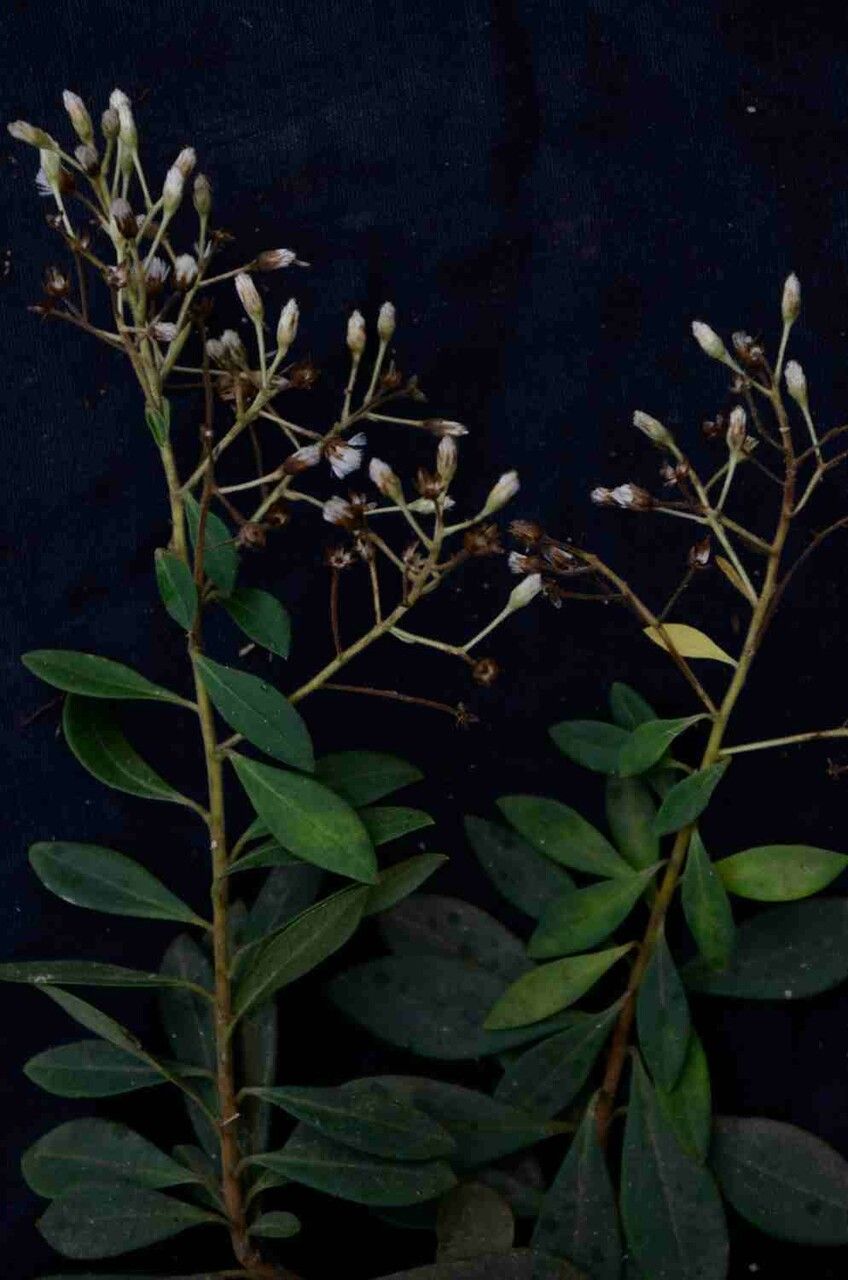
For the highest success rate with Baccharis rufidula, I always aim for late spring or early summer. This is when the plant is actively growing and has plenty of energy to put into developing new roots. You’ll be looking for what we call new, semi-hardwood growth. Think of it as stems that are starting to firm up but still have a bit of flexibility. Avoid brand new, soft, floppy growth, and definitely stay away from old, woody stems.
Supplies You’ll Need
Gathering your supplies beforehand makes the whole process much smoother. Here’s what I usually have on hand:
- Sharp Pruning Shears or a Knife: Cleanliness is key!
- Rooting Hormone (Optional but Recommended): A powder or gel can give your cuttings a real boost.
- Well-Draining Potting Mix: I often use a mix of equal parts peat moss or coco coir and perlite or coarse sand. A commercial seed-starting mix can also work well.
- Small Pots or Trays with Drainage Holes: Clean pots are a must.
- A Spray Bottle: For misting.
- Plastic Bags or a Propagator: To create a humid environment.
- A Marker and Labels: To keep track of your cuttings.
Propagation Methods: Taking Cuttings
The most reliable way I’ve found to propagate Baccharis rufidula is through stem cuttings. It’s straightforward and gives you a great chance of success.
- Select Your Shoots: Head out to your plant on a nice day, ideally in the morning when moisture levels are good. Look for those new, semi-hardwood stems I mentioned.
- Take Your Cuttings: Using your clean pruning shears or knife, take cuttings that are about 4 to 6 inches long. Try to make your cuts just below a leaf node (where a leaf meets the stem). This is where the magic happens for root formation.
- Prepare the Cuttings: Gently remove the lower leaves from your cuttings, leaving just a few at the top. This prevents them from rotting in the soil and also helps the cutting focus its energy on rooting, not supporting a lot of foliage.
- Apply Rooting Hormone (If Using): Dip the cut end of each stem into your rooting hormone, tapping off any excess. This step isn’t strictly necessary for Baccharis rufidula, but it can significantly speed up the rooting process.
- Plant Your Cuttings: Fill your small pots or trays with your prepared potting mix. Make a small hole with a pencil or your finger and gently insert the end of each cutting. Firm the soil gently around the base. Aim for 2-3 cuttings per pot, spaced a few inches apart.
- Create Humidity: Water the soil lightly, allowing excess to drain. Then, I like to cover the pots with a clear plastic bag or place them in a propagator. Make sure the leaves aren’t touching the plastic if you’re using a bag – poke some skewers in to prop it up if needed. This traps moisture and humidity, which is crucial for cuttings.
The “Secret Sauce” (Pro Tips)
After years of doing this, I’ve learned a few tricks that make a difference:
- Bottom Heat is Your Friend: If you have a heat mat, placing your pots on it can really speed up root development, especially if the weather outside is a bit cooler. It mimics the warmth of summer soil.
- Don’t Overwater Initially: It’s a delicate balance. You want the soil to be consistently moist, but not soggy. Soggy soil is a fast track to rot. Let the very top of the soil just start to dry before watering again.
- Look for the Little Signs: Sometimes, you might see a faint greening or a slight swelling at the leaf nodes. These early indicators are often signs that roots are starting to form, even before you see them poking out the bottom!
Aftercare & Troubleshooting
Once your cuttings have been potted up, place them in a bright, indirect light location. Avoid direct sunlight, which can scorch those tender new shoots. Misting the leaves occasionally is also a good idea, especially if you’re not using a propagator with consistent humidity.
You’ll know your cuttings have rooted when you feel a gentle resistance when you lightly tug on them, or if you see new leaf growth. This usually takes anywhere from 4 to 8 weeks.
The biggest challenge you might face is rot. If you see your cuttings browning, turning mushy, and collapsing, it’s usually a sign of too much moisture and not enough air circulation. If this happens, pull the affected cuttings, discard them as they won’t recover, and check the moisture levels of your remaining ones. If it’s widespread, you might need to remove the plastic cover for a day or two to let things dry out a bit more.
A Little Patience Goes a Long Way
There you have it! Propagating Baccharis rufidula is a really rewarding way to multiply your garden’s beauty without spending a dime. Be patient with your little cuttings; sometimes they take their sweet time. The joy of watching a tiny stem transform into a thriving new plant is truly special. Happy propagating!
Resource: