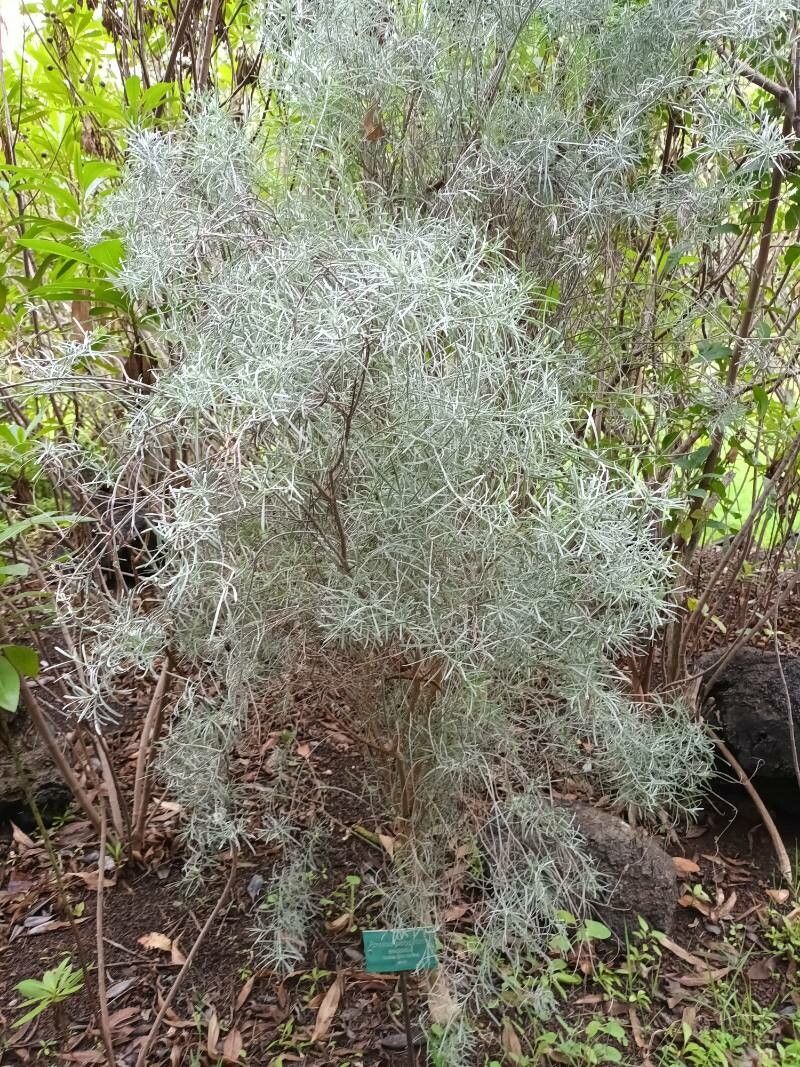
Oh, hello there! Pull up a chair and let’s chat about one of my favorite silvery beauties: Artemisia filifolia, or Threadleaf Wormwood. If you’ve ever seen this plant gracing a garden with its delicate, feathery foliage and subtle, almost ethereal scent, you know why it’s so special. It brings a touch of wild elegance, a whisper of the prairie, right into our backyards. And the best part? It’s surprisingly easy to multiply! Propagating it is a wonderfully rewarding way to fill your garden, share with friends, or simply enjoy the satisfaction of creating new life from something you already love. For beginners, I’d say Artemisia filifolia is a fantastic plant to start your propagation journey with.
The Best Time to Start
When it comes to getting the most bang for your buck—or, ahem, your cuttings—I find the sweet spot for propagating Artemisia filifolia is in late spring to early summer. This is when the plant is actively growing and has plenty of energy to put into developing roots. You’ll want to look for new growth that is semi-hardened. This means the stems are no longer floppy and green, but they haven’t yet become completely woody. Think of it as a happy medium, not too soft and not too tough.
Supplies You’ll Need
Gathering your tools beforehand makes the whole process much smoother. Here’s what I always have on hand:
- Sharp Pruning Shears or a Clean Knife: For making clean cuts.
- Rooting Hormone (Optional but Recommended): Powder or gel form. It really gives those cuttings a boost.
- Well-Draining Potting Mix: A good blend of potting soil, perlite, and a bit of sand works wonders. Or, a specific seed starting mix is also a good choice.
- Small Pots or Trays: Clean ones are crucial to prevent disease.
- Plastic Bags or a Propagator Lid: To create a humid environment.
- Watering Can with a Fine Rose: For gentle watering.
Propagation Methods
Let’s get our hands dirty! For Artemisia filifolia, my go-to method is stem cuttings. It’s straightforward and yields great results.
Stem Cuttings:
- Take Your Cuttings: Using your sharp shears, select healthy stems from your established Artemisia filifolia. Aim for cuttings that are about 4-6 inches long. Make your cut just below a leaf node (where a leaf attaches to the stem).
- Prepare the Cuttings: Gently remove the lower leaves from the bottom 2-3 inches of each cutting. This prevents them from rotting when buried. If you’re using rooting hormone, dip the cut end of each stem into the hormone, tapping off any excess.
- Plant Them Up: Fill your small pots or trays with your prepared potting mix. Make a small hole in the center of the soil with your finger or a pencil. Insert the prepared cutting into the hole, ensuring the leaf nodes are below the soil surface. Gently firm the soil around the stem.
- Water Gently: Water thoroughly but gently, making sure the soil is moist but not waterlogged.
- Create Humidity: Cover the pots loosely with a clear plastic bag or a propagator lid. This creates a mini-greenhouse effect, keeping the humidity high, which is essential for cuttings to root. Make sure the leaves don’t touch the plastic if possible. You can use small stakes to prop it up.
- Find a Spot: Place the pots in a bright location out of direct sunlight. A warm spot is ideal.
The “Secret Sauce” (Pro Tips)
Now, for a couple of little nudges that will really help your cuttings thrive.
- Bottom Heat is Your Friend: If you have a seedling heat mat, placing your pots on it will dramatically speed up the rooting process. The warmth encourages root development from below. If you don’t have one, a warm windowsill or the top of a refrigerator can sometimes provide enough gentle warmth.
- Air Circulation is Key: While we want humidity, we don’t want stagnant, damp air, which can lead to rot. Once a day, remove the plastic bag or lid for about 15-30 minutes to allow for some air exchange. You’ll see condensation on the plastic – that’s good! Just don’t let it sit there all day.
- Don’t Rush the Roots: Resist the urge to yank on your cuttings to check for roots too soon! You’ll know they’re ready when you see new leafy growth appearing at the top. You can also give them a very gentle tug; if there’s resistance, roots have formed.
Aftercare & Troubleshooting
Once you see that hopeful new growth, it’s time to transition your little Artemisia babies.
- Gradual Acclimation: Slowly reduce the humidity by gradually opening the plastic bag or propagator lid over a few days.
- Watering: Continue to water when the top inch of soil feels dry. Avoid letting them dry out completely, but also avoid soggy conditions.
- Repotting: Once the roots have filled the pot and you’re confident they’re well-established (usually after a few weeks to a couple of months), you can transplant them into slightly larger pots or directly into your garden if the weather is suitable.
What if things go wrong? The most common culprit is rot, which shows up as a blackening and mushy stem. This is usually due to overwatering or poor drainage. If you spot it, remove the affected cutting immediately to prevent it from spreading. Don’t be discouraged; gardening is often about learning from what works and what doesn’t!
A Little Encouragement
See? It’s really not so daunting, is it? Propagating Artemisia filifolia is a beautiful way to connect with your plants and grow your garden. Be patient, enjoy the process, and don’t be afraid to experiment. Happy propagating!
Resource:
https://identify.plantnet.org/k-world-flora/species/Artemisia%20filifolia%20Torr./data