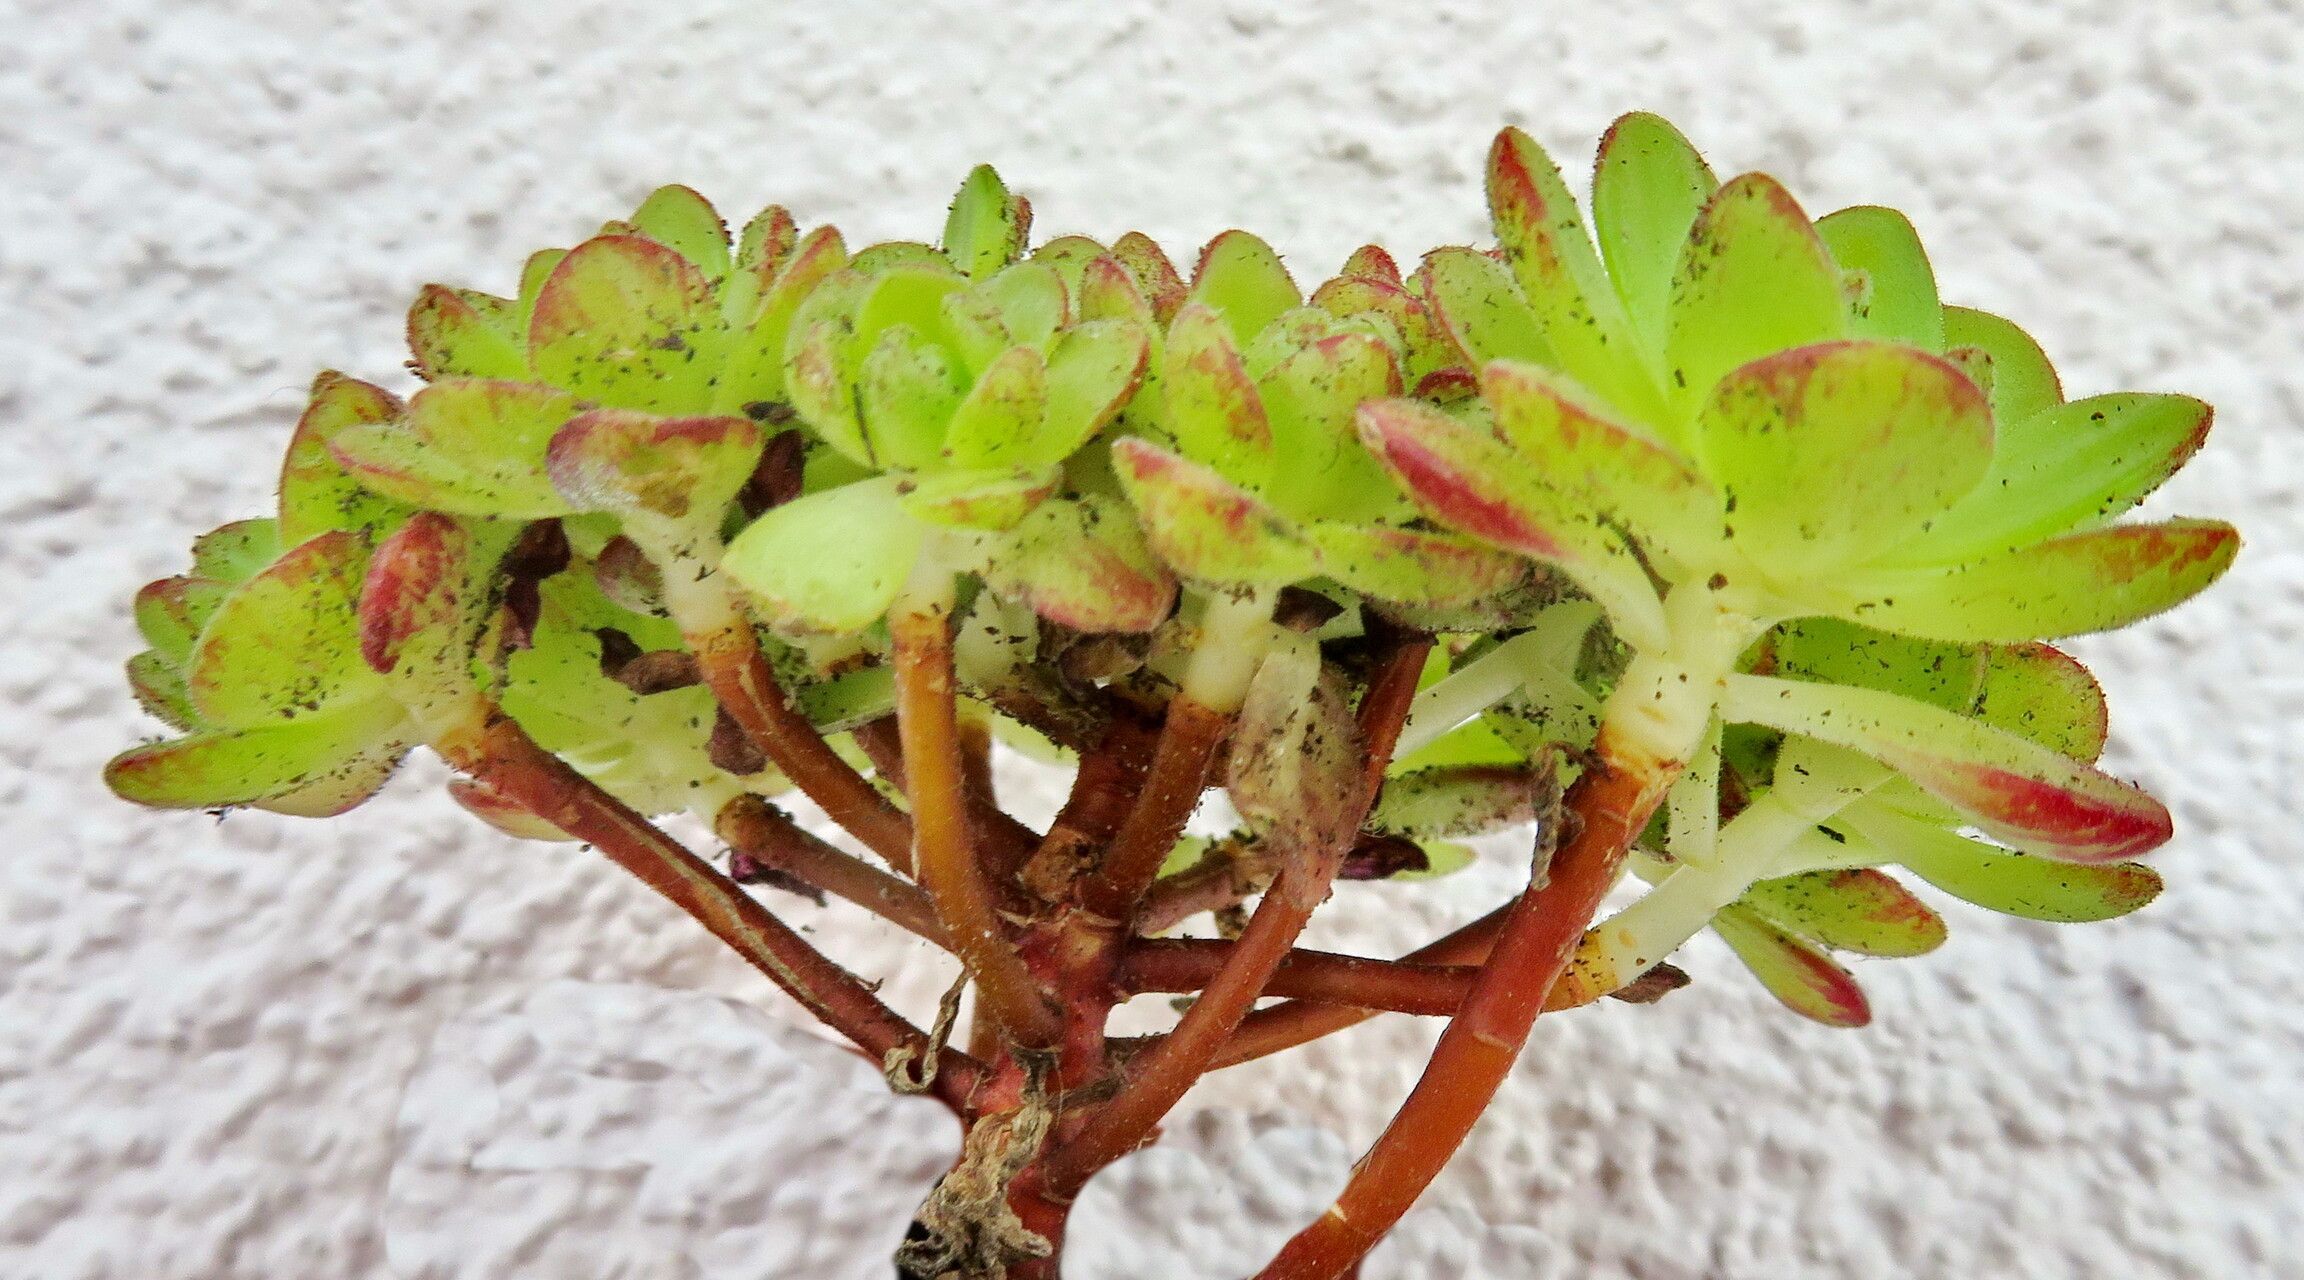
Hello fellow plant lovers! Today, we’re diving into the wonderful world of propagating Aeonium sedifolium. If you’ve ever admired those beautiful rosette-forming succulents, with their often stunning foliage colors, you’re in for a treat. Aeonium sedifolium, with its delightful clusters of small, succulent leaves, is a real charmer. It’s like having tiny, geometric sculptures gracing your windowsill.
Now, I know some plants can feel a bit intimidating to propagate, but I’m happy to say that Aeonium sedifolium is generally quite forgiving, even for those just dipping their toes into the propagation scene. It’s incredibly rewarding to watch a small cutting transform into a thriving new plant, and this particular Aeonium makes it wonderfully accessible.
The Best Time to Start
When it comes to coaxing new life from your Aeonium sedifolium, spring and early summer are your golden windows. This is when the plant is actively growing, buzzing with energy, and most receptive to taking root. You want to start with healthy, mature stems that are firm and not overly soft or mushy. Think of it as catching the plant at its peak vigor!
Supplies You’ll Need
Gathering your tools beforehand makes the whole process smoother. Here’s what I usually have on hand:
- Well-draining soil mix: A cactus and succulent mix is perfect, or you can create your own by combining potting soil with perlite or coarse sand.
- Sharp, clean pruning shears or a sharp knife: Sterilize them with rubbing alcohol to prevent disease.
- Rooting hormone (optional but recommended): This can give your cuttings a little boost.
- Small pots or trays: With drainage holes, of course!
- Watering can or spray bottle: For gentle hydration.
- A well-lit spot: Bright, indirect light is ideal.
Propagation Methods
Let’s get our hands dirty! Here are the most common ways to multiply your Aeonium sedifolium.
Stem Cuttings
This is my go-to method for Aeonium sedifolium. It’s straightforward and yields fantastic results.
- Select your stem: Look for a healthy stem that has grown a bit, ideally with a few sets of leaves.
- Make the cut: Using your sterilized shears or knife, carefully cut the stem just below a leaf node (where leaves attach to the stem). Aim for a cutting that’s a few inches long.
- Allow to callus: This is a crucial step! Let the cut end dry and form a callus for 2-3 days in a dry, shaded spot. This prevents rot. Think of it as giving the wound time to heal over.
- Plant the cutting: Once callused, you can either dip the callused end in rooting hormone (if using) or simply insert it about an inch deep into your prepared, well-draining soil. Gently firm the soil around it.
- Water lightly: Give it a very light watering, just enough to moisten the soil. Don’t drown it!
- Provide bright, indirect light: Place your pot in a location that gets plenty of light but avoids harsh, direct sun, which can scorch the young cutting.
Water Propagation
This method is a bit more hands-on and visually rewarding as you can see the roots form.
- Prepare your cutting: Follow steps 1 and 2 from the stem cutting method. You don’t necessarily need to let water cuttings callus, but a short drying period (1-2 days) can still be beneficial.
- Place in water: Snip off any lower leaves that would be submerged. Place the stem end in a clean jar or glass of water, making sure no leaves are touching the water. This prevents rot.
- Change water regularly: Refresh the water every few days to keep it clean and oxygenated.
- Find a bright spot: Like stem cuttings, place the jar in bright, indirect light.
- Plant when rooted: Once you see healthy roots forming (usually after a few weeks), you can transplant your cutting into well-draining soil. Treat it as you would a new stem cutting from this point.
Division
If your Aeonium sedifolium has started to produce offsets (baby plants emerging from the base), division is a great way to get more plants quickly.
- Gently remove from pot: Carefully take the mother plant out of its pot.
- Identify offsets: Look for smaller rosettes that have their own root systems forming.
- Separate the offset: With clean hands or a small trowel, gently tease apart the offset from the mother plant, making sure to keep as much of its root system intact as possible.
- Allow to dry (optional): You can let the separated offset sit for a day or two to callus over any minor damage to the roots.
- Plant the offset: Plant the offset in its own pot with well-draining soil. Water lightly.
The “Secret Sauce” (Pro Tips)
Over the years, I’ve learned a few tricks that just seem to make propagatingAeoniums a little bit easier.
- Bottom heat is your friend: If you’re struggling with rooting, especially in cooler conditions, placing your pots on a heat mat can significantly speed up root development. It mimics the warmth of the soil surface in their natural habitat.
- Don’t overwater! This is probably the most common mistake. Succulents are adapted to dry conditions, and their tender new cuttings are even more susceptible to rot. When in doubt, wait another day or two to water. The soil should be barely moist, not soggy.
- Patience is key with water propagation: Resist the urge to plant water-propagated cuttings too early. Wait for substantial root growth. Planting too soon can shock the young roots and lead to failure.
Aftercare & Troubleshooting
Once those roots establish, your job isn’t quite done!
Continue to provide bright, indirect light. Maintain a consistent watering schedule, allowing the soil to dry out completely between waterings. As the new plant grows stronger, you can gradually introduce it to more direct sunlight, but always watch for signs of scorching.
The most common issue you’ll encounter is rot, often caused by overwatering or not allowing cuttings to callus. If you see a stem cutting turning mushy and black at the cut end, it’s likely rotted. Unfortunately, there’s not much to be done at that point, so it’s better to try again with a fresh cutting.
Another sign of struggle might be a cutting that simply won’t root and starts to wither. This can happen if the cutting was too old, too young, or if conditions weren’t quite right. Sometimes, you just have to accept that not every attempt will be a success, and that’s okay!
A Encouraging Closing
So there you have it! Propagating Aeonium sedifolium is a delightful and often successful endeavor. Remember to be patient with your new green babies, provide them with the right conditions, and celebrate each little success. Watching them grow is a truly rewarding experience, and soon you’ll have a house full of these beautiful succulents. Happy propagating!
Resource: