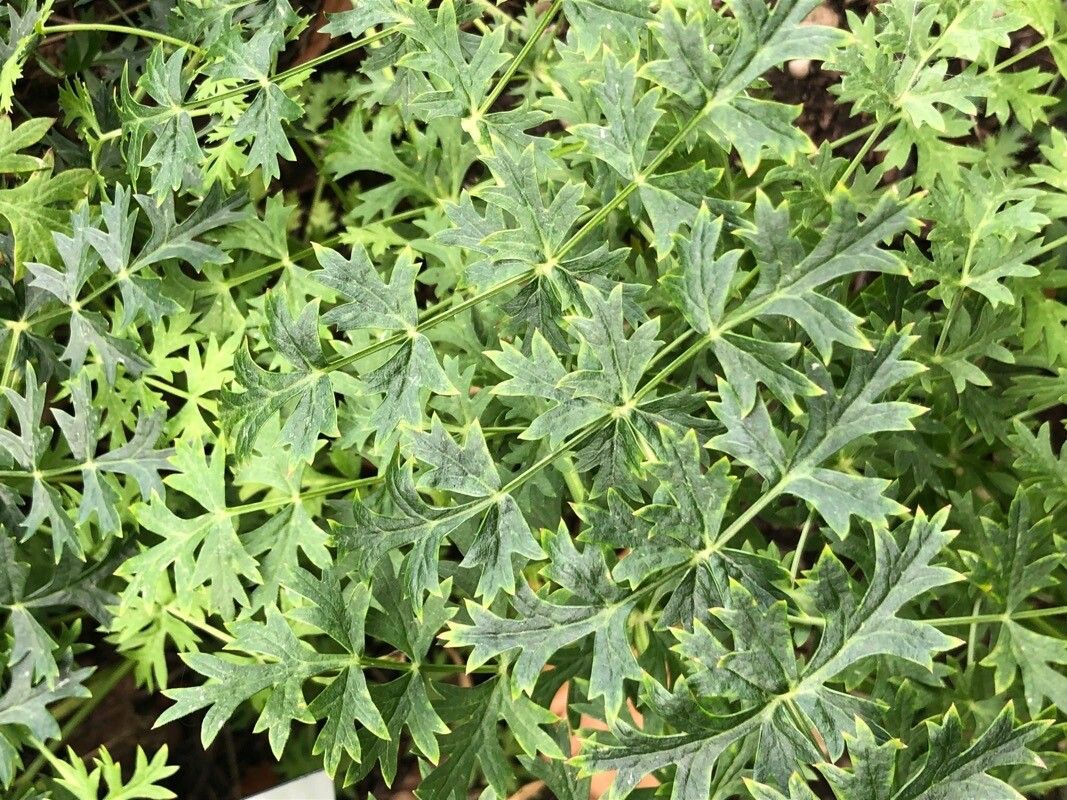
Oh, Seseli! If you’re looking for a plant that whispers elegance to your garden, you’ve found it with Seseli buchtormense. Its feathery, delicate foliage and clusters of tiny white flowers are simply charming. And the best part? Bringing more of this beauty into your life through propagation is incredibly rewarding. Don’t worry if you’re new to this; while it’s not quite a “set it and forget it” kind of plant, Seseli buchtormense is pleasantly forgiving, making it a wonderful choice for eager beginners.
The Best Time to Start
For the highest success rate with your Seseli buchtormense, aim for spring. This is when the plant is actively growing and has plenty of energy to put into developing new roots. You can also have good luck in early summer, especially if you’re working with cuttings from the current year’s growth.
Supplies You’ll Need
Here’s what you’ll want to have on hand:
- Sharp pruning shears or a clean knife: For making precise cuts.
- Well-draining potting mix: I like to mix equal parts peat moss or coco coir with perlite or coarse sand. This prevents soggy feet, which no plant enjoys.
- Small pots or seed trays: With drainage holes, of course!
- Rooting hormone (optional but helpful): A powder or gel can give your cuttings a nice boost.
- Watering can or spray bottle: For gentle watering.
- Plastic bag or humidity dome: To create a mini-greenhouse effect.
- Small labels: To keep track of what you’ve planted and when.
Propagation Methods
Let’s get our hands dirty! Here are a couple of tried-and-true ways to propagate Seseli buchtormense:
Stem Cuttings
This is my go-to method for this lovely plant.
- Choose a healthy stem: Look for vigorous, non-flowering stems from your mature plant. Ideally, they should be about 4-6 inches long.
- Make the cut: Using your clean shears or knife, make a clean cut just below a leaf node. This is where the magic happens, where roots are most likely to form.
- Prepare the cutting: Gently remove the lower leaves. You want to expose the nodes, as these are where roots will emerge. Leave just a few leaves at the top to help with photosynthesis. If your cutting is very long, you can even cut the remaining leaves in half to reduce water loss.
- Apply rooting hormone (if using): Dip the cut end into the rooting hormone powder or gel, tapping off any excess.
- Plant the cutting: Fill your small pots with your well-draining potting mix. Make a small hole with your finger or a pencil and insert the cut end of the stem about an inch deep. Gently firm the soil around it.
- Water gently: Give the soil a good watering until water drains from the bottom.
- Create a humid environment: Cover the pot with a plastic bag, securing it around the rim with a rubber band, or place it under a humidity dome. This keeps the moisture in while the cutting roots.
- Place in bright, indirect light: Avoid direct sun, which can scorch your new cuttings. A bright windowsill is perfect.
Division
This method is best done in spring as well, when the plant is waking up.
- Gently dig up the plant: Carefully excavate your Seseli plant, trying to keep as much of the root ball intact as possible.
- Examine the root ball: You’ll likely see distinct clumps or crowns growing together.
- Separate the divisions: Using your hands or a clean trowel, gently pull the clumps apart. You want each division to have a good portion of roots and at least one healthy shoot. If roots are tangled, you might need to use a clean knife to separate them.
- Replant immediately: Plant your new divisions into pots filled with your well-draining mix, or directly into your garden if the weather is right. Water them in well.
The “Secret Sauce” (Pro Tips)
Here are a few little tricks I’ve learned over the years that can really make a difference:
- Don’t let the leaves touch the water (for stem cuttings in water): If you opt for water propagation instead of soil, make sure only the stem is submerged. Any leaves sitting in the water will rot and can take your whole cutting down with it. Change the water every few days.
- Bottom heat works wonders: If you’re serious about propagation, investing in a heat mat can significantly speed up root development. Place your pots on top of it. It mimics the warmth of spring soil and encourages those roots to get going. You’ll see much faster results with cuttings, especially.
- Air circulation is key: While humidity is important, stagnant air can lead to fungal issues. Open the plastic bag or dome for a few minutes each day to allow for fresh air to circulate. It’s a delicate balance, but it keeps things healthy.
Aftercare & Troubleshooting
Once you see roots appearing and new growth emerging, you’re well on your way!
- Acclimatization: Gradually re-introduce your cuttings to drier air by slowly opening the plastic bag or dome over a week or two.
- Watering: Water your new plants when the top inch of soil feels dry to the touch. Don’t overwater! This is the most common mistake.
- Transplanting: Once your new plants have a robust root system and are growing well, you can transplant them into larger pots or their permanent garden spots.
- Signs of Trouble: The most common culprit for propagation failure is rot. If your cutting turns mushy, blackens, or wilts dramatically and doesn’t recover, it’s likely rotted due to too much moisture and not enough air circulation. If you see mold on the soil, improve air flow and consider removing the affected area.
Nurturing a new plant from a tiny cutting or a divided clump is a special kind of gardening magic. Be patient with your Seseli buchtormense, and celebrate every little sign of progress. Before you know it, you’ll have a whole garden full of this delicate beauty. Happy propagating!
Resource: