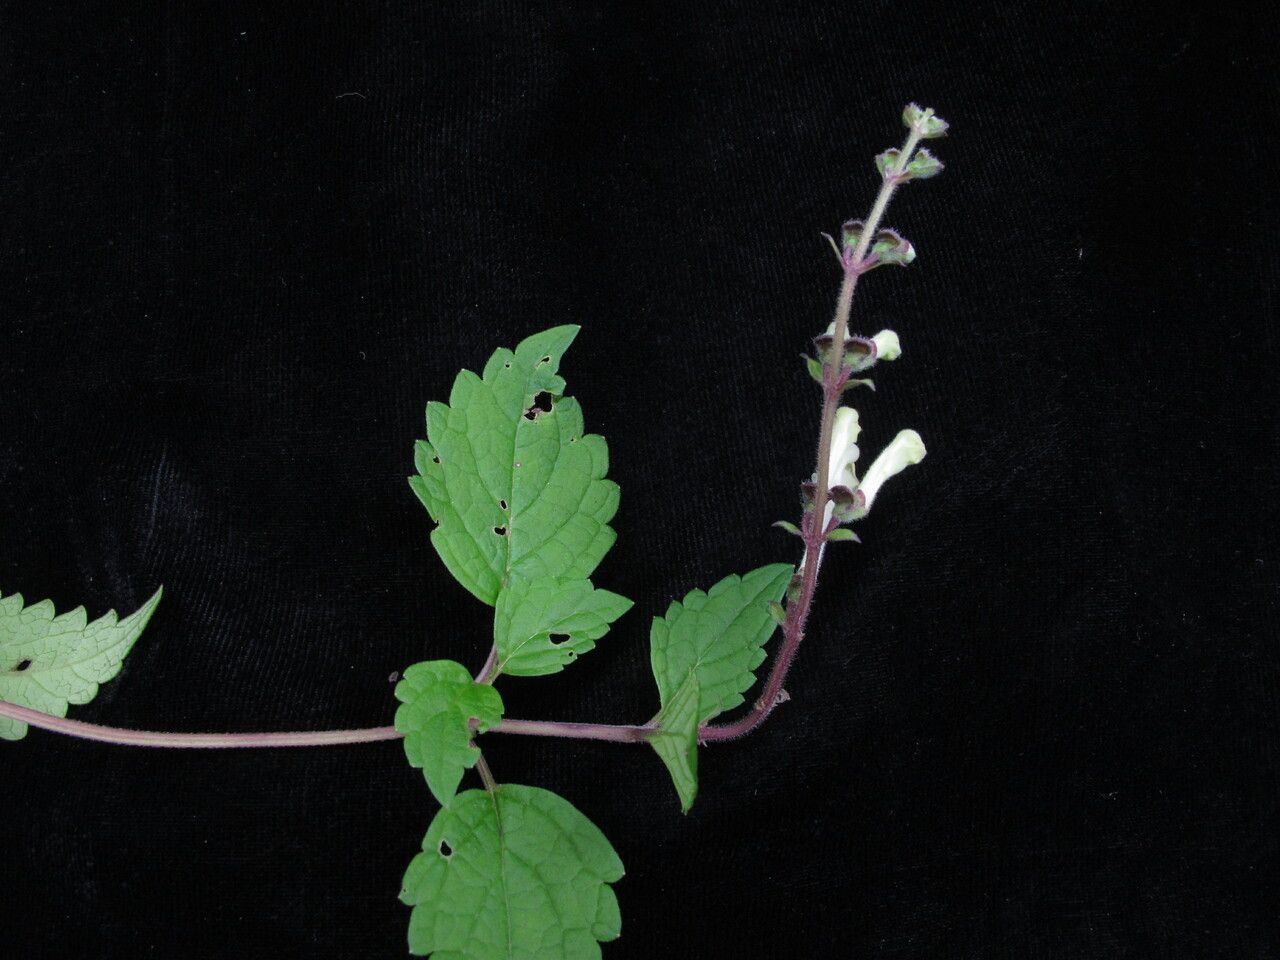
Hello fellow garden enthusiasts! Today, we’re diving into the wonderful world of Scutellaria grossa, often called the “Large-flowered Skullcap.” If you’re looking for a plant that brings a delightful splash of color and a touch of whimsy to your garden, this is it. Its charming, hooded flowers are a magnet for pollinators, and the plant itself has a lovely, mounding habit.
Propagating Scutellaria grossa is incredibly rewarding. There’s a special kind of joy in nurturing a tiny cutting into a full-fledged plant. And I’m happy to say, it’s a fantastic plant for beginners to try their hand at propagation. You’ll likely find it quite forgiving, which is always a bonus when you’re starting out.
The Best Time to Start
For the highest success rate with Scutellaria grossa, spring is your prime time. Aim to take cuttings when the plant is actively growing, after the danger of frost has passed. You want to see fresh, healthy new growth. Waiting until late spring or early summer gives the plant time to establish itself before the peak heat of summer.
Supplies You’ll Need
Here’s what I usually gather before I start:
- Sharp pruning shears or a clean knife: For making clean cuts.
- Rooting hormone (optional but helpful): A good rooting powder or gel can speed things up.
- Potting mix: A light, well-draining mix is crucial. I often use a blend of peat moss, perlite, and a bit of vermiculite. You can also buy specialized seed starting or cutting mixes.
- Small pots or seedling trays: With drainage holes, of course!
- A clear plastic bag or propagation dome: To create a humid environment.
- Watering can or spray bottle: For gentle watering.
- Labels: To keep track of what you’ve planted!
Propagation Methods
Scutellaria grossa is a breeze to propagate from stem cuttings. This is my go-to method for this plant.
- Take Your Cuttings: In the spring, choose healthy, non-flowering stems from your mature Scutellaria. Look for new growth that is about 4-6 inches long. Using your sharp shears, make a clean cut just below a leaf node (where a leaf attaches to the stem).
- Prepare the Cuttings: Gently remove the lower leaves from the cutting, leaving just a few at the top. This prevents them from rotting in the soil. If your cutting has any flower buds, pinch those off too.
- Apply Rooting Hormone (Optional): Dip the cut end of the stem into rooting hormone. Tap off any excess.
- Plant the Cuttings: Fill your small pots or trays with your prepared potting mix. Make a small hole in the center with your finger or a pencil. Insert the cut end of the Scutellaria cutting into the hole, ensuring the leaves at the top aren’t buried. Gently firm the soil around the stem.
- Water Gently: Water the soil thoroughly but gently until water runs out of the drainage holes.
- Create Humidity: Cover the pots or trays with a clear plastic bag or a propagation dome. This keeps the humidity high, which is essential for cuttings to root. You can use stakes to ensure the plastic doesn’t touch the leaves.
- Placement: Place the pots in a warm spot with bright, indirect light. Avoid direct sunlight, as it can scorch the delicate cuttings.
The “Secret Sauce”
Here are a couple of tricks I’ve picked up over the years:
- Bottom Heat is Your Friend: If you have the luxury, placing your pots on a seedling heat mat can significantly speed up the rooting process. It mimics the warmth of the soil in summer and encourages root development from below.
- Don’t Drown Your Cuttings: While humidity is key, soggy soil is the enemy of new cuttings. Make sure your propagation mix is well-draining, and only water when the top inch of soil feels dry. Overwatering is one of the quickest ways to invite rot.
Aftercare & Troubleshooting
Once your Scutellaria cuttings have developed a good root system – which you can gently check by giving a slight tug on the stem and feeling some resistance – it’s time for them to move out of their humid environment. Gradually acclimate them by opening the plastic bag or dome a bit each day for a few days.
Water them as you would any other young plant, keeping the soil consistently moist but not waterlogged. Once they have a sturdy root ball and are showing new growth, you can transplant them into slightly larger individual pots.
The most common sign of failure is rot. If your cuttings turn black and mushy, it’s usually a sign of too much moisture and not enough air circulation. Don’t be discouraged if some don’t make it; it’s part of the learning process!
A Little Patience Goes a Long Way
Propagating plants is a journey, and Scutellaria grossa is a wonderful companion for that journey. Be patient with your new babies, provide them with the right conditions, and before you know it, you’ll have a whole new patch of these delightful blooms to enjoy and share. Happy propagating!
Resource:
https://identify.plantnet.org/k-world-flora/species/Scutellaria%20grossa%20Wall./data