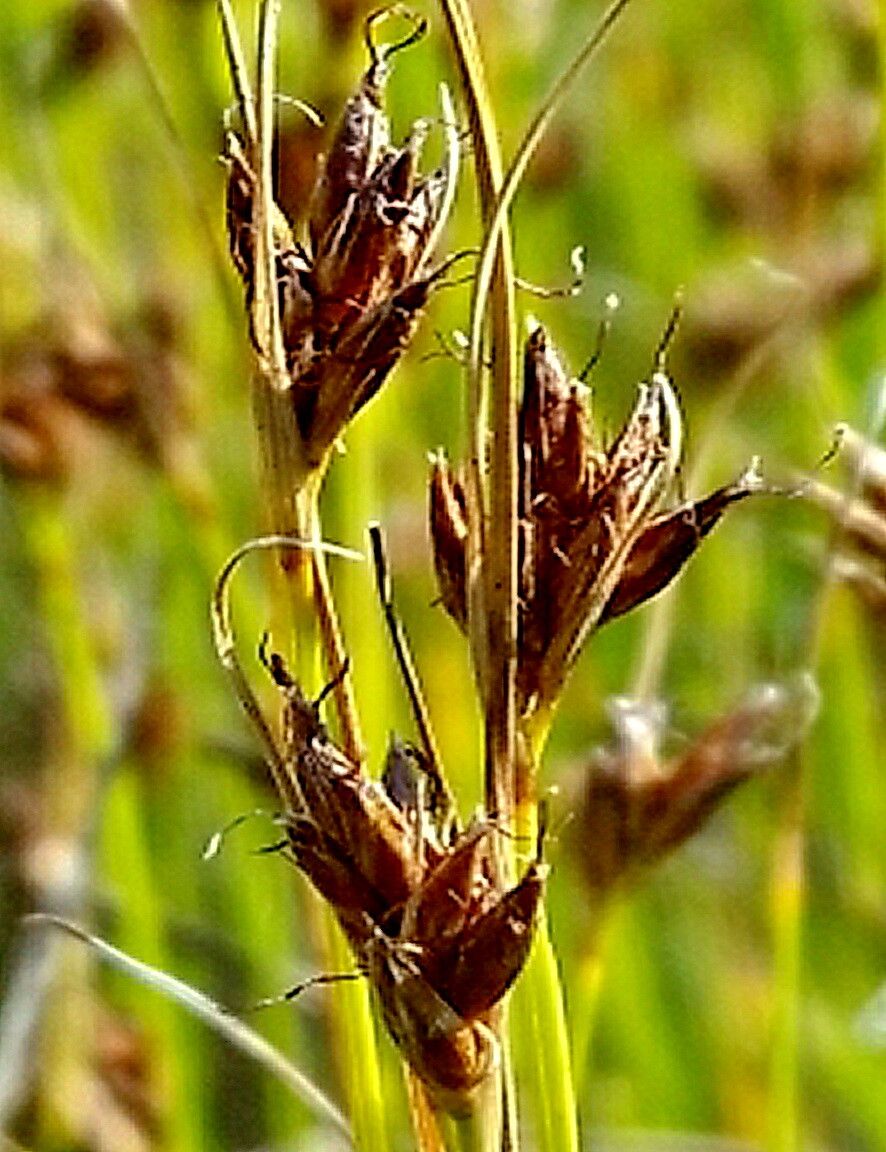
Oh, hello there! Come on in, grab yourself a mug. Let’s chat about Rhynchospora fusca, shall we? I’ve always had a soft spot for this one. Its architectural elegance, with those lovely grass-like leaves and unique flower spikes, just brings a certain kind of understated beauty to the garden. It’s not shouting for attention, but it sure does command it. And propagating it? Well, it’s a bit of a special project, one that gives you a real sense of accomplishment. It’s not the easiest plant for absolute beginners to start with, I’ll be honest, but with a little patience and the right approach, you can absolutely do it.
The Best Time to Start
For Rhynchospora fusca, the sweet spot for propagation is generally in late spring to early summer. This is when the plant is actively growing and has plenty of energy to put into developing new roots. You’ll want to look for healthy, vigorous growth on your mature plant – those firm, new shoots are your best bet.
Supplies You’ll Need
Gathering your tools beforehand makes the whole process so much smoother. Here’s what I typically have on hand:
- Sharp Pruning Shears or a Clean Knife: For making precise cuts. Make sure they are sterilized with rubbing alcohol to prevent disease.
- Well-Draining Potting Mix: I like a blend of perlite, coarse sand, and a bit of peat moss or coco coir. The key is excellent drainage; these plants hate soggy feet.
- Small Pots or Seed Trays: With drainage holes, of course!
- Rooting Hormone (Optional but Recommended): A powdered or gel form can significantly boost success rates.
- Watering Can with a Fine Rose: For gentle watering.
- Clear Plastic Bags or a Propagation Dome: To create a humid microclimate.
- Chopsticks or a Pencil: To make planting holes in the soil.
Propagation Methods
For Rhynchospora fusca, division is usually the most straightforward and successful method. This plant forms clumps, and separating those clumps gently is how we create new individuals.
- Excavate Your Parent Plant: In late spring or early summer, carefully dig up your established Rhynchospora fusca. You can do this by gently loosening the soil around the edges with a trowel and then lifting the entire plant.
- Clean Off Excess Soil: Gently brush or rinse away some of the soil from the root ball. This allows you to see where the individual crowns (the base of the plant where new growth emerges) are connected.
- Identify Healthy Divisions: Look for sections of the plant that have their own root system and at least a couple of healthy shoots or stems.
- Separate the Divisions: This is the crucial step. You can often gently pull the divisions apart with your hands. If they are held together by tougher roots, you might need to use your sterilized knife or pruning shears to carefully cut through them. Be as gentle as possible to minimize root damage.
- Prepare for Planting: Trim away any dead or damaged leaves or roots.
- Pot Up Your New Plants: Fill your small pots with your well-draining potting mix. Make a small hole in the center with a chopstick or your finger.
- Plant the Division: Place the base of the division into the hole, ensuring the roots are spread out. Gently firm the soil around it. The crown of the plant should be at soil level.
- Water Gently: Water thoroughly but gently using your watering can. You want the soil to be moist but not waterlogged.
- Create Humidity: Place the pots inside a clear plastic bag, sealing it loosely, or cover them with a propagation dome. This keeps the humidity high, which is essential as the plant establishes itself.
The “Secret Sauce” (Pro Tips)
Okay, a couple of things I’ve learned over the years that make a real difference:
- Don’t Overcrowd Your Divisions: When you’re separating, resist the urge to get too many small divisions from one plant. It’s better to have a few slightly larger, healthier divisions that have a better chance of survival.
- Consider Bottom Heat: If you have it, placing your pots on a heat mat (kept at a gentle warmth, around 70-75°F or 21-24°C) can really speed up root development. It mimics the warmer soil temperatures of summer.
Aftercare & Troubleshooting
Once your new Rhynchospora fusca divisions are planted, keep them in bright, indirect light. Avoid direct, scorching sun. The key here is to keep the soil consistently moist but never soggy. I usually check the moisture level by feeling the soil an inch or so down. If it feels dry, I water.
The plastic bag or dome should stay on for the first few weeks, or until you see new growth emerging. As new leaves unfurl, you can gradually start to acclimate them to lower humidity by opening the bag a bit more each day.
The biggest sign of trouble you might see is rot. If the leaves turn mushy and brown at the base, or if the whole division collapses, it’s usually a sign of too much moisture and poor air circulation. If you suspect rot, act quickly. You might be able to salvage a healthy part by cutting away the rotted bits and repotting in fresh, dry mix. Keep an eye out for wilting leaves, too – this can sometimes mean it’s too dry, or sometimes it’s a sign of stress from the transplanting process.
A Encouraging Closing
Propagating plants is a journey, and sometimes they throw us a curveball. But with Rhynchospora fusca, the rewards are so worth the effort. Be patient, observe your new plants, and trust your gardener’s intuition. Each success is a little victory, and soon you’ll have more of these beautiful plants to enjoy. Happy propagating!
Resource:
https://identify.plantnet.org/k-world-flora/species/Rhynchospora%20fusca%20(L.)%20W.T.Aiton/data