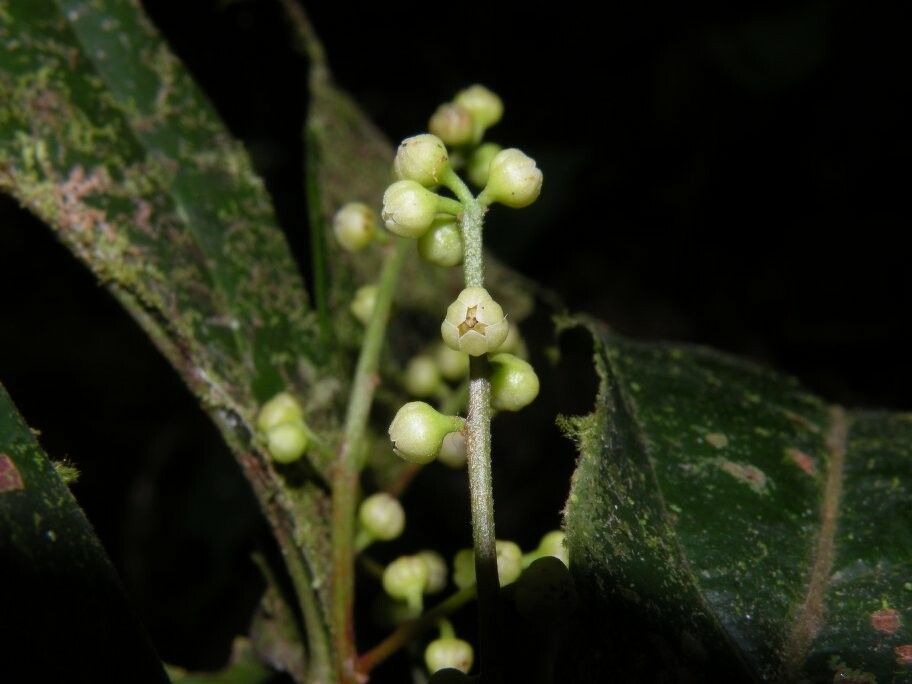
Hello, fellow plant lovers! I’m so excited to chat with you today about a truly special tree: Ocotea bofo. If you’ve ever had the pleasure of encountering this beauty, you know its charm. Its leathery, aromatic leaves and graceful form bring such a sense of calm and lushness to any garden space. And you know what’s even better than admiring one? Growing your own!
Propagating Ocotea bofo is a wonderfully rewarding experience. It’s a chance to connect with nature on a deeper level and, of course, to expand your collection, or share a piece of your green magic with friends. Now, for the honest truth: for absolute beginners, Ocotea bofo can be a bit of a challenge. But don’t let that deter you! With a little patience and the right approach, it’s absolutely achievable. Think of it as a rewarding puzzle waiting to be solved.
The Best Time to Start
My absolute favorite time to begin propagating Ocotea bofo is in late spring to early summer. This is when the plant is in its most vigorous growth phase. You’ll find that the new growth is supple enough to root easily, and the days are getting longer, providing ample light and warmth to encourage root development. Aim for shoots that are somewhat woody but still flexible – not the brand new, soft green tips.
Supplies You’ll Need
Here’s what you should gather before you get your hands dirty:
- Sharp, clean pruning shears or a razor blade: For making clean cuts.
- Rooting hormone powder or gel: This is a game-changer, especially for trickier plants.
- Well-draining potting mix: I like a blend of equal parts perlite and peat moss, or a good quality seed-starting mix.
- Small pots or propagation trays: Clean ones, of course!
- Plastic bags or a propagation dome: To maintain humidity.
- A watering can with a fine rose: For gentle watering.
- Optional: Bottom heat mat: This can significantly speed up rooting.
Propagation Methods
For Ocotea bofo, I’ve found the most success with stem cuttings. It’s straightforward and gives you a great chance of success.
Stem Cuttings:
- Select Your Cuttings: On a healthy, mature Ocotea bofo plant, identify some semi-hardwood stems that are about 4-6 inches long. These are stems that have started to mature a bit but are still somewhat pliable. Make your cut just below a leaf node (where a leaf joins the stem).
- Prepare the Cuttings: Gently remove the lower leaves from the stem, leaving just a few at the top. If the remaining leaves are very large, you can trim them in half to reduce water loss through transpiration.
- Apply Rooting Hormone: Dip the cut end of each stem into your rooting hormone, tapping off any excess. This is a critical step for encouraging robust root growth.
- Plant Your Cuttings: Make a small hole in your potting mix with a pencil or your finger. Insert the prepared cutting into the hole, ensuring the rooting hormone-coated end is in good contact with the soil. Gently firm the soil around the base of the cutting.
- Water Gently: Water the potting mix thoroughly but gently so it’s moist, not waterlogged.
- Create a Humid Environment: Cover the pot or tray with a plastic bag or place it under a propagation dome. This will create a mini-greenhouse effect, keeping the humidity high, which is crucial for cuttings. You can use stakes to keep the plastic from touching the leaves.
The “Secret Sauce” (Pro Tips)
Here are a couple of little tricks I’ve learned over the years that make a real difference:
- Don’t let the leaves touch the water! Whether you’re using rooting hormone or just misting your cuttings, if the leaves sit in water, they’re more likely to rot. Try to keep them elevated.
- Bottom heat is your friend. If you have a propagation mat, place your pots on it. This gentle warmth from below encourages root development much faster than ambient room temperature alone. It really wakes up those dormant root cells!
- Be patient with your humidity dome. Resist the urge to lift the cover too often. You want to maintain that consistently humid environment. Only lift it briefly to check on moisture levels or to air out the cuttings for a few minutes if you see any signs of mold.
Aftercare & Troubleshooting
Once your cuttings have been planted, place them in a bright, indirect light location. Avoid direct sunlight, as this can scorch the delicate cuttings. Keep the potting mix consistently moist but never soggy.
The waiting game! Rooting Ocotea bofo can take anywhere from 4 weeks to a couple of months, so don’t get discouraged if you don’t see immediate results. You can gently tug on a cutting – if there’s resistance, you’ve got roots!
The main thing to watch out for is rot. If you see brown or black, mushy stems, or mold on the soil surface, it’s often a sign of too much moisture or poor air circulation. If you spot this, increase ventilation, remove any affected cuttings immediately, and let the soil dry out slightly before watering again.
A Encouraging Closing
Growing your own plants is a journey of discovery. There will be successes, and there will be lessons learned – that’s all part of the beautiful dance of gardening. Be patient with your Ocotea bofo cuttings. Celebrate each tiny new leaf or the first sign of roots. Enjoy the process of nurturing new life. Happy propagating!
Resource:
https://identify.plantnet.org/k-world-flora/species/Ocotea%20bofo%20Kunth/data