Hello fellow garden lovers! If you’re anything like me, you’ve fallen head-over-heels for the gorgeous, trumpet-shaped blooms of Mandevilla funiformis. Their vibrant colors and tropical flair just scream summer, don’t they? And the best part? You can multiply these beauties yourself! Propagating them is incredibly rewarding, letting you fill your garden, patio, or even share your green-thumb treasures with friends. Now, for a little secret: Mandevillas can be a touch fussy when it comes to propagation, but don’t let that daunt you! With a little patience and the right approach, it’s absolutely achievable.
When Your Mandevilla is Ready to Share
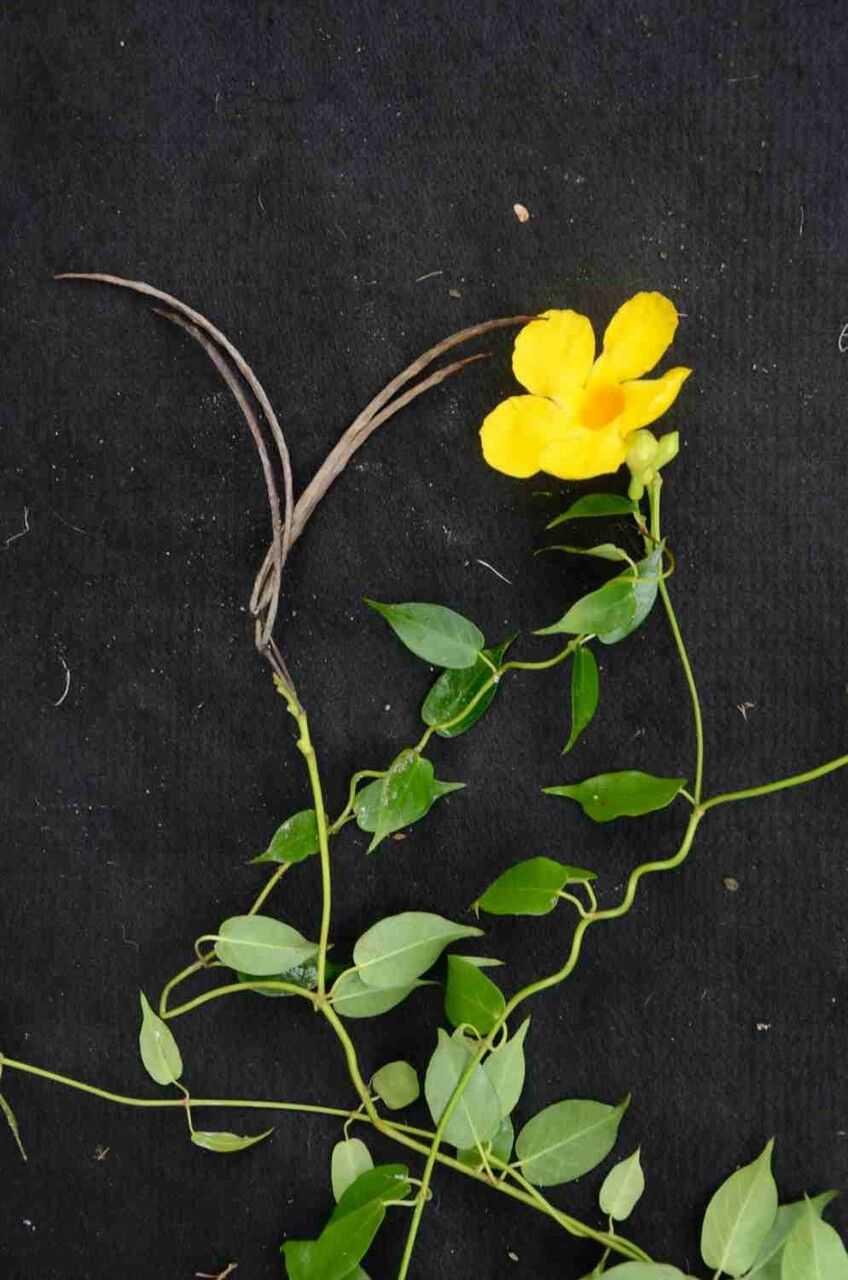
The sweet spot for grabbing cuttings is usually late spring or early summer. This is when your Mandevilla is actively growing and full of energy. Look for healthy, non-flowering stems that are about pencil-thick. You want a stem that’s not too young and soft, but not too old and woody either. That perfect stage is what we call “semi-hardwood.”
Your Propagation Toolkit
Gathering your supplies beforehand makes the whole process so much smoother. Here’s what you’ll want on hand:
- Sharp Pruning Shears or a Craft Knife: Cleanliness is key here.
- Rooting Hormone: This is a little booster rocket for your cuttings.
- Small Pots or Seed Trays: Don’t go too big; we want to encourage root development without them getting waterlogged.
- Well-Draining Potting Mix: A good blend is crucial. I often use a mix of equal parts perlite, peat moss, and a little bit of compost. Or, you can find specialized seed-starting mixes.
- Plastic Bags or a Clear Plastic Dome: To create a humid environment.
- Spray Bottle: For misting.
- Optional: Heat Mat: This is a game-changer for encouraging root growth.
Bringing New Mandevillas to Life
Let’s get our hands dirty! I’ve found the most reliable method for Mandevilla funiformis is stem cuttings.
- Take Your Cuttings: Using your clean shears, snip a healthy, semi-hardwood stem that’s about 4-6 inches long. Make your cut just below a leaf node (that little bump where a leaf grows from the stem).
- Prepare the Cuttings: Gently strip off the lower leaves, leaving just a couple at the top. If the leaves are very large, you can even cut them in half to reduce water loss through transpiration.
- Dip in Rooting Hormone: Dip the cut end of each stem into your rooting hormone, tapping off any excess. This is like giving them a little encouragement to sprout roots.
- Plant Your Cuttings: Moisten your potting mix. Make a small hole with your finger or a pencil and insert the prepared cutting. Gently firm the soil around it.
- Create a Humid Environment: Water the soil lightly. Then, cover the pots with a plastic bag or a clear dome to keep the humidity high. You can prop up the bag with sticks or skewers so it doesn’t touch the leaves.
The “Secret Sauce” from My Garden
Here are a couple of little tricks I’ve picked up over the years that really make a difference:
- Forget Water Propagation (Mostly!): While some plants root beautifully in water, Mandevillas often struggle and can develop rot before they even think about forming roots. Stick to soil from the get-go – it’s a much better environment for them.
- Bottom Heat is Your Best Friend: If you can swing it, placing your pots on a gentle heat mat drastically speeds up the rooting process. Mandevillas love warmth, and a little heat from below mimics their ideal tropical conditions, encouraging those roots to form much faster.
Nurturing Your New Sprouts and What to Watch For
Once your cuttings are planted, place them in a bright spot with indirect sunlight. Avoid harsh, direct sun which can scorch those tender leaves. Keep the soil consistently moist, but not soggy. Think of it like a wrung-out sponge.
You’ll know your cuttings are taking root when you see new leaf growth, usually after 4-8 weeks. By gently tugging on a cutting, you’ll feel resistance if roots have formed. At this point, you can slowly begin to acclimate them to normal humidity by gradually opening the plastic cover over a few days. Once they’re well-rooted and established, you can transplant them into slightly larger pots, still using a well-draining mix.
Common pitfalls? Rot is the big one. If you see your cuttings wilting, turning mushy, or developing black spots, it’s usually a sign of too much moisture and not enough airflow. Don’t be discouraged if a few don’t make it – it happens to the best of us! Just learn from it and try again.
So there you have it! Propagating Mandevilla funiformis is a journey that requires a little faith and a lot of gentle care. Be patient, enjoy the process of nurturing these new little lives, and soon you’ll have a whole collection of these stunning bloomers to enjoy. Happy gardening!
Resource: