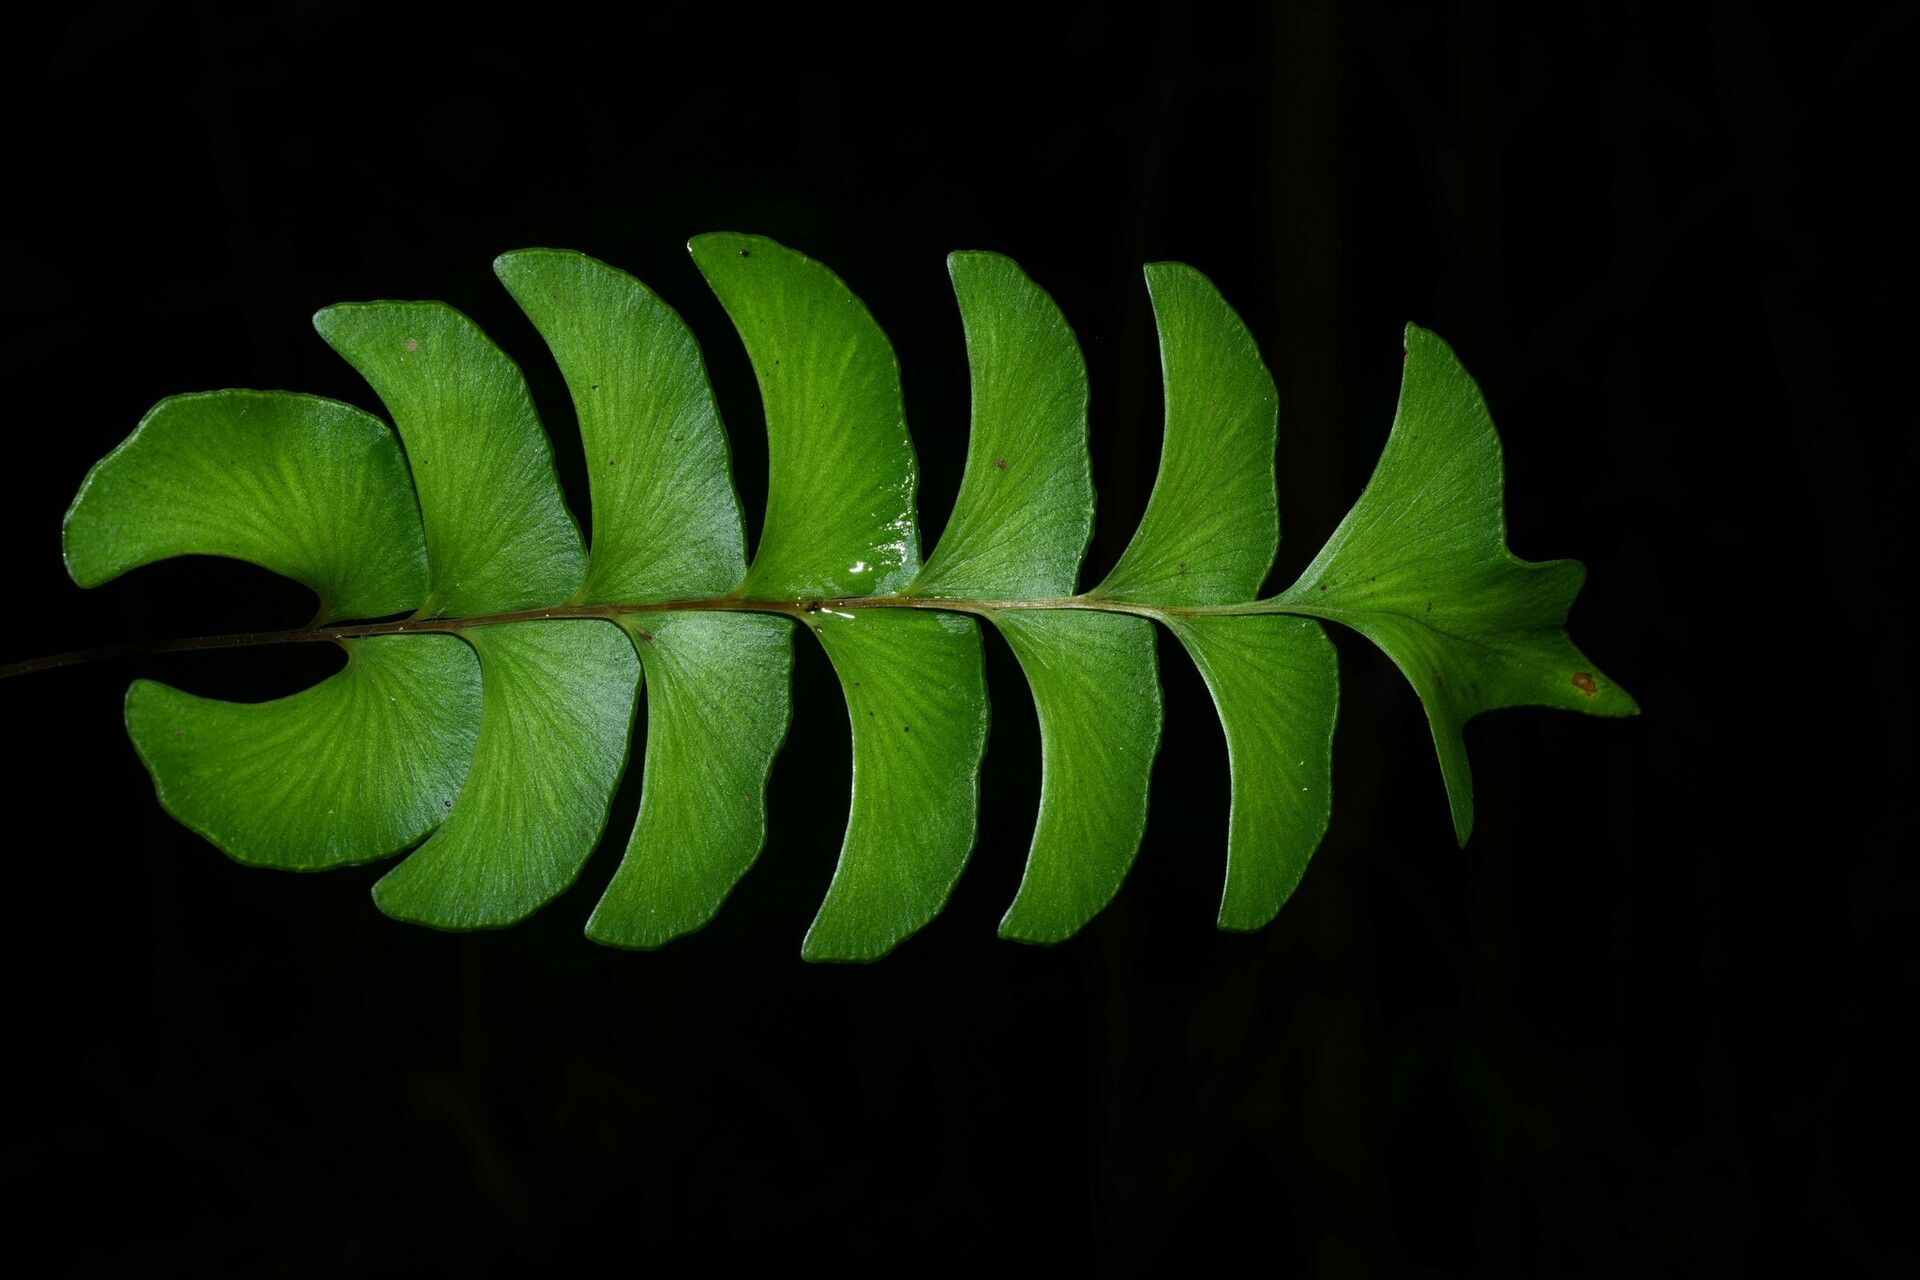
Oh, hello there! It sounds like you’ve fallen for the charm of Lindsaea falcata, that delicate, lacy fern with its elegant fronds just begging to be admired. I completely understand. There’s something so special about growing plants from scratch, and coaxing new life from those beautiful ferns is an incredibly rewarding experience. While Lindsaea falcata might present a gentle curveball for absolute beginners, with a little patience and the right approach, you’ll be well on your way to success.
The Best Time to Start
The absolute sweet spot for propagating Lindsaea falcata is during its active growing season. Think late spring through summer. This is when the plant has the most energy to put into producing new growth and developing strong roots. Trying to propagate when the plant is dormant or stressed is like asking a sleepy cat to run a marathon – it’s just not going to happen!
Supplies You’ll Need
Gathering your tools beforehand makes the whole process much smoother. Here’s what you’ll want to have on hand:
- Sharp, clean pruning shears or a sharp knife: For making clean cuts.
- Small pots or trays: Good drainage is key!
- A well-draining potting mix: I like to use a blend of perlite, coco coir, and bark fines for ferns. You can also find specialized fern potting mixes.
- Rooting hormone (optional but recommended): This can give your cuttings a helpful boost.
- A spray bottle: For misting.
- Plastic bags or a propagator: To maintain humidity around your cuttings.
- Filtered water or rainwater: Ferns can be sensitive to chemicals in tap water.
Propagation Methods
For Lindsaea falcata, division is generally the most reliable and straightforward method. While you might be tempted by stem cuttings, these fussy ferns can be a bit more challenging that way.
Division: Sharing the Love
This method involves carefully separating your existing plant into smaller, viable sections.
- Gently remove the parent plant from its pot. Be as kind as you can to the roots.
- Carefully examine the root ball. Look for natural separations where new fronds are emerging from the main rhizome. You want divisions that have both roots and at least a couple of healthy fronds.
- Using your clean pruning shears or a sharp knife, carefully cut between the divisions. Make sure each new section has its own root system. Don’t stress too much if you tear a few roots; just try to minimize damage.
- Pot up each division into its own small pot filled with your prepared potting mix. Ensure the rhizome (the thick, creeping stem, usually just below the soil surface) is planted at the same depth it was in your original pot.
- Water gently but thoroughly. You want the soil to be moist but not waterlogged.
- Place the newly potted divisions in a humid location. This could be a shaded spot in a greenhouse or under a clear plastic bag or propagator.
The “Secret Sauce” (Pro Tips)
Here are a couple of things I’ve learned over the years that really make a difference with these delicate ferns:
- Humidity is King (and Queen!): Ferns thrive in high humidity. When you’re propagating, especially after division, try to keep the air around the new plants really moist. A plastic bag tent works wonders, but make sure to open it for a few minutes each day to allow for air circulation and prevent mold.
- Avoid Direct Sun Like the Plague: None of my ferns, mature or babies, ever see direct sunlight. Bright, indirect light is their happy place. For your new divisions, think gently filtered, diffused light. Too much sun will scorch those tender new fronds in a heartbeat.
Aftercare & Troubleshooting
Once your divisions are potted, it’s all about creating a stable, humid environment. Keep the soil consistently moist – not soggy, but never allowed to dry out completely. Mist them regularly if you’re not using a humidity tent.
The first few weeks are crucial. You’re looking for signs of new growth emerging from the fronds or rhizome. If you notice fronds turning yellow and mushy, or if you see fuzzy white mold on the soil or plant, it’s a sign of too much moisture or poor air circulation. This is where you’ll need to pull back on watering a bit and ensure good airflow. If a cutting completely collapses, don’t despair! Sometimes we have to try a few times to get it just right.
A Encouraging Closing
Growing Lindsaea falcata from divisions is a beautiful way to expand your collection and share these lovely ferns with friends. Be patient with the process. Nature has its own pace, and sometimes, the slowest growth leads to the strongest plants. Enjoy the journey of watching your new ferns unfurl and thrive! Happy gardening!
Resource:
https://identify.plantnet.org/k-world-flora/species/Lindsaea%20falcata%20Dryand./data