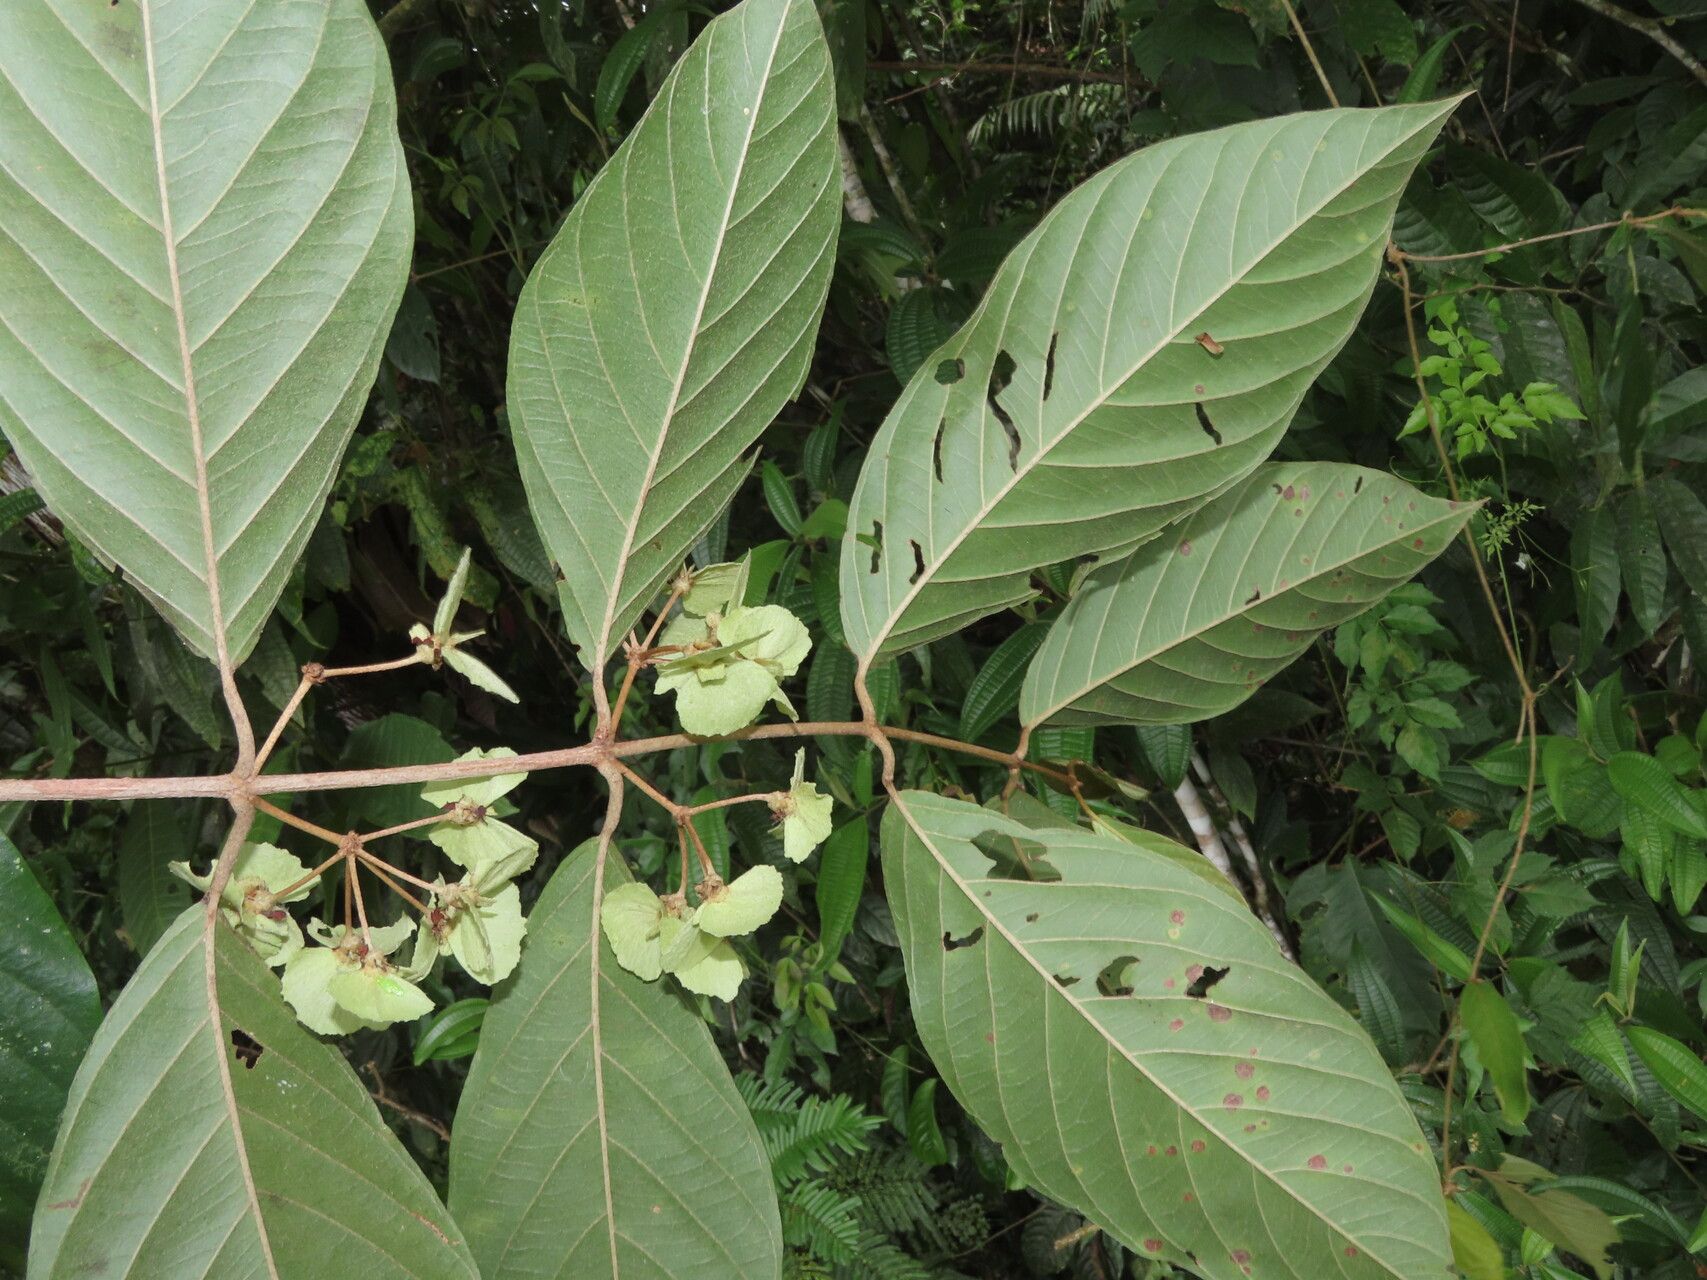
Ah, Hiraea fagifolia! If you’re looking for a plant that brings a unique touch of the tropics into your home, this is it. Its gorgeous, glossy leaves and elegant form are a real showstopper. And the best part? You can easily multiply this beauty to share with friends or fill every sunny nook in your own space. For those of you who might be a tad nervous about plant propagation, I’ll be honest: Hiraea fagifolia can be a little fussy sometimes, but with a bit of patience and a few key tricks, you’ll be amazed at how successful you can be!
The Best Time to Start
When I’m looking to propagate Hiraea fagifolia, I always aim for late spring or early summer. This is when the plant is actively growing, full of energy, and more likely to put out new roots. Waiting until after the initial spring growth spurt is ideal. You want to tap into that powerful growing season!
Supplies You’ll Need
Here’s what I always have on hand for successful propagation:
- Sharp, clean pruning shears or a sharp knife: Cleanliness is paramount to prevent disease.
- A well-draining potting mix: I often use a blend of peat moss, perlite, and a little orchid bark. This gives great aeration.
- Small pots or seed trays: Clean ones, please!
- Rooting hormone (optional but recommended): This can give cuttings a helpful boost.
- A clear plastic bag or a humidity dome: To create a mini greenhouse effect.
- A spray bottle: For Misting.
- A heat mat (optional but very helpful): Especially if your house is on the cooler side.
Propagation Methods
There are a couple of ways to go about this, but my go-to for Hiraea fagifolia is stem cuttings.
Stem Cuttings:
- Select A Healthy Stem: Look for a mature, healthy stem that has at least two or three leaf nodes. A node is where a leaf grows from the stem. These are crucial for root development.
- Make the Cut: Using your sharp, clean shears or knife, make a cut just below a leaf node. Aim for a cutting that’s about 4-6 inches long.
- Prepare the Cutting: Gently remove the lower leaves, leaving just one or two at the very top. This prevents them from rotting in the soil. If the remaining leaves are very large, I sometimes like to cut them in half horizontally to reduce water loss.
- Apply Rooting Hormone (Optional): Dip the cut end of the stem into your rooting hormone. Tap off any excess.
- Plant the Cutting: Fill your small pot with your pre-moistened potting mix. Make a small hole with your finger or a pencil and gently insert the cutting, ensuring the leaf nodes are buried in the soil. Firm the soil gently around the base of the cutting.
- Water Gently: Water lightly to settle the soil.
- Create a Humid Environment: Place the pot inside a clear plastic bag, sealing it loosely, or cover it with a humidity dome. This traps moisture, which is essential for the cutting to develop roots before it can take up water from the soil.
- Provide Light and Warmth: Place the pot in a bright spot but out of direct sunlight. Too much sun can scorch the delicate cuttings. If you have a heat mat, place the pot on top of it to provide gentle bottom warmth.
The “Secret Sauce”
Here are a couple of things I’ve learned over the years that really make a difference:
- Don’t let those leaves touch the soil! If you’ve got lower leaves, remove them. Anything touching the potting mix has a much higher chance of developing fungal issues and rotting before roots even have a chance to form.
- Bottom heat is your friend. Hiraea fagifolia absolutely loves a bit of warmth from below. It mimics the tropical environment it thrives in and really encourages root development. Even a simple heat mat can speed things up significantly and increase your success rate.
Aftercare & Troubleshooting
Once you’ve got your cuttings planted, the waiting game begins! Keep the humidity high by misting occasionally if you’re using a bag, or just leave the dome on. Check the soil moisture regularly, but don’t let it become waterlogged. You want it to be consistently moist but not soggy.
You’ll know your cutting has rooted when you see new leaf growth, or if you gently tug on the cutting and feel a bit of resistance. This usually takes anywhere from 4-8 weeks, sometimes longer.
The most common problem is rot. If you see your cutting turning yellow and mushy, or developing dark, soft spots, it’s likely succumbing to too much moisture or a lack of air circulation. Remove it immediately and check your watering habits.
A Encouraging Closing
Propagating plants can feel like a bit of nature’s magic, and with Hiraea fagifolia, you get to witness it firsthand! Don’t get discouraged if your first few attempts aren’t perfect. Every plant you nurture from a cutting is a little victory worth celebrating. Be patient, keep it warm and humid, and enjoy the incredibly rewarding process of bringing new life into your garden. Happy propagating!
Resource:
https://identify.plantnet.org/k-world-flora/species/Hiraea%20fagifolia%20(DC.)%20A.Juss./data