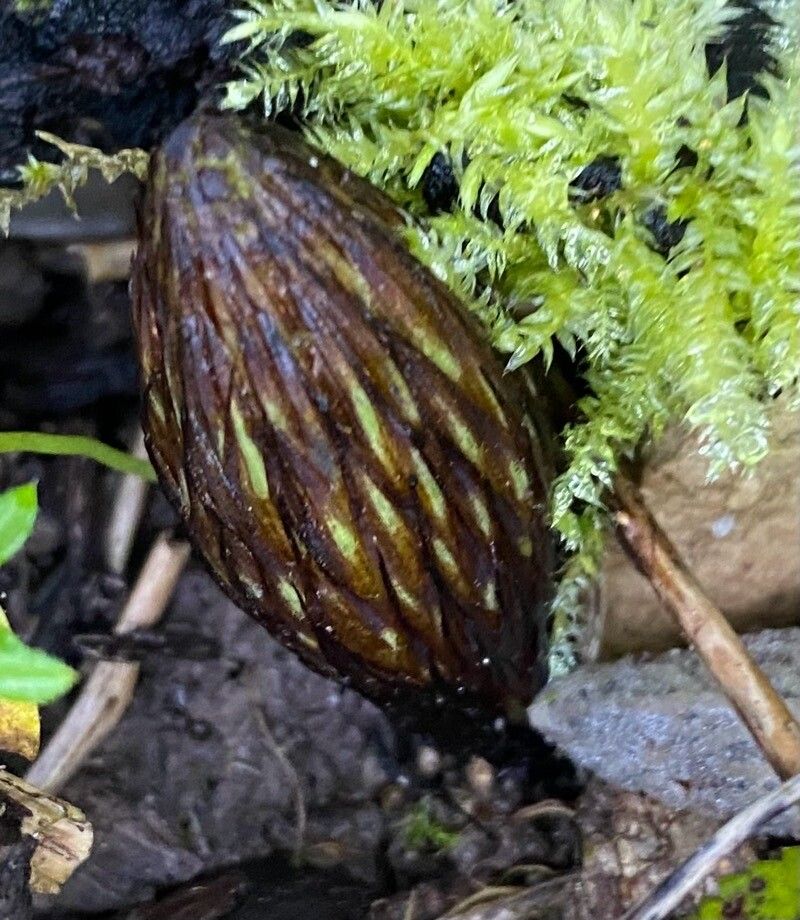
Oh, Hachettea austrocaledonica! My dear readers, if you’re looking for a plant that brings a touch of the exotic and a whisper of the tropics into your home, you’ve found a winner. These striking beauties, with their architectural form and often vibrant foliage, are a joy to behold. And the best part? They’re quite generous with their offspring! Propagating them isn’t just about getting more plants; it’s about the satisfaction of coaxing new life from a beloved parent. For the beginner, I’d say Hachettea falls into the “rewardingly achievable” category. A little care and attention go a long way.
The Best Time to Start
Generally, spring is your golden ticket for propagating Hachettea. This is when the plant is bursting with energy, ready to grow and unfurl. You’ll find it’s much more receptive to taking root during its active growing season. Look for healthy, active growth on your parent plant – no droopy or stressed stems allowed!
Supplies You’ll Need
Here’s what you’ll want to gather before you get your hands dirty:
- Sharp, clean pruning shears or a sterile knife: This is crucial for making clean cuts that heal well.
- Well-draining potting mix: I like a blend of peat moss, perlite, and a bit of compost.
- Small pots or propagation trays: Enough to house your new plant babies!
- Rooting hormone (optional but recommended): This can give your cuttings a little boost.
- A clear plastic bag or propagation dome: To create a humid microclimate.
- Water: For watering and, if you choose, for water propagation.
- Spray bottle: For misting.
Propagation Methods
My favorite ways to get more Hachettea are through stem cuttings and water propagation. Division is also an option, but cuttings often give you more bang for your buck.
Stem Cuttings
- Select your cutting: Choose a healthy stem that’s actively growing. Aim for a piece that’s about 4-6 inches long and has at least two to three sets of leaves.
- Make the cut: Using your sharp shears, make a clean cut just below a leaf node (where a leaf attaches to the stem). This is where roots are most likely to form.
- Prepare the cutting: Gently remove the lower leaves, leaving just a couple at the top. This prevents them from rotting when buried or submerged.
- Apply rooting hormone (optional): Dip the cut end into your rooting hormone powder, tapping off any excess.
- Plant the cutting: Fill your small pot with your well-draining potting mix. Make a hole in the center with your finger or a pencil, and insert the cutting. Firm the soil gently around it.
- Water lightly: Give the soil a gentle watering. You want it moist, not waterlogged.
- Create humidity: Place the potted cutting inside a clear plastic bag or cover it with a propagation dome. This traps humidity, which is vital for cuttings to root.
Water Propagation
- Select and prepare your cutting: Follow steps 1-3 from the stem cuttings method.
- Place in water: Put the prepared cutting into a clean glass jar or vase filled with water.
- Positioning is key: Make sure no leaves are submerged in the water. They will rot and can take down your promising cutting with them.
- Find a good spot: Place the jar in bright, indirect light.
- Change the water: Refresh the water every few days to keep it clean and oxygenated. You’ll start to see tiny white roots emerging in a few weeks. Once the roots are an inch or so long, you can transplant them into soil, following step 5 and 6 from the stem cuttings method.
The “Secret Sauce” (Pro Tips)
- The magic of bottom heat: If you can, use a heat mat under your propagation trays or pots. This gentle warmth from below mimics a spring soil temperature and can significantly speed up root development. Honestly, it’s a game-changer!
- Don’t be afraid to prune first: Sometimes, the parent plant might have a few too many long, leggy stems. Clean these up before you even think about taking cuttings. It encourages the parent plant to bush out and gives you prime material to work with.
- The “bend test” for readiness: When you think your cutting might be rooted, gently tug on it. If you feel resistance, congratulations – you have roots! If it slides out easily, it’s not ready yet.
Aftercare & Troubleshooting
Once you see roots forming (either in the soil or in water), your work isn’t quite done!
- Acclimatize: If you used a plastic bag or dome, start by gradually opening it up over a few days. This helps the new plant adjust to lower humidity.
- Watering consistency: Keep the soil consistently moist, but never soggy. Overwatering is the quickest route to root rot, which looks like mushy, black stems. Brown, crispy leaves can mean it’s too dry.
- Light matters: Continue to provide bright, indirect light. Avoid harsh, direct sun, especially for young cuttings, as it can scorch their delicate new growth.
- Potting up: Once the roots are well-established and you see new growth, you can carefully move your baby Hachettea into a slightly larger pot.
A Warm Encouragement
Growing new plants from cuttings is one of the most rewarding experiences in gardening. It’s a testament to nature’s resilience and your own nurturing spirit. Be patient, my friend. Some cuttings will take off like a rocket, and others might take a little longer. Don’t get discouraged if one or two don’t make it; that’s all part of the learning curve. Just keep trying, enjoy the process, and soon you’ll have a small jungle of your own Hachettea! Happy growing!
Resource:
https://identify.plantnet.org/k-world-flora/species/Hachettea%20austrocaledonica%20Baill./data