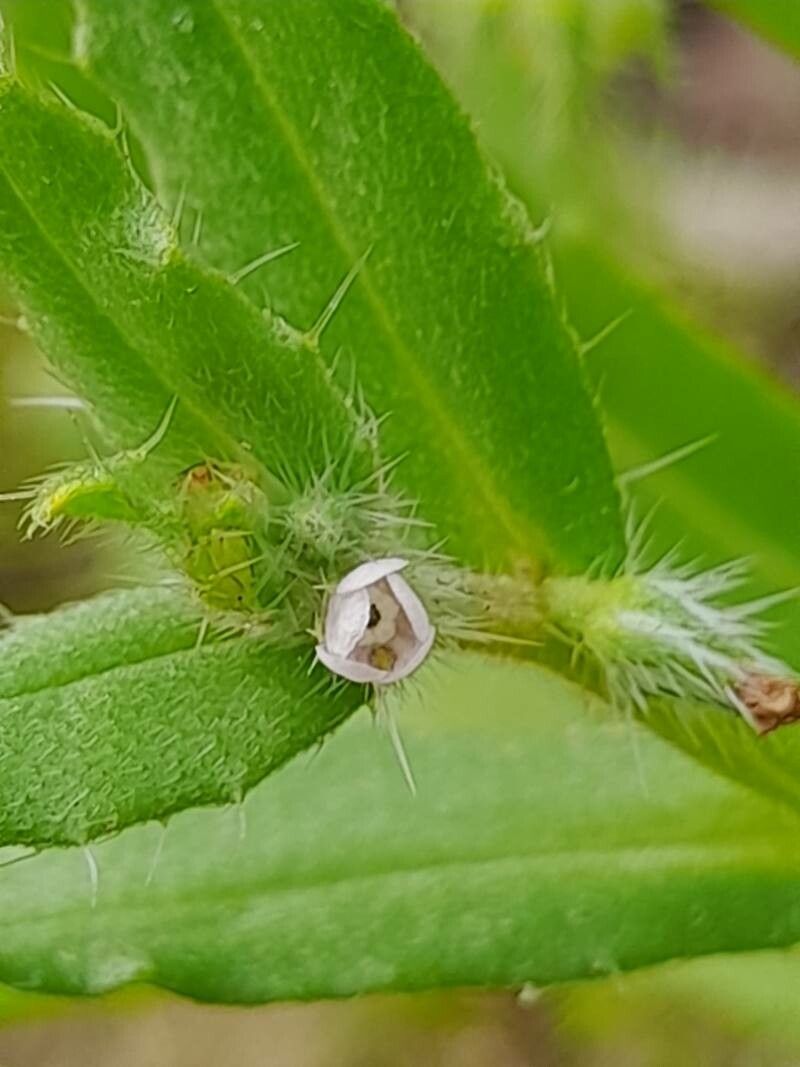
Oh, hello! Come on in, grab a cup of something warm. We’re going to talk about a real gem today: Gastrocotyle hispida. Have you seen these beauties? They have these wonderfully fuzzy, textured leaves that just beg to be touched, and they often put on a delicate show of tiny flowers. I’ve been growing them for years, and honestly, the satisfaction of multiplying them from just a snippet is a feeling that never gets old. It’s not the absolute easiest plant to start with for a complete beginner, but with a little attention, you’ll be a pro in no time.
The Best Time to Start
For Gastrocotyle hispida, I find the spring and early summer are your golden ticket. That’s when the plant is really enthusiastic about growing, meaning your cuttings will have all the energy they need to get established. Aim for when the plant is actively producing new shoots – those are usually the most vigorous and eager to root.
Supplies You’ll Need
Here’s what I usually gather before I get started:
- A good quality seed-starting mix or a blend of perlite and peat moss (roughly 50/50). This provides excellent drainage, which is crucial.
- Clean, sharp pruning shears or a knife. We want nice, clean cuts to prevent disease.
- Rooting hormone (powder or gel). This isn’t always necessary for Gastrocotyle hispida, but it can give your cuttings a real boost.
- Small pots or trays. Yogurt cups with drainage holes work just fine!
- A spray bottle filled with water.
- A clear plastic bag or a propagation dome. This helps create that humid environment cuttings love.
Propagation Methods
I find that stem cuttings are the most reliable way to go with Gastrocotyle hispida. Let me walk you through it.
-
Take Your Cuttings: Look for healthy, non-flowering stems. You want to cut a piece that’s about 3-4 inches long. Make your cut just below a leaf node (where the leaves attach to the stem). This is where the magic happens for root development. Remove the lower leaves, leaving only a few at the top. This reduces water loss and prevents leaves from rotting once planted.
-
Dip in Rooting Hormone (Optional but Recommended): If you’re using rooting hormone, dip the cut end of the stem into the powder or gel. Tap off any excess.
-
Plant Your Cuttings: Fill your chosen pots with your damp (not soggy!) potting mix. Make a small hole with your finger or a pencil and gently insert the cut end of the stem. Firm the soil gently around it.
-
Create a Humid Environment: Water your cuttings lightly after planting, just enough to settle the soil. Then, place the pots inside a clear plastic bag or cover them with a propagation dome. Make sure the leaves aren’t touching the plastic if possible.
-
Provide Light and Warmth: Place the potted cuttings in a bright location but out of direct sunlight. The warmth from the soil is also important, so a slightly warmer spot, perhaps on top of the refrigerator or near a gentle heat mat, can be beneficial.
The “Secret Sauce” (Pro Tips)
Here are a couple of things I’ve learned that make a real difference:
- Don’t Drench, Just Dampen: When you water your cuttings initially, and for the first few weeks, err on the side of under-watering rather than over-watering. Soggy soil is the quickest way to invite rot. The humidity from the plastic cover will do most of the work keeping the leaves hydrated.
- Patience with the “Wiggle Test”: Resist the urge to tug on your cuttings to see if they have roots. Instead, wait until you see new leaf growth. That’s the most reliable sign that roots have formed. Some plants can take a few weeks, while others might take a couple of months. Trust the process!
Aftercare & Troubleshooting
Once you see those little roots starting to snuggle in (usually indicated by new growth), it’s time to start gradually introducing them to slightly less humid conditions. Open the plastic bag or dome a little each day for a week or so to acclimate them. Eventually, you can remove the cover completely. Continue to keep the soil lightly moist, and they’ll slowly grow into their own little plants.
The most common issue you’ll encounter is rot. If you see a cutting turn black or mushy, it’s a sign of too much moisture and not enough air circulation. Sadly, if rot sets in, it’s usually best to discard that cutting. Make sure your soil isn’t waterlogged, and that your pots have good drainage.
A Encouraging Closing
So there you have it! Propagating Gastrocotyle hispida is a wonderfully rewarding journey. Be patient with yourself and your new little plants. Gardening is all about observation and learning, and the joy of watching a tiny cutting transform into a full, beautiful plant is simply unbeatable. Happy propagating!
Resource:
https://identify.plantnet.org/k-world-flora/species/Gastrocotyle%20hispida%20(Forssk.)%20Bunge/data