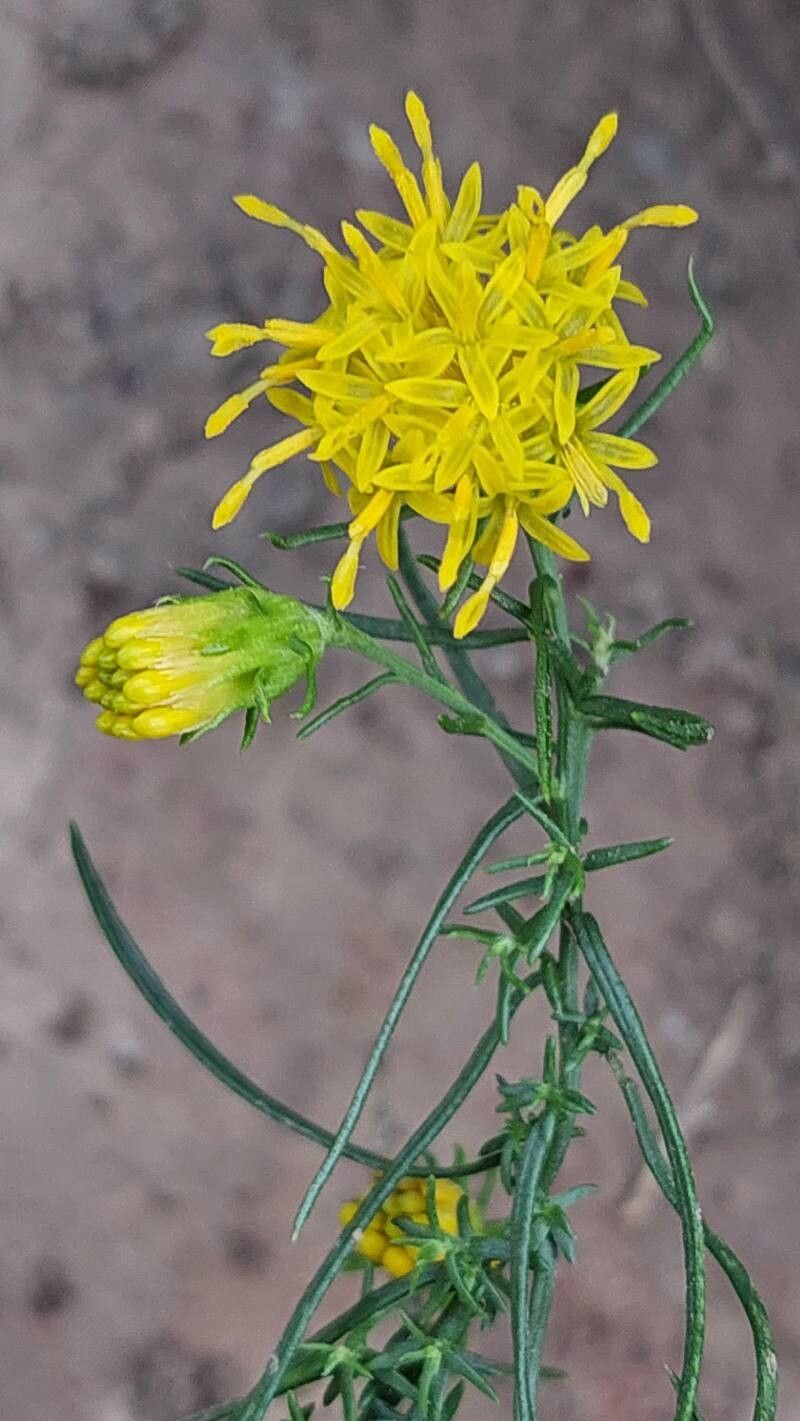
Hello fellow garden enthusiasts! I’m so excited to chat with you today about a truly delightful plant: Galatella linosyris, also known as Yellow Aster or Golden Aster. If you adore those airy plumes of sunshine-yellow blooms that dance in the late summer and fall garden, you’re in for a treat. Propagating this beauty is a fantastic way to fill your garden with more of its cheerful presence, and honestly, it’s not as daunting as you might think. While it’s not the absolute easiest plant for a first-time propagator, with a little guidance, even beginners can achieve success.
The Best Time to Start
For Galatella linosyris, the prime time to get your propagation efforts underway is late spring or early summer. This is when the plant is in active growth, meaning those stems are full of energy and ready to root. Waiting until after the plant has finished its main flush of growth but before it gets too woody is key. You want pliable, young stems, not old, tough woody bits.
Supplies You’ll Need
Gathering your supplies beforehand makes the whole process much smoother. Here’s a little checklist to get you started:
- Sharp Pruning Shears or a Craft Knife: Cleanliness is crucial for preventing disease.
- Seed Starting Mix or a Fine, Well-Draining Potting Mix: I like to add a bit of perlite to my regular potting mix for extra drainage.
- Small Pots or Trays: Clean, shallow containers work best.
- Rooting Hormone (Optional but Recommended): This can give your cuttings a helpful boost.
- Plastic Bags or a Propagation Dome: To create a humid environment.
- Watering Can with a Fine Rose or a Spray Bottle: For gentle watering.
- Labels: Don’t forget to label your pots!
Propagation Methods
Galatella linosyris is wonderfully responsive to stem cuttings. It’s my go-to method for this plant, and I find it incredibly rewarding.
Taking Stem Cuttings:
- Select Your Cuttings: On a healthy, actively growing Galatella, look for softwood or semi-hardwood stems. These are usually the new shoots from the current year. They should be bendy but not floppy. Aim for cuttings that are about 4-6 inches long.
- Make the Cut: Using your clean pruning shears or craft knife, make a clean cut just below a leaf node (the point where a leaf attaches to the stem). This is where roots are most likely to form.
- Prepare the Cuttings: Gently remove the lower leaves, leaving just a couple of pairs of leaves at the very top. If the remaining leaves are very large, you can even cut them in half to reduce water loss.
- Apply Rooting Hormone (If Using): Dip the cut end of each stem into a small amount of rooting hormone powder. Tap off any excess.
- Plant the Cuttings: Fill your small pots or trays with your prepared, moistened rooting medium. Make a small hole with a pencil or your finger.
- Insert and Water: Carefully insert the cut end of each cutting into the hole, ensuring the leaf nodes are buried. Gently firm the soil around the base of the cutting. Water thoroughly but gently to settle the soil.
Water Propagation (Less Common, but Possible):
While stem cuttings in soil are my preference for Galatella, you can try water propagation.
- Prepare Cuttings: Follow steps 1-3 above.
- Place in Water: Place the cuttings in a glass or jar of clean water. Make sure the leaf nodes are submerged, but importantly, do not let the leaves themselves touch the water. This can lead to rot.
- Change Water Regularly: Change the water every few days to keep it fresh and prevent bacterial growth.
- Monitor for Roots: Roots should start to appear within a few weeks. Once they are about an inch long, you can carefully transplant them into pots with soil.
The “Secret Sauce” (Pro Tips)
After years of getting my hands dirty, I’ve picked up a few tricks that I swear by:
- Bottom Heat is Your Best Friend: Galatella cuttings love a bit of warmth from below. Placing your pots on a heated propagator mat can significantly speed up root development and increase your success rate. It mimics the warm soil they’d naturally root into.
- Don’t Overcrowd: Give your cuttings enough space in their pots. Cramming too many together increases the risk of fungal diseases spreading if one goes bad. A little breathing room goes a long way.
- Mist, Don’t Drench: While humidity is crucial, constantly soaking the leaves can encourage rot. Gentle misting with a spray bottle, especially in the morning, can keep the foliage hydrated without waterlogging the soil or the leaves themselves.
Aftercare & Troubleshooting
Once you see signs of new growth (tiny leaves unfurling or a gentle tug that feels like resistance), it’s a good sign roots are forming!
- Gradual Acclimatization: Don’t immediately rip off the plastic covering. Gradually increase ventilation over a week or two by opening the bag or propagation dome vents a little more each day. This helps the new plant adjust to normal humidity levels.
- Watering: Continue to water gently when the top inch of soil feels dry. Avoid overwatering, which is the quickest way to invite root rot.
- Transplanting: Once the young plants are robust enough to handle, you can transplant them into individual pots. Use a good quality, well-draining potting mix.
- Troubleshooting Rot: The most common issue you might face is rot. If you see stems turning black and mushy, or the leaves wilting despite moist soil, it’s likely rot. Remove affected cuttings immediately to prevent it from spreading. Ensure good air circulation and avoid overwatering. Sometimes, it’s just a matter of bad luck, and you might need to take more cuttings.
A Encouraging Closing
Propagating Galatella linosyris is a wonderful journey, and watching those tiny cuttings transform into new plants is incredibly rewarding. Be patient with the process; sometimes they take their sweet time. Don’t be discouraged if not every cutting makes it – that’s just part of gardening! Enjoy the learning, savor the small victories, and soon you’ll be surrounded by even more of this garden gem’s cheerful, sunny blooms. Happy propagating!
Resource:
https://identify.plantnet.org/k-world-flora/species/Galatella%20linosyris%20(L.)%20Rchb.f./data