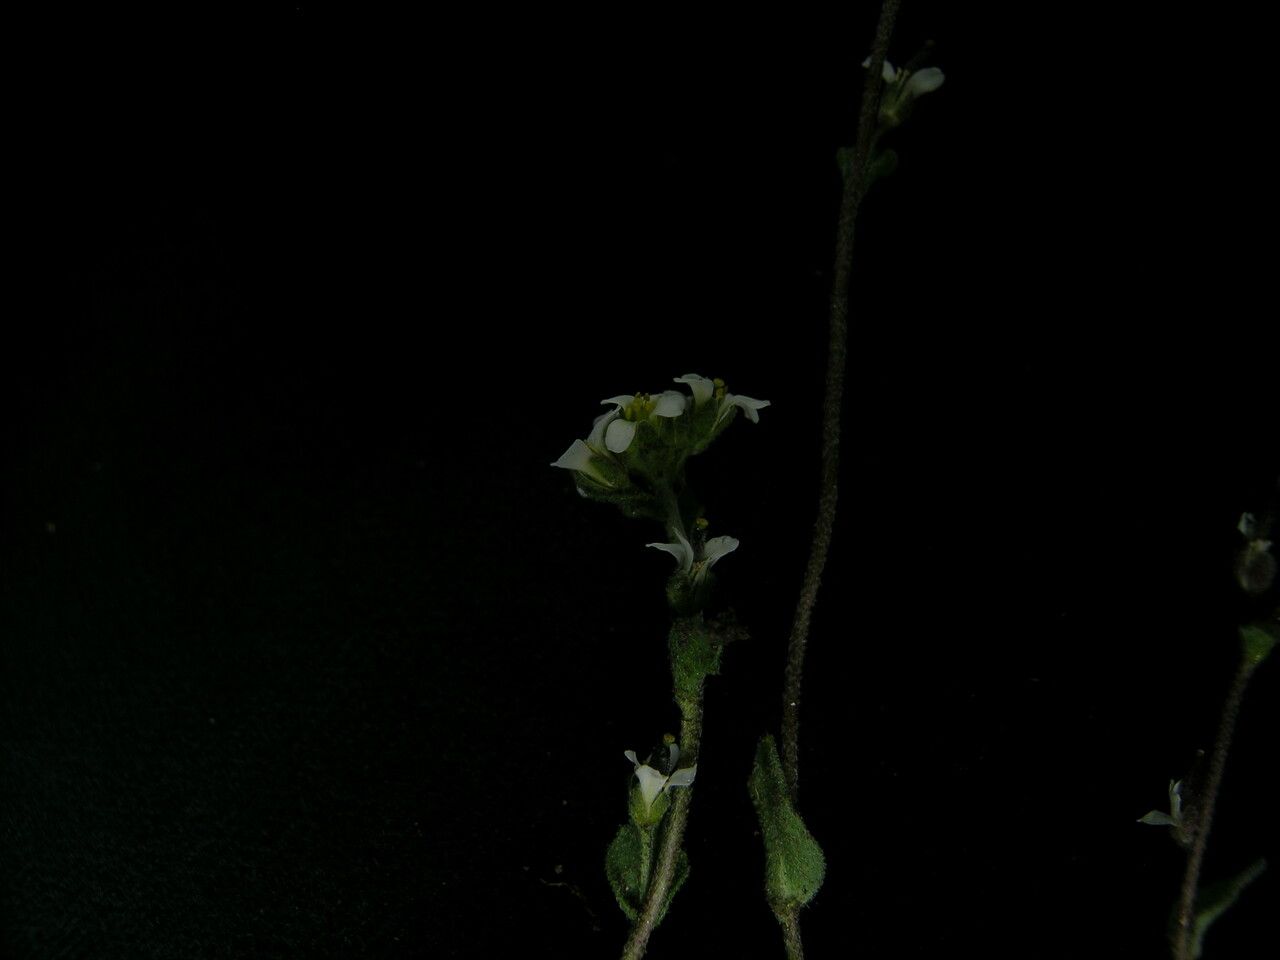
Oh, hello there! I’m so glad you’ve stopped by. Today, we’re going to talk about a real gem for the rock garden and beyond: Draba stenobotrys. If you’ve ever seen its delicate, often fragrant, tiny white flowers blanketing a rocky outcrop, you know what a treat it is. Propagating this little beauty for yourself is incredibly rewarding. It’s not the absolute easiest plant for a complete beginner, but with a little attention and care, you’ll be brimming with new Draba babies before you know it.
The Best Time to Start
For Draba stenobotrys, the sweet spot for propagation is usually late spring to early summer. This is when the plant is actively growing after flowering, and the stem cuttings are firm but not yet woody. You want to catch them at a stage where they have plenty of energy to put into root development. Wait until after your last frost, of course!
Supplies You’ll Need
Gathering your supplies beforehand makes this whole process so much smoother. Here’s what I usually have on hand:
- Sharp, clean pruning shears or a sharp knife: For making clean cuts.
- Small pots or trays: About 3-4 inches is good. Make sure they have drainage holes!
- A well-draining potting mix: I often use a mix of perlite, coarse sand, and a bit of peat moss or coco coir. You can also buy specialized cactus/succulent mixes. The key is excellent drainage.
- Rooting hormone (optional but recommended): This powder or gel can give your cuttings a nice boost.
- A spray bottle: For misting.
- A clear plastic bag or dome: To create a humid environment.
- Labels: For keeping track of what you’ve planted.
Propagation Methods
Draba stenobotrys is quite amenable to stem cuttings. This is generally the most successful and straightforward method for this plant.
- Take Your Cuttings: With your clean shears, select healthy, non-flowering stems. Look for stems that have grown this season but are starting to firm up a little. Aim for cuttings that are 3-5 inches long. Cut just below a leaf node (where the leaves attach to the stem).
- Prepare the Cuttings: Gently remove the lower leaves from the cutting. This is important because any leaves buried in the soil will just rot and can take your cutting down with them. If the remaining leaves are very large, you can also trim them in half to reduce water loss.
- Apply Rooting Hormone (Optional): Dip the cut end of the stem into your rooting hormone, tapping off any excess. This little step can really help encourage root formation.
- Pot Them Up: Fill your small pots with your prepared, well-draining mix. Make a small hole in the center of the soil with your finger or a pencil. Insert the cut end of the stem cutting into the hole about an inch deep. Gently firm the soil around it.
- Create Humidity: Water the soil lightly until it’s evenly moist but not waterlogged. Then, place the pots into a clear plastic bag, tying it loosely at the top, or cover them with a clear plastic dome. This creates a mini-greenhouse effect, keeping humidity high, which cuttings love.
The “Secret Sauce” (Pro Tips)
Here are a couple of little tricks I’ve learned over the years that make a big difference.
- Don’t Let Leaves Touch Water: If you happen to be experimenting with water propagation, a common beginner mistake is letting the leaves sit in the water. This will lead to mushy, rotting leaves and no roots. Only the stem should be submerged. Honestly though, for Draba, I find soil propagation far more reliable.
- Bottom Heat is Your Friend: A gentle warmth from below can significantly speed up root development, especially if your weather is a bit on the cooler side. A heated propagation mat placed under your pots can work wonders. Don’t go too hot, just a gentle warmth, around 70-75°F (21-24°C) is ideal.
Aftercare & Troubleshooting
Once your cuttings are potted, find a bright spot for them, but avoid direct, harsh sunlight initially. A bright, indirect light is perfect. Keep the soil consistently moist but never soggy. You can gently mist the leaves every few days, especially if you don’t have a dome or bag.
The real magic happens below the surface, and it takes time! You’re looking for signs of new leaf growth at the tip of the stem, or you might feel a slight tug when you gently test the cutting. This usually takes 3-6 weeks.
Now, what if things go wrong? The most common culprit is rot, which looks like a mushy, black stem. This is usually caused by overwatering and poor drainage. If you see this, unfortunately, that cutting is likely lost. Remove it immediately to prevent it from affecting others. The good news is, if a few fail, you can always try again!
A Encouraging Closing
Propagating plants is a journey, my friends. It’s about patience, observation, and a bit of hope. Don’t be discouraged if your first few attempts aren’t perfect. Each time you try, you learn a little more. So go ahead, gather your supplies, take those cuttings, and enjoy the process of nurturing new life. Happy gardening!
Resource:
https://identify.plantnet.org/k-world-flora/species/Draba%20stenobotrys%20Gilg%20&%20O.E.Schulz/data