Hey there, fellow plant lovers! It’s so wonderful to connect with you. Today, we’re diving into the fascinating world of Deuterocohnia brevifolia, a plant that truly captures my heart with its striking architectural form and its surprising resilience. Honestly, seeing a new little plant sprout from a piece of its parent is one of gardening’s greatest joys, and I’m thrilled to guide you through propagating this beauty.
Why Propagate Deuterocohnia brevifolia?
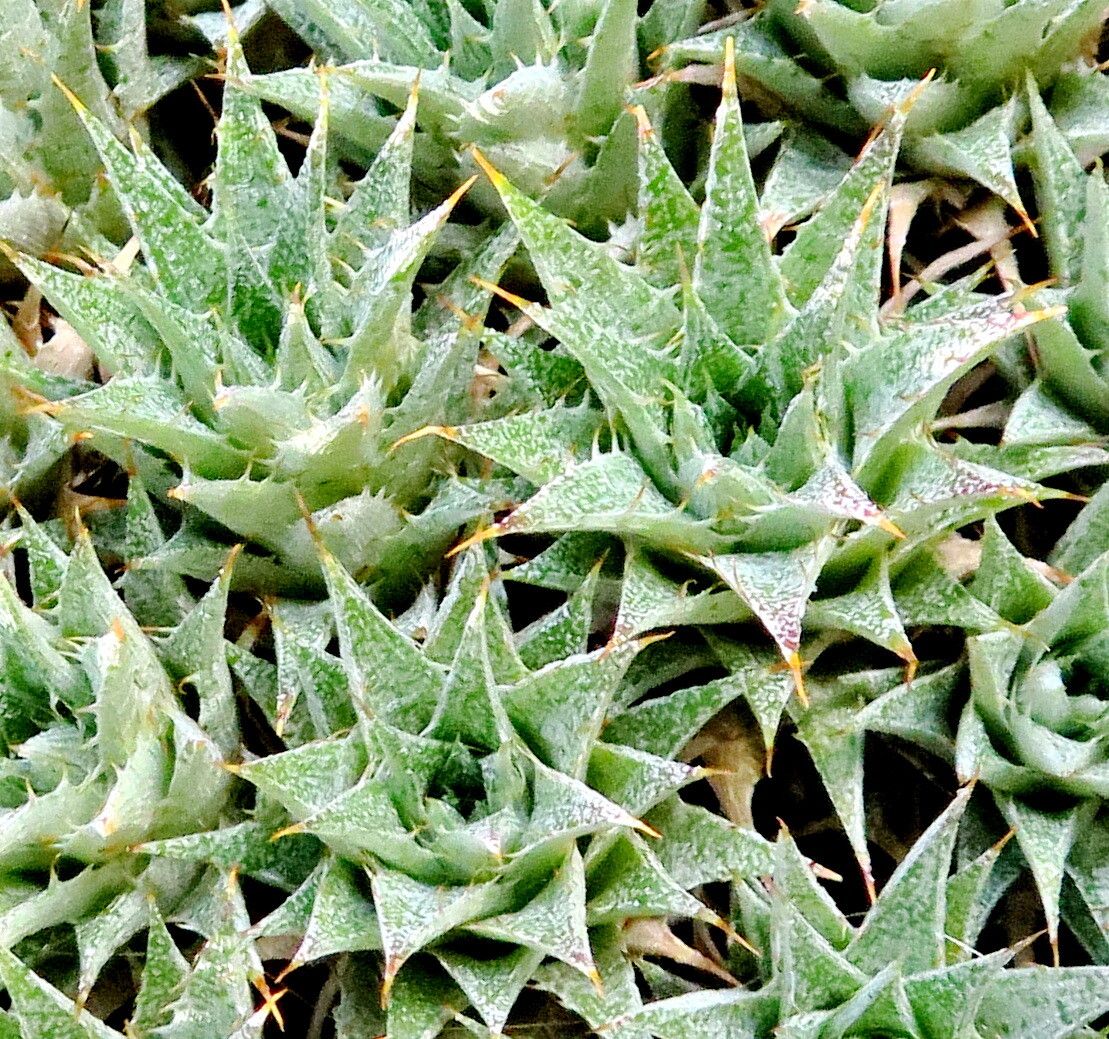
These charming bromeliads, with their tightly packed, silvery-green leaves, look like miniature pineapples or, in some varieties, little rosettes sprinkled with frost. They’re not just pretty; they’re incredibly rewarding to multiply. Giving away a new plant to a friend or even just adding it to your own ever-growing indoor jungle feels like a real accomplishment. Now, is it beginner-friendly? I’d say it’s moderately easy. It’s not as fuss-free as a spider plant, but with a little attention, you’ll be successful.
The Best Time to Start
The golden rule for most plant propagation is to work with the plant when it’s actively growing. For Deuterocohnia brevifolia, this means late spring through summer. You’ll see the most vigor in the plant then, and your cuttings or offsets will have the best chance of rooting before cooler weather sets in. If you miss this window, don’t fret; you can often get away with it in early autumn, but success rates might be a tad lower.
Supplies You’ll Need
Gathering your tools beforehand makes the whole process smoother. Here’s what I usually have on hand:
- Sharp, clean pruning shears or a sharp knife: Crucial for making clean cuts.
- A well-draining potting mix: I love a blend of cactus and succulent soil mixed with perlite or coarse sand. This ensures no soggy feet!
- Small pots or trays: Terracotta is my go-to; it breathes well.
- Rooting hormone (optional but recommended): A powdered or liquid hormone can give your cuttings a helpful boost.
- Spray bottle: For gentle misting.
- Gloves: Some bromeliads can have a bit of a rough texture.
- A small trowel or dibber: To make a little hole for your cutting.
Propagation Methods
Deuterocohnia brevifolia is most commonly propagated through offsets or stem cuttings.
Propagating by Offsets (Pups)
This is hands-down the easiest method if your parent plant produces them. Offsets are essentially baby plants that grow from the base of the mature plant.
- Inspect your mature plant: Look for small plants emerging from the soil near the base of the main plant.
- Gently remove soil: Carefully brush away some of the soil around the base of an offset to see how it’s attached.
- Make the cut: Using your clean pruning shears or knife, sever the offset from the mother plant. Try to get as much of the base of the offset as possible, ideally with a few tiny roots already attached.
- Let it callous: Place the offset in a dry, airy spot for a day or two. This allows the cut end to dry and form a protective callus, which helps prevent rot.
- Plant the offset: Fill a small pot with your well-draining mix. Make a small hole with a dibber or your finger. Gently place the calloused end of the offset into the hole and firm the soil around it.
- Water sparingly: Water lightly initially, then wait for the soil to dry out completely before watering again.
Propagating by Stem Cuttings
This method is for when you don’t have offsets, or you want to create more plants from the upper parts of the plant.
- Take a cutting: Select a healthy piece of stem that has at least a few leaves. Use your clean shears to cut a section about 3-4 inches long.
- Remove lower leaves: Gently pull off the bottom leaves from the cutting, exposing about an inch or so of stem.
- Apply rooting hormone: If you’re using rooting hormone, dip the cut end into the powder or liquid. Tap off any excess.
- Let it callous: Just like with offsets, let the cutting sit in a dry, airy location for 2-3 days until the cut end is dry.
- Plant the cutting: In a pot filled with your well-draining mix, make a hole with your finger or a dibber. Insert the calloused end of the cutting into the soil, ensuring it’s deep enough to be stable.
- Water lightly: Water the potting mix very gently.
The “Secret Sauce” (Pro Tips)
Here are a few things I’ve learned over the years that really make a difference:
- Don’t overwater! This is the cardinal sin when propagating succulents and bromeliads. They are adapted to dry conditions and will rot if kept too wet. Let the soil dry out completely between waterings.
- Bottom heat is your friend: If you have a heat mat designed for seedlings, placing your potted cuttings or offsets on it can significantly speed up root development. It mimics the warmth of summer soil and encourages those roots to emerge.
- Handle with care: Bromeliads have fine root systems. When planting your cuttings or offsets, be gentle. Avoid disturbing any nascent roots more than necessary.
Aftercare & Troubleshooting
Once you see signs of new growth, like fresh leaves emerging or a slight tug on the cutting indicating root resistance, you’re on your way!
- Gradual transition: If you used a propagation chamber or kept your cuttings very humid, start gradually introducing them to drier air. Open the lid a little more each day.
- Light: Place your new plants in bright, indirect light. Direct sun can scorch young, tender growth.
- Watering: Continue the practice of thoroughly drying the soil between waterings. You can start watering a bit more regularly as the plant matures, but always err on the side of caution.
Now, what if things go wrong? The most common issue is rot. If your cutting or offset turns mushy and black, it’s a sign of too much moisture and a lack of airflow. Unfortunately, once rot sets in, it’s usually impossible to save. If you see this, discard the affected plant to prevent it from spreading to others. Another sign of failure is if the cutting simply shrivels up and dies without any root development, which can sometimes be due to low humidity or a lack of warmth.
Keep Growing!
Propagating Deuterocohnia brevifolia might take a little patience, but the reward of seeing your efforts flourish is immense. Don’t get discouraged if your first attempt isn’t perfect; learning is part of the fun. Enjoy the process, celebrate every tiny bit of progress, and you’ll soon have a whole collection of these wonderful plants. Happy propagating!
Resource: