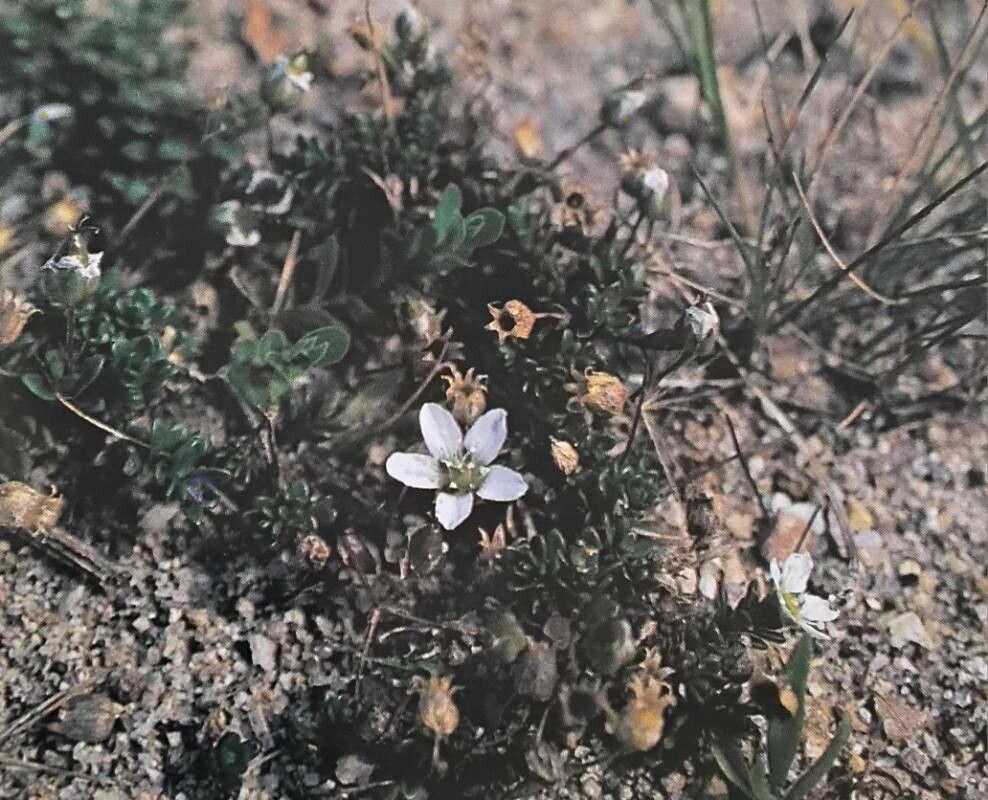
Well hello there, fellow garden enthusiast! I’m so glad you’ve stumbled upon this little corner of the internet. Today, I want to talk about a truly charming plant, Arenaria norvegica, often called Norwegian Sandwort. If you’ve ever seen this beauty, you know why I’m smitten. Its delicate, starry white flowers create a delightful carpet over its fine, mossy foliage. It’s the kind of plant that brings a touch of wild, alpine charm right into your garden, perfect for rock gardens, borders, or even containers.
There’s something incredibly satisfying about nurturing a new life from a small piece of an established plant. It’s like unlocking a secret code of nature, and Arenaria norvegica is a lovely one to crack. As for beginners, I’d say it’s moderately easy. It’s not a fussy plant, but it does appreciate a bit of attention to detail. With a little guidance from me, I think you’ll find it a very rewarding endeavor!
The Best Time to Start
For the highest success rate, I always aim for late spring to early summer. This is when the plant is actively growing and has plenty of energy to put into developing roots. You want to take cuttings from healthy, non-flowering shoots. If you miss this window, don’t despair! You can try again in early autumn, but be mindful that growth will be slower as the plant prepares for cooler weather.
Supplies You’ll Need
Gathering your supplies beforehand makes the whole process smoother. Here’s what I usually have on hand:
- Sharp, clean pruning shears or a sharp knife: For making precise cuts.
- Rooting hormone powder or gel: This is optional but can give your cuttings a helpful boost.
- A well-draining potting mix: A good blend of perlite, peat moss, and a bit of sand works wonders. You can also buy a specific seed-starting or succulent mix.
- Small pots or seed trays: Clean ones, please!
- A watering can or spray bottle: For gentle watering.
- Plastic bags or a propagator: To create a humid environment.
- A small trowel or dibber: For making holes in the soil.
Propagation Methods
Let’s dive into how we can get more of this lovely sandwort!
Stem Cuttings: My Go-To Method
This is usually the most straightforward way to propagate Arenaria norvegica.
- Select your cuttings: Look for healthy, vigorous stems that are about 3-4 inches long. Avoid any that have flower buds on them. Gently remove the lower leaves, leaving just a few at the top.
- Prepare the cuttings: If you’re using a rooting hormone, dip the cut end of the stem into it. Tap off any excess.
- Plant your cuttings: Fill your small pots or trays with your prepared potting mix. Use your dibber or a pencil to make small holes in the soil, spaced a few inches apart. Carefully insert the cuttings into the holes, ensuring the leaves don’t touch the soil surface. Gently firm the soil around the base of each cutting.
- Water gently: Water the soil thoroughly but gently, so you don’t dislodge the cuttings.
- Create humidity: Cover the pots loosely with a plastic bag or pop them into a propagator. Place them in a bright spot, but out of direct, harsh sunlight. I like to keep them in a greenhouse or on a bright windowsill.
Division: For Established Plants
If you have a mature clump of Arenaria norvegica, division is a great way to get several new plants.
- Dig up the plant: In spring or early autumn, carefully dig up the entire plant.
- Separate the roots: Gently tease the roots apart with your fingers or a trowel. You want to create sections, each with a good amount of roots and some leafy growth.
- Replant: Replant the divisions immediately into well-prepared soil, spacing them as you would a new plant. Water them in well.
The “Secret Sauce” (Pro Tips)
Here are a few little tricks I’ve learned over the years that can really make a difference:
- Bottom Heat is Your Friend: For cuttings, placing your pots on a heated propagator mat can significantly speed up root development. The warmth encourages those tiny root cells to get busy.
- Don’t Overwater, Don’t Underwater: This is a delicate balance! The soil should be consistently moist but never soggy. Soggy soil is the fastest way to invite rot, which is the nemesis of cuttings. I find misting the foliage lightly once a day can also help keep things turgid.
- Patience is a Virtue (and a Necessity!): Arenaria norvegica isn’t the speediest propagator. Be patient. It can take anywhere from 4 to 8 weeks, sometimes longer, for you to see signs of new growth, which indicates roots have formed. Resist the urge to constantly tug at them to check!
Aftercare & Troubleshooting
Once you spot new growth – tiny leaves emerging from the top of your cutting – it’s time to introduce them to their new lives!
- Harden off: Gradually expose your new plants to the outdoor conditions. Start by removing the plastic cover for a few hours each day, then gradually increase the time until they are fully acclimatized.
- Transplant: Once they are large enough to handle, you can transplant them into their own small pots or directly into their permanent garden locations.
- Watch for Rot: The biggest culprit is invariably overwatering. If your cuttings turn mushy and black at the base, or if you see mold on the soil, you’ve likely been too generous with the water. Remove affected cuttings immediately and try to improve air circulation.
A Little Encouragement
Propagating plants is a beautiful journey, and Arenaria norvegica is a rewarding companion on that path. It might take a couple of tries, and that’s perfectly okay. Embrace the process, learn from each attempt, and celebrate every tiny success. Before you know it, you’ll have a whole patch of this delightful sandwort gracing your garden. Happy growing!
Resource:
https://identify.plantnet.org/k-world-flora/species/Arenaria%20norvegica%20Gunnerus/data