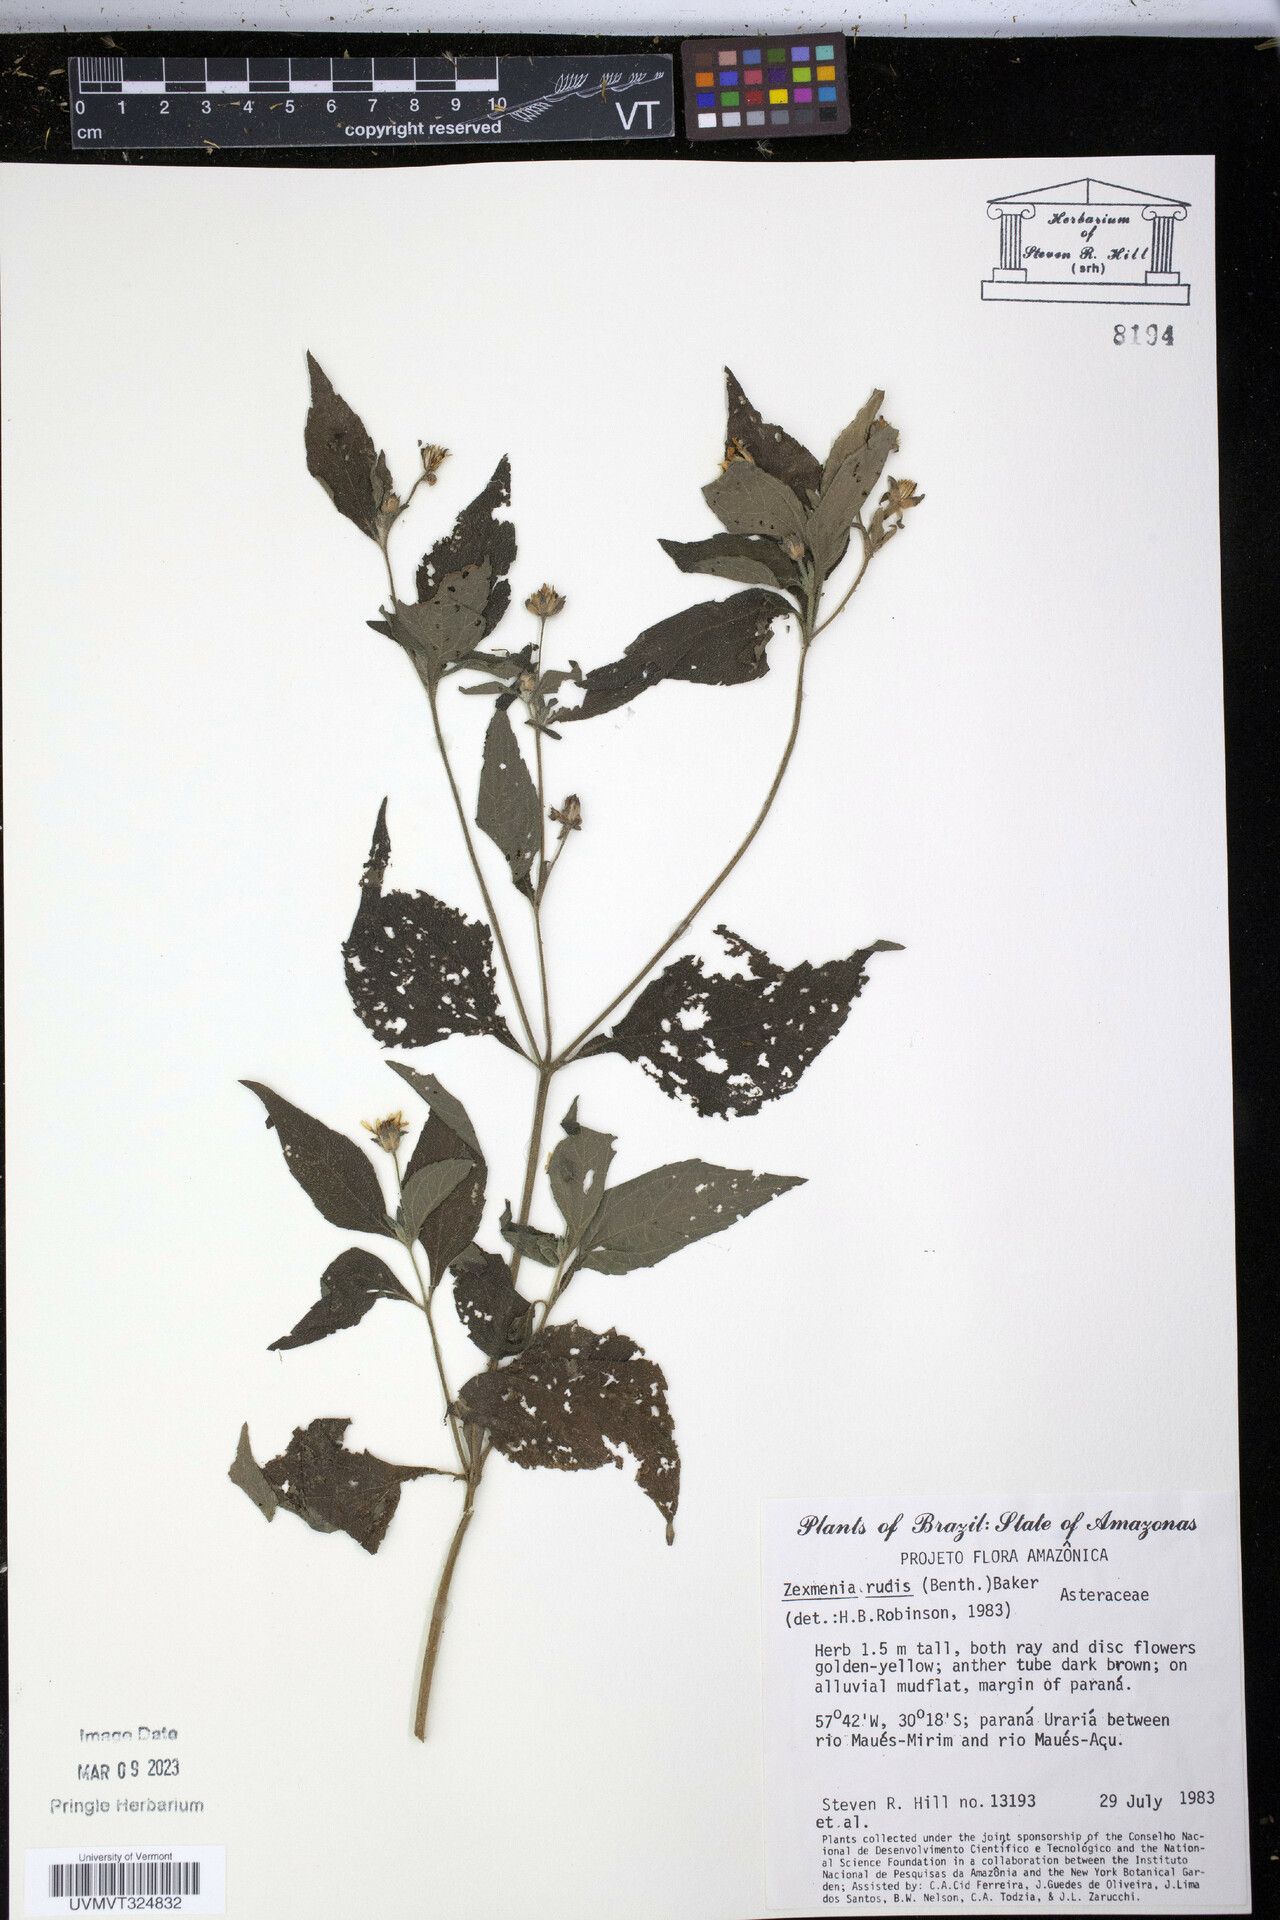
Hello, fellow garden enthusiasts! It’s so nice to have you join me for a chat about one of my favorite little green dynamos: Wedelia rudis. If you’re looking for a plant that practically begs to be multiplied, well, you’ve found it! Wedelia rudis, with its cheerful yellow daisy-like flowers and trailing habit, is a fantastic groundcover or spiller for hanging baskets.
And the best part? Propagating it is a joy. It’s one of those plants that really makes you feel like a gardening wizard, even if you’re just starting out. I’d say Wedelia rudis is an absolute beginner-friendly plant when it comes to propagation. You’re in for a treat!
The Best Time to Start
When it comes to Wedelia rudis, spring and early summer are your golden tickets. This is when the plant is actively growing and bursting with energy. You’ll find the stems are pliant and full of life, making them perfect for taking cuttings. I usually wait until after the main flush of growth has settled a bit, but before the heat of mid-summer really kicks in. Think of it as capturing the plant at its peak vitality!
Supplies You’ll Need
Before we get our hands dirty, let’s gather our trusty tools:
- Sharp Pruning Shears or a Knife: Clean cuts are happy cuts for your plant!
- Rooting Hormone (Optional but Recommended): This little boost can speed things up. I like the powdered kind.
- Well-Draining Potting Mix: A mix designed for succulents or a standard potting mix with perlite or sand added works beautifully.
- Small Pots or Seed Trays: Anything that can hold your cuttings without being too large.
- Water: For misting and, well, watering!
- A Small Watering Can or Spray Bottle: For a gentle touch.
- Clear Plastic Bags or a Propagator Lid: To create a humid environment.
Propagation Methods
Wedelia rudis is a champion of stem cuttings. It’s just so easy!
Stem Cuttings
- Find a healthy stem: Look for a piece of stem that’s not too woody but not too soft and floppy either. About 4-6 inches long is usually perfect.
- Make the cut: Using your sharp shears or knife, make a clean cut just below a leaf node. This is a point where a leaf grows from the stem. It’s a prime spot for root development!
- Remove the lower leaves: Gently strip off the leaves from the bottom half of your cutting. You want to expose those leaf nodes where roots will emerge.
- Apply rooting hormone (optional): Dip the cut end of the stem into your rooting hormone powder. Tap off any excess.
- Plant your cuttings: Fill your pots with your well-draining mix. Make a small hole with your finger or a pencil and insert the cut end of the stem. Gently firm the soil around it.
- Water gently: Give the soil a good, gentle watering. You want it moist, but not waterlogged.
- Create humidity: This is key! Cover your pot loosely with a clear plastic bag or pop on a propagator lid. This traps moisture, which is what those baby roots need.
Water Propagation (Another Easy Option!)
- Take cuttings as above.
- Place cuttings in water: Put the cuttings in a jar or vase of water, making sure no leaves are submerged below the waterline.
- Change water regularly: Refresh the water every few days to keep it clean and oxygenated.
- Wait for roots: You’ll start to see little white roots forming in as little as a week or two! Once the roots are about an inch long, you can transplant them into soil.
The “Secret Sauce” (Pro Tips)
Here are a couple of little tricks I’ve picked up over the years that really give Wedelia propagation a boost:
- Bottom Heat is Your Friend: If you have a seedling heat mat, popping your pots on it can make a world of difference. It encourages those roots to form faster by keeping the soil warm. It’s like a tiny spa for your cuttings!
- Don’t Let the Leaves Touch the Water (in water propagation): I mentioned it above, but it’s so important! Submerged leaves will rot and can take your cutting down with them. Keep ’em high and dry!
- Take More Than You Think You Need: Sometimes, not every cutting takes. It’s just the way of things! Propagating a few extra cuttings ensures you’ll have plenty of lovely new Wedelia plants to share or fill in your garden.
Aftercare & Troubleshooting
Once you see those lovely new roots forming – hooray! This usually happens within 2-4 weeks.
- Acclimatize slowly: If you used a plastic bag, start by opening it for a few hours each day to let the cuttings get used to drier air. Eventually, you can remove the bag entirely.
- Watering: Continue to keep the soil consistently moist but not soggy. You’ll notice the new growth starting to emerge, which is a great sign!
- Transplanting: Once the cuttings are well-rooted and showing good new growth, you can pot them up into their own slightly larger containers.
What if things go wrong? The most common issue you’ll encounter is rot. This usually happens if the soil is too wet or there isn’t enough air circulation. If you see your cutting turning mushy or black, sadly, it’s likely a goner. Don’t despair! Just discard the rotted cutting and try again, making sure your soil drains well and you aren’t overwatering. Sometimes, a bit of trial and error is part of the fun.
Keep Going!
There you have it! Propagating Wedelia rudis is a wonderfully rewarding process that brings so much joy and so many new plants to your garden. Be patient with your cuttings, offer them a little care, and before you know it, you’ll have a whole collection of these sunny beauties. Happy propagating!
Resource:
https://identify.plantnet.org/k-world-flora/species/Wedelia%20rudis%20(Baker)%20H.Rob./data