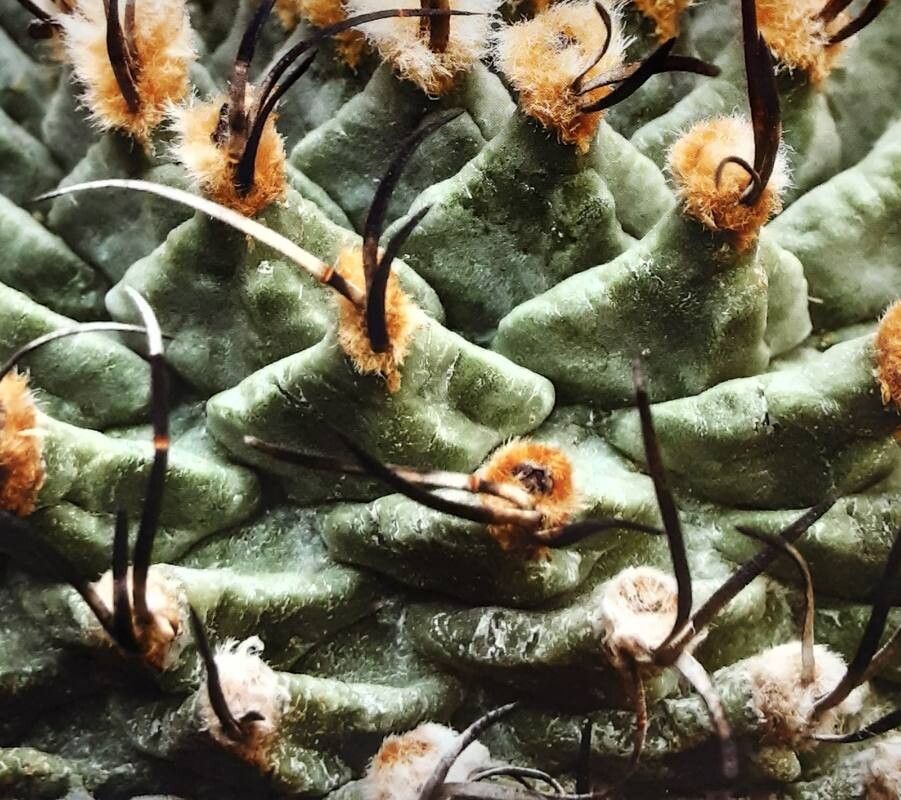
Ah, Turbinicarpus alonsoi! What a stunner. If you’ve ever seen one of these beauties, with its intricate tubercles and those gorgeous pinkish-purple flowers, you know exactly why I’m so drawn to them. They have this delicate yet resilient charm that just captivates you. And the best part? You can bring that magic into your own collection by propagating them! It’s a wonderfully rewarding process, a true test of patience and a chance to witness new life emerge from something familiar. Now, I’ll be honest, T. alonsoi isn’t the absolute easiest cactus to propagate for absolute beginners, but with a little care and these tips, you’ll be well on your way.
The Best Time to Start
The sweet spot for propagating Turbinicarpus alonsoi is during its active growing season. Think late spring to early summer. This is when the plant is feeling energized, has plenty of resources, and is most receptive to putting out roots. Trying to propagate when it’s dormant, or during the cooler months, is a recipe for disappointment.
Supplies You’ll Need
Before we dive in, let’s gather our tools. It’s always better to be prepared!
- Sharp, sterile knife or pruning shears: For clean cuts. A quick dip in rubbing alcohol will do the trick.
- Well-draining potting mix: I swear by a blend of coarse sand, perlite, and a good cactus/succulent soil. Think gritty, not water-retentive. A 1:1:1 ratio is a great starting point.
- Rooting hormone (optional but recommended): Helps give those cuttings a little nudge. Look for one formulated for succulents or cacti.
- Small pots or trays: Clean and with drainage holes!
- Gravel or perlite: For a top dressing and to help prop up cuttings.
- Watering can with a fine spray nozzle: Gentle watering is key.
- Labeled stakes or tags: So you don’t forget what’s what!
Propagation Methods
Turbinicarpus alonsoi is best propagated through offsets or by taking stem cuttings (though offsets are generally more successful and less stressful for the plant).
Propagating from Offsets (Pups)
This is my preferred method for T. alonsoi. These little babies naturally form at the base of the mother plant.
- Wait for the right moment: Make sure the offsets are a decent size, at least a quarter of the size of the mother plant, and ideally have their own tiny roots visible. Waiting until spring or early summer is also beneficial here.
- Gently detach: Using your sterile knife, carefully twist or cut the offset away from the main plant. Try to get as much of its little root system as possible. If it doesn’t have visible roots yet, don’t worry too much, we’ll encourage them.
- Let it callous: This is CRUCIAL! Place the offset in a dry, shady spot for 2-3 days (or even up to a week for larger ones) until the cut end is completely dry and sealed over. This prevents rot.
- Plant it up: Fill your small pots with your gritty cactus mix. Make a small indentation in the center and gently place the offset in. If it doesn’t have roots, you can gently press the calloused end into the soil.
- Add a top dressing: A thin layer of gravel or perlite can help support the offset and prevent it from toppling over.
- Resist the urge to water immediately: Wait about a week after planting before giving it its first light watering.
Propagating from Stem Cuttings (More Advanced)
While offsets are easier, you can try taking cuttings from the main body of the plant if needed.
- Select a healthy stem: Choose a plump, healthy section of the cactus.
- Make a clean cut: With your sterile knife, make a clean cut where you want to take your piece. Aim for at least an inch or two of length.
- Let it callous: Just like with offsets, this is paramount! Allow the cut end to dry and seal for at least 3-7 days, depending on the size of the cutting.
- Planting: Follow steps 4-6 from the offset method. You might need to use stakes or strategically placed perlite to keep the cutting upright until roots form.
The “Secret Sauce” (Pro Tips)
This is where the real magic happens, folks!
- Don’t overwater the new cuttings! Seriously, this is the biggest killer. Cacti are drought-tolerant by nature, and trying to root a cutting in soggy soil is like giving it a drowning lesson. Water sparingly – only when the soil is bone dry and you see signs of root development.
- Bottom heat is your friend. If you’re serious about propagation, investing in a small seed-starting heat mat can make a huge difference. It encourages root formation by providing a gentle, consistent warmth from below, mimicking their natural environment. Place your pots on the mat and leave it on for several hours a day, or even constantly if you’re in a cooler climate.
- Patience is a virtue with cacti. Turbinicarpus alonsoi isn’t a fast grower, and neither is its propagation. Don’t expect roots overnight. It could take weeks, even months. Keep them in a warm, bright spot (bright, indirect light is best for new cuttings to avoid scorching) and trust the process.
Aftercare & Troubleshooting
Once you see the first signs of growth – usually a bit of swelling at the base or even a tiny new spine – you’re on your way!
- Gradually increase watering: As the roots establish, you can water a little more regularly, but always allow the soil to dry out completely between waterings.
- Move to brighter light: Once rooted, your new little cactus can handle more direct sun, but introduce it gradually to avoid sunburn.
- Watch out for rot: The biggest enemy is overwatering leading to rot. If you notice the base of your cutting turning mushy or black, it’s likely rot. There’s usually no coming back from this. Prevention is key!
- Shriveling: If a cutting shrivels significantly and doesn’t root, it might be a sign that it’s trying to use up its stored resources before roots can form, or it’s drying out too much. This is where the rooting hormone and a touch more humidity (but never soggy soil) can help.
A Little Encouragement
Propagating Turbinicarpus alonsoi is a journey. There will be times you might lose a cutting – it happens to the best of us! Don’t get discouraged. Each attempt is a learning experience. Celebrate the successes, learn from the failures, and most importantly, enjoy the process of nurturing these tiny wonders. Happy growing!
Resource: