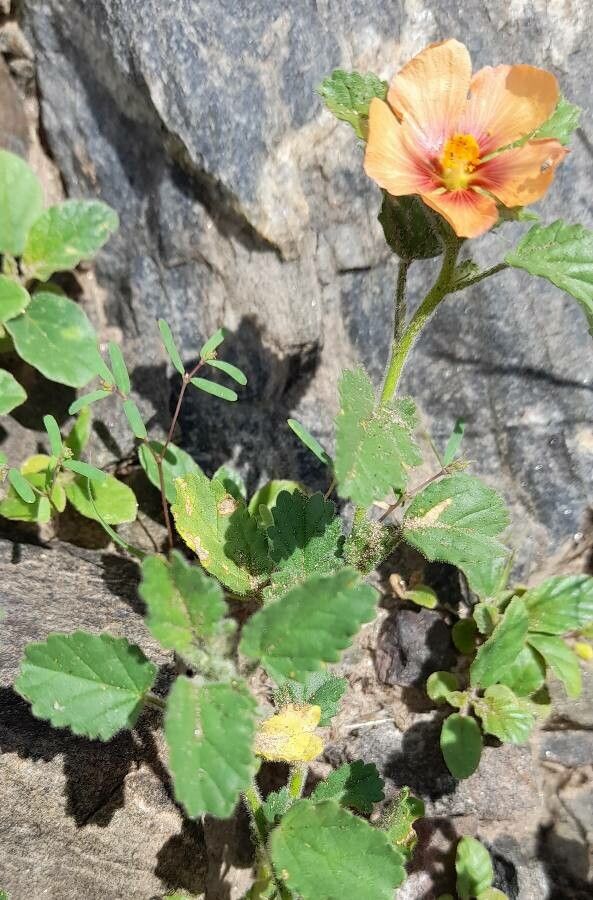
Oh, Sida variegata! Isn’t she a stunner? Those lovely, often brightly colored or patterned leaves just bring so much life to a space, whether it’s tucked into a hanging basket or gracing a sunny windowsill. If you’ve fallen for this tropical beauty, you’ll be happy to know that propagating it is really quite rewarding, and for the most part, it’s a pretty beginner-friendly plant to get started with. Sharing your Sida with friends or simply filling your home with more of its charm is such a joyful part of gardening.
When to Get Your Hands Dirty
The absolute best time to start propagating Sida variegata is when the plant is in its active growing season. For most of us, this means late spring through early summer. You’re looking for healthy, vigorous new growth. Don’t try to take cuttings from a plant that’s struggling or looks a bit leggy – that’s a recipe for disappointment. Think of it like this: you want to borrow energy from a strong, happy plant!
Gear Up for Propagation Success
Before you dive in, let’s make sure you have everything you need. It’s always better to be prepared!
- Sharp Pruning Shears or a Clean Knife: For making nice, clean cuts.
- Rooting Hormone (Optional but Recommended): A gentle boost for your cuttings. Look for powder or gel.
- Well-Draining Potting Mix: A good blend for this is usually 50% peat moss or coco coir and 50% perlite or coarse sand. You can also find pre-made cactus or succulent mixes that work well.
- Small Pots or Propagation Trays: Clean containers are key to preventing disease.
- Plastic Bag or Humidity Dome: To keep the cuttings moist.
- Watering Can with a Fine Rose: For gentle watering.
- A Sunny Spot (Indirect Light): Crucial for encouraging roots to form.
Making More Magic: Propagation Methods
Sida variegata is wonderfully adaptable, and here are a couple of ways to make more of them.
Stem Cuttings: The Classic Approach
This is my go-to method for Sida variegata.
- Select Your Cuttings: Look for healthy stems with at least two or three sets of leaves. You want to make a cut just below a leaf node – that’s the little bump where a leaf emerges from the stem.
- Prepare the Cuttings: Using your sharp shears, take a 4-6 inch cutting. Gently remove the lower leaves, leaving just the top set or two. This prevents them from rotting in the soil.
- Dip in Rooting Hormone (If Using): Lightly dip the cut end into your rooting hormone powder or gel. Tap off any excess.
- Plant Your Cuttings: Fill your small pots or trays with your prepared potting mix. Make a small hole with your finger or a pencil and gently insert the cut end of the Sida cutting. Firm the soil around it.
- Water Gently: Water the soil thoroughly but avoid overwatering. You want the soil to be consistently moist, not soggy.
- Create a Humid Environment: Cover the pot loosely with a clear plastic bag or a propagation dome. This traps moisture around the leaves. Make sure the leaves aren’t touching the plastic.
Water Propagation: A Peek-a-Boo Method
Some people love watching roots form in water, and Sida can do well with this too!
- Prepare Your Cuttings: Follow steps 1 and 2 from the stem cutting method.
- Place in Water: Put the cuttings in a clean glass or jar filled with room-temperature water. Make sure the leaf nodes where you removed the leaves are submerged, but try to avoid having any leaves touching the water. That’s where rot can set in.
- Change the Water Regularly: Every few days, change out the water to keep it fresh and prevent bacterial growth.
- Find a Suitable Spot: Place the jar in a bright spot with indirect sunlight.
The Gardener’s Little Secrets
Here are a few tricks I’ve picked up over the years that really make a difference.
- Bottom Heat Works Wonders: If you have it, placing your pots on a heat mat can significantly speed up root development for stem cuttings. It mimics the warmth of the soil in its natural environment and gives those roots a real push.
- Don’t Disturb Too Soon: Patience is a virtue, especially with propagation! Resist the urge to tug on your cuttings to see if they’ve rooted. You’ll know they’re ready when you start to see new growth emerging from the top. This can take several weeks.
- Mist Lightly, Don’t Drench: For stem cuttings in soil, a light misting of the leaves inside the humidity dome every few days can help keep them plump, but the soil should be the primary source of moisture. Over-misting the leaves can encourage fungal issues.
Nurturing Your New Sprouts and What to Watch For
Once you see those tiny white roots peeking out (or new leaves unfurling!), it’s time to transition.
- For Water Cuttings: When the roots are about an inch or so long, you can carefully transplant them into your well-draining potting mix. Treat them gently, as they are still quite delicate.
- For Soil Cuttings: As new growth appears, you can begin to gradually introduce more light and ventilation. Slowly remove the plastic bag or dome for longer periods each day over a week or two. Water only when the top inch of soil feels dry to the touch.
- Signs of Trouble: The biggest culprit is usually rot. If your cutting looks mushy, brown, or slimy, it’s likely rotted. This often happens from too much moisture and not enough ventilation. Yellowing leaves that aren’t just the old ones being shed can also indicate overwatering or a lack of light.
Happy Growing, Friend!
Propagating Sida variegata is such a beautifully tangible way to connect with your plants. Don’t be discouraged if your first attempt isn’t perfect; every gardener has cuttings that don’t make it. Just keep trying, learn from each experience, and most importantly, enjoy the process of coaxing new life from your favorite plants. Happy propagating!
Resource:
https://identify.plantnet.org/k-world-flora/species/Sida%20variegata%20(Griseb.)%20Krapov./data