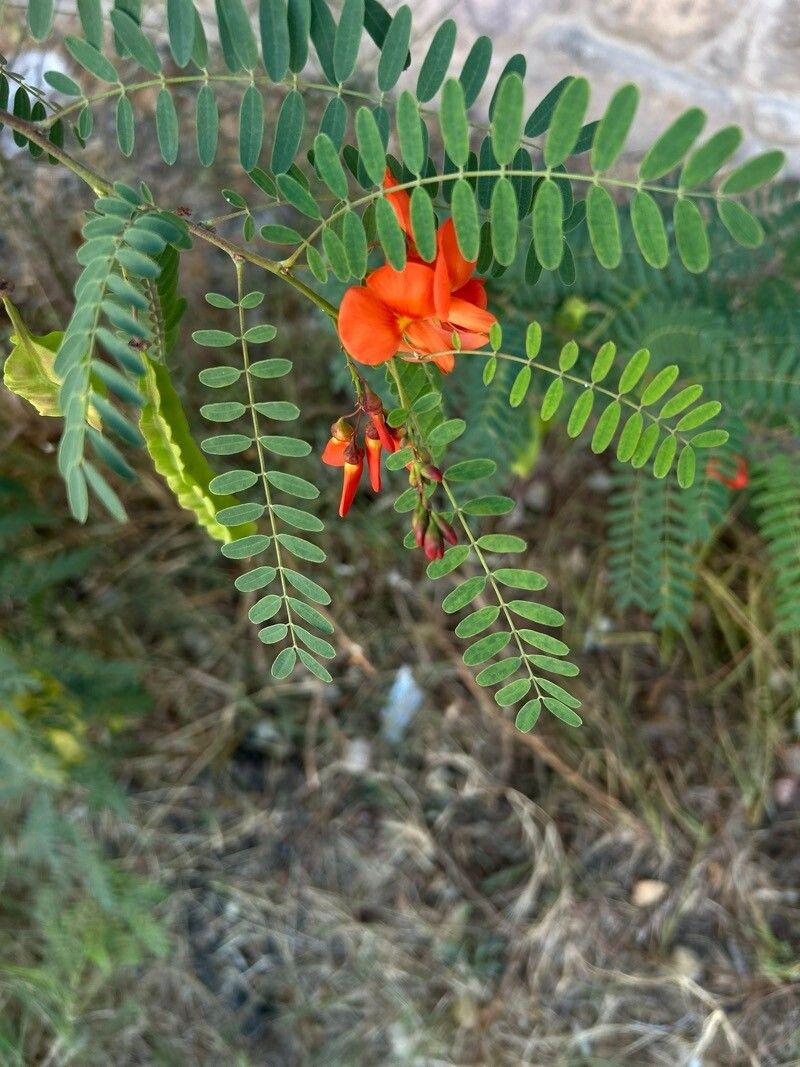
Hello fellow garden enthusiasts! I’m so excited to chat with you today about a truly beautiful plant: Sesbania punicea. You might know it by its common names, like Scarlet Wisteria-vine or Rattlebox. Its vibrant, pea-like flowers are an absolute showstopper, dripping with scarlet and orange hues, and they attract all sorts of beneficial pollinators. Plus, watching a new plant sprout from a tiny seed or cutting is one of gardening’s greatest joys, isn’t it? Honestly, Sesbania punicea is a fairly straightforward plant to propagate, even for those just dipping their toes into the world of growing from scratch.
The Best Time to Start
My experience tells me that late spring to mid-summer is your sweet spot for propagating Sesbania punicea. This is when the plant is in its most active growth phase, meaning cuttings will have the best chance of rooting, and seeds will be most viable. Think of it as giving your new babies the longest possible growing season to establish themselves before cooler weather arrives.
Supplies You’ll Need
To get started on your propagation adventure, gather these trusty tools:
- Sterile potting mix: A blend of perlite, peat moss, and a bit of compost works wonders. You want something that drains well but holds a little moisture.
- Sharp pruning shears or a clean knife: For making clean cuts on stem cuttings. Sterilize them in rubbing alcohol between cuts to prevent disease.
- Rooting hormone (optional but recommended): This really gives your cuttings a boost. Look for one specifically for softwood or semi-hardwood cuttings.
- Small pots or seed trays: For your cuttings or seeds. Make sure they have drainage holes.
- Plastic bags or a propagation dome: To maintain high humidity around your cuttings.
- Watering can or spray bottle: For gentle watering.
- Gravel or pebbles (for water propagation): To keep the stem upright.
Propagation Methods
Let’s get our hands dirty with the two most reliable ways to grow more Sesbania punicea:
Stem Cuttings
This is my go-to method for Sesbania punicea.
- Take your cuttings: In late spring or early summer, select healthy, non-flowering stems that are about pencil-thick. Using your sterilized shears, make a clean cut just below a leaf node (where a leaf attaches to the stem). Aim for cuttings that are 4-6 inches long. Remove the lower leaves, leaving just two or three at the top.
- Prepare the cutting: If you’re using rooting hormone, dip the cut end of the stem into it, tapping off any excess.
- Plant your cuttings: Fill your small pots with the sterile, slightly damp potting mix. Make a hole in the center with your finger or a pencil. Gently insert the cut end of the stem into the hole, ensuring it’s snug.
- Provide humidity: Water the potting mix gently. Then, cover the pot with a plastic bag or propagation dome. This creates a miniature greenhouse, keeping humidity high. Place the pot in a bright spot, but out of direct sunlight.
Water Propagation
This method is incredibly satisfying as you can watch the roots develop.
- Prepare your cuttings: Follow steps 1 and 2 from the stem cutting method above.
- Place in water: Fill a small jar or glass with fresh water. You can add a few pebbles to the bottom to help keep the stem upright. Place the prepared cuttings into the water, making sure no leaves are submerged below the waterline. The leaf nodes are where roots will emerge, so ensure those are either just above or right at the water level.
- Location, location, location: Place the container in a bright location, away from harsh direct sun.
- Change the water: Every few days, change the water to keep it fresh and prevent stagnation.
The “Secret Sauce” (Pro Tips)
After years of trial and error, a few tricks really make a difference:
- The “Clean Cut” Rule: I can’t stress this enough: always use a clean, sharp tool for your cuttings. A torn or crushed stem has a much harder time healing and developing roots. It’s like giving your plant a clean start.
- Bottom Heat is Your Friend: If you can manage it, providing gentle bottom heat can significantly speed up rooting, especially for stem cuttings. A seedling heat mat placed under your pots works wonders. It encourages root development from below, giving the whole process a welcome kickstart.
- Don’t Drown Your Cuttings: When watering your potted cuttings, it’s crucial to strike a balance. You want the soil moist, but not waterlogged. Soggy soil is a recipe for rot, and no one wants that!
Aftercare & Troubleshooting
Once you start seeing those tiny white roots emerging (and oh, what a sight it is!), it’s time to adjust your care.
- For potted cuttings: Gradually remove the plastic cover or dome over a few days to acclimate your new plant to normal humidity levels. Continue to keep the soil consistently moist but not soggy. Once the roots have filled the pot, you can transplant your new Sesbania punicea into a slightly larger container or its permanent garden spot.
- For water-propagated cuttings: When the roots are about an inch long, it’s time to gently transplant them into pots with your sterile potting mix. Be very careful not to damage those delicate new roots during the transfer. Water them in well.
The most common issue you’ll encounter is rot. If your cuttings turn black and mushy, it’s a sign of too much moisture and poor air circulation. In this case, it’s best to discard the rotted cutting and start fresh, focusing on better drainage and humidity control.
A Little Patience Goes a Long Way
Propagating plants is a journey, and as with all good things, it requires a bit of patience. Don’t be discouraged if not every cutting or seed takes immediately. Keep experimenting, keep learning, and most importantly, enjoy the magical process of bringing new life into your garden. Happy growing!
Resource:
https://identify.plantnet.org/k-world-flora/species/Sesbania%20punicea%20(Cav.)%20Benth./data