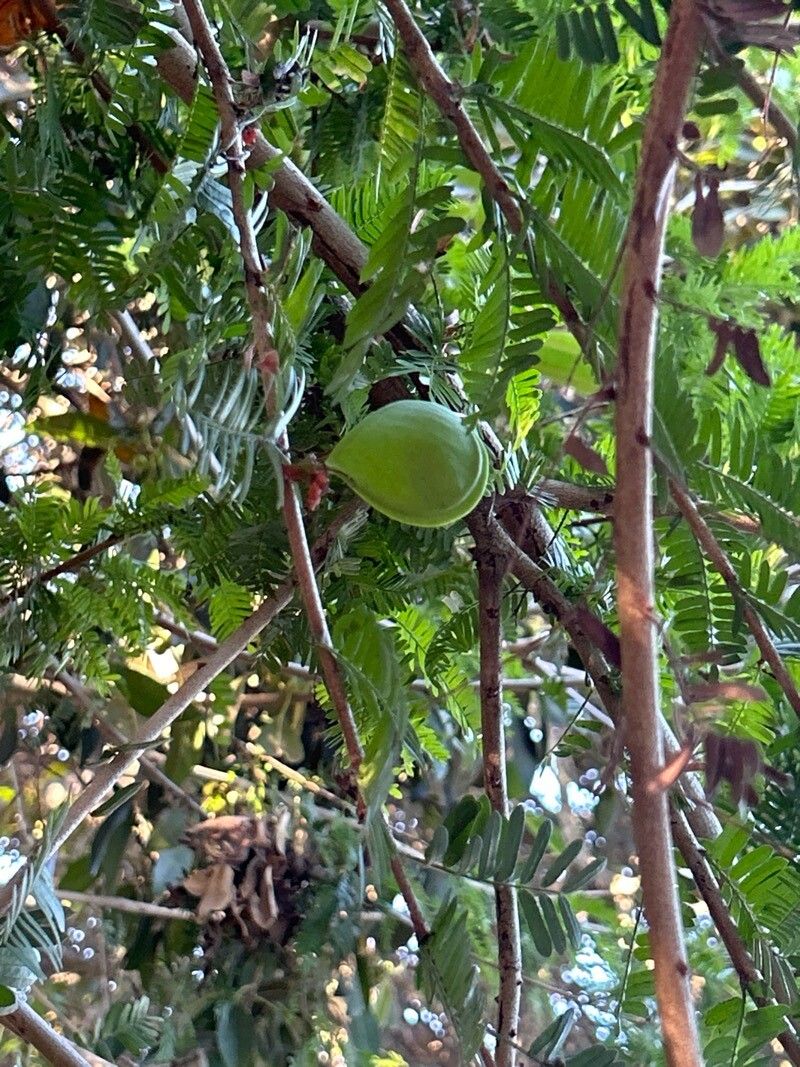
Oh, hello there! It’s so lovely to have you pop by. Today, we’re diving into the wonderful world of propagating Schotia afra, also known as the Dwarf or Bush Spekboom. If you’ve ever admired its stunning, profuse pinkish-red flowers that just seem to burst with joy, then you know why it’s such a special plant to have in your garden or on your patio. Getting more of these beauties from an existing one is incredibly rewarding, like sharing a little bit of sunshine. Now, I won’t lie to you, it’s not the absolute easiest plant for a complete beginner to propagate, but with a little care and know-how, you’ll be absolutely fine. Think of it as a fun challenge that yields big rewards!
The Best Time to Start
When it comes to Schotia afra, the sweet spot for propagation is definitely late spring or early summer. This is when the plant is in its active growing phase. You’re looking for new, semi-hardwood stems – these are stems that have started to toughen up a bit but aren’t completely woody. They’ll snap cleanly with a bit of pressure, rather than bend. Starting at this time gives your cuttings the best chance to establish themselves before the cooler, drier months arrive.
Supplies You’ll Need
Gathering your supplies is half the fun, right? It feels like getting ready for a creative project. Here’s what you’ll want to have on hand:
- Sharp Pruning Shears or a Craft Knife: Clean cuts are key to preventing disease.
- Well-Draining Potting Mix: A good mix could be 50% perlite and 50% coco coir, or a specialized seed-starting mix.
- Rooting Hormone Powder (Optional but Recommended): This gives your cuttings a helpful boost.
- Small Pots or Propagation Trays: Clean ones are essential!
- Plastic Bags or a Propagator: To create a humid environment.
- Watering Can with a Fine Rose: For gentle watering.
- Labels and a Pen: So you don’t forget what you’ve planted where!
- Bottom Heat Source (Optional but helpful): A heat mat can speed things up.
Propagation Methods
Let’s get our hands dirty! The most reliable way to propagate Schotia afra is through stem cuttings. It’s a tried-and-true method that usually works wonders.
Stem Cuttings
- Take Your Cuttings: Select those perfect semi-hardwood stems, about 4-6 inches long. Make a clean cut just below a leaf node (where a leaf meets the stem). This is where roots are most likely to form. Remove the lower leaves, leaving just the top few.
- Apply Rooting Hormone: Dip the cut end of the stem into your rooting hormone powder. Tap off any excess.
- Plant Your Cuttings: Fill your small pots or propagation trays with your well-draining mix. Make a small hole in the center with a pencil or your finger. Carefully insert the cutting into the hole, ensuring the leaf nodes are below the soil surface. Gently firm the soil around the base.
- Water Gently: Water thoroughly but gently. You want the soil to be moist but not waterlogged.
- Create Humidity: Cover the pots or trays with a plastic bag or place them in a propagator. This is crucial for keeping the cuttings from drying out. Make sure the leaves don’t touch the plastic bag. You can prop up the bag with small sticks if needed.
- Provide Light and Warmth: Place your cuttings in a brightly lit spot out of direct sunlight. If you have a heat mat, this is where it can really help to use bottom heat. It encourages root development.
The “Secret Sauce” (Pro Tips)
Now, for a couple of little tricks I’ve learned over the years. These aren’t in every textbook, but they make a real difference!
- Don’t Let the Leaves Touch Water: This is a big one, especially if you’re tempted to use water propagation (which I generally don’t recommend for Schotia afra as they can rot easily). Even in soil, if the leaves of your cuttings are submerged, they’ll quickly start to turn mushy and decay. It’s much better to provide humidity through a plastic tent or propagator.
- The “Bend Test” is Your Friend: When you think your cuttings might have rooted, give them a very gentle tug. If you feel resistance, that’s a good sign roots are forming. If it pulls out easily, it probably hasn’t rooted yet. No pulling! Just a gentle encouragement.
- Cleanliness is Next to Gardenliness: I cannot stress this enough. Use clean pots, clean tools, and even clean hands. Any lingering bacteria or fungus can spell doom for your delicate cuttings.
Aftercare & Troubleshooting
Once you see signs of growth – new leaves unfurling is the best indicator! – it’s time to start adjusting the care. Gradually reduce the humidity by opening the plastic bag or propagator for increasing periods each day. Continue to keep them in bright, indirect light and water when the top inch of soil feels dry.
What if things go wrong? The most common culprit is rot. If your cuttings turn black and mushy, or the leaves wither and turn brown without any sign of roots, it’s usually because they’re too wet, not getting enough air circulation, or are suffering from a fungal infection. If you see signs of rot, it’s often best to discard the affected cuttings and try again, ensuring better drainage and more airflow next time.
A Little Patience Goes a Long Way
Propagating plants is a journey, and sometimes it requires a bit of patience. Don’t get discouraged if your first few attempts aren’t perfect. Keep learning, keep experimenting, and most importantly, enjoy the process of nurturing these new little lives. Soon enough, you’ll have a collection of beautiful Schotia afra plants to share and enjoy! Happy gardening!
Resource:
https://identify.plantnet.org/k-world-flora/species/Schotia%20afra%20Thunb./data