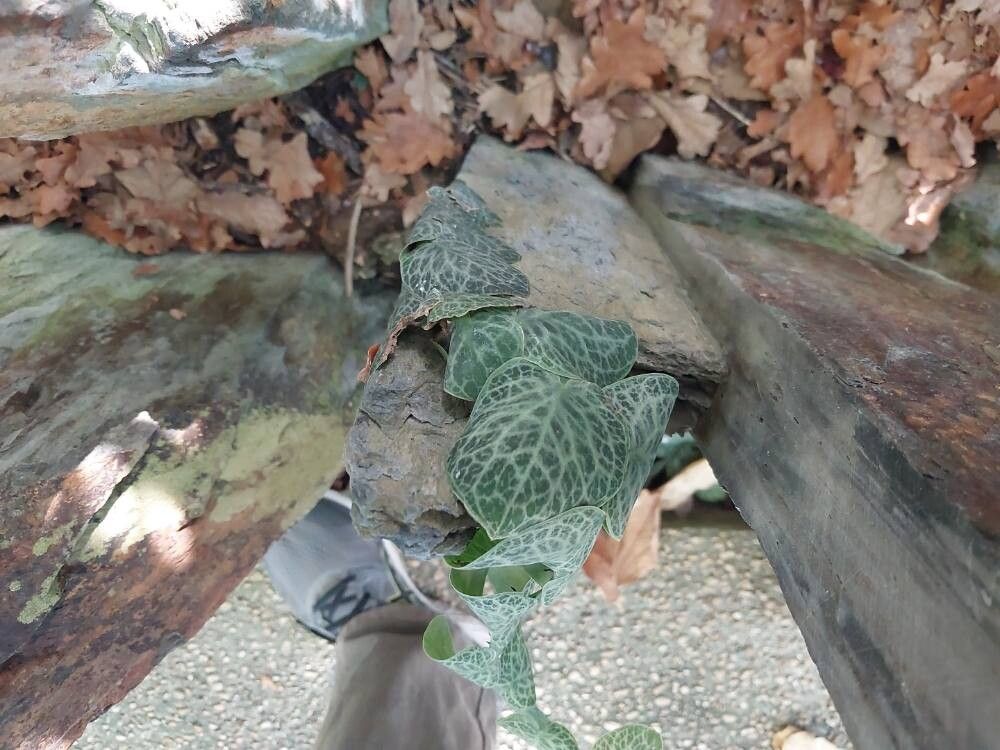
Hello there, fellow plant lovers! Today, we’re diving into the wonderful world of propagating Rhaphidophora cryptantha. If you’ve ever admired the glossy, heart-shaped leaves of this climbing aroid, you’re in for a treat. Getting more of these beauties from one is incredibly satisfying. Think of it as multiplying your joy!
Rhaphidophora cryptantha is a truly captivating plant. Its velvety leaves have a unique texture and a subtle shimmer that makes it stand out in any collection. Propagating it is a fantastic way to fill your home with more of its charm or even share the love with friends. Now, for the honest truth: cryptantha can be a little fussy, but with a bit of patience and these tips, you’ll do wonderfully. It’s not a beginner plant that’s guaranteed to sprout overnight, but it’s definitely achievable!
The Best Time to Start
Honestly, the sweet spot for propagating Rhaphidophora cryptantha is during its active growing season. This typically falls from late spring through summer. The plant has more energy to put into root development then. You want to start when the plant is healthy and putting out new growth. Avoid propagating from a plant that’s stressed or dormant.
Supplies You’ll Need
Here’s what you’ll want to have on hand:
- Sharp Pruning Shears or a Knife: Clean cuts are crucial for preventing infection.
- Rooting Hormone (Optional but Recommended): A good quality rooting powder or gel can significantly boost success.
- Sphagnum Moss: This is fantastic for its moisture-retention and aeration.
- Perlite or Orchid Bark: To add drainage and air pockets to your medium.
- Small Pots or Propagation Trays: Something to house your new cuttings.
- Clear Plastic Bag or Propagator Lid: To create a humid environment.
- Watering Can or Spray Bottle: For gentle watering.
- Aroid Potting Mix: A well-draining mix is key. I like to create my own with potting soil, perlite, and orchid bark.
Propagation Methods
The most reliable way to propagate Rhaphidophora cryptantha is through stem cuttings. Here’s how I do it:
- Identify a Healthy Stem: Look for a vigorous stem on your mature plant that has at least one to two nodes. Nodes are those little bumps where leaves or aerial roots emerge. These are where new roots will form.
- Make the Cut: Using your clean shears or knife, cut the stem just below a node. Try to include an aerial root if your cutting has one – it’s a bonus!
- Prepare the Cutting: Remove any lower leaves that would be submerged if you were to put the cutting in water or soil. This prevents rot. Dipping the cut end in rooting hormone is a great next step. Give it a gentle tap to remove excess.
- Choose Your Medium:
- Moss Propagation: Pack your pot or container with pre-moistened sphagnum moss. Gently insert the cut end of your cryptantha cutting into the moss, making sure the node is in good contact.
- Water Propagation: If you prefer water, place the cutting in a small jar or glass of lukewarm water. Make sure only the submerged part is wet, and the leaves are completely out of the water.
- Create a Humid Environment: Place the pot or jar inside a clear plastic bag or cover it with a propagator lid. This traps humidity, which is vital for cuttings to root without drying out.
- Provide Light and Warmth: Place your propagation setup in a spot with bright, indirect light. Avoid direct sun, as it can scorch the tender cutting. Gentle bottom heat from a heating mat can speed up the process but isn’t strictly necessary.
The “Secret Sauce” (Pro Tips)
Here are a few tricks I’ve learned over the years:
- The Node is Everything: I can’t stress this enough – always ensure at least one node is present and making contact with your rooting medium or water. This is where the magic happens.
- Don’t Drown Your Leaves: If you’re water propagating, never let the leaves touch the water. They’ll quickly turn yellow and rot, taking your cutting with them. Change the water every few days to keep it fresh.
- Air Layering Extraordinaire: For a more robust start, try air layering. Wrap a damp ball of sphagnum moss around the node and stem on the mother plant, then cover it with plastic wrap. Once roots are visible through the plastic, you can cut the rooted section off and plant it. This method often gives you a head start with established roots.
Aftercare & Troubleshooting
Once you see roots forming (which you might see peeking out of the moss or emerging from the stem in water), it’s time to be a little more hands-on.
- Transition to Soil: Carefully plant your rooted cutting into your well-draining aroid mix. Keep the soil consistently moist but not waterlogged.
- Maintain Humidity: Continue to provide high humidity for the first few weeks in its new pot. You can keep it in a larger propagator or tent it with a plastic bag. Gradually acclimate it to lower humidity as it establishes.
- Signs of Trouble: The most common culprit is rot. If your cutting turns black and mushy, or the leaves yellow and drop off quickly, it’s likely due to too much moisture or a lack of air circulation. If you see signs of rot, act fast. Remove the affected parts, and consider starting again with a fresh cutting, paying extra attention to drainage and not overwatering. Another sign of failure is no root development after a few weeks – sometimes, the cutting just isn’t viable. Don’t get discouraged!
A Little Patience Goes a Long Way
Propagating Rhaphidophora cryptantha is a journey. It requires a bit of watching, waiting, and a sprinkle of hope. Don’t be discouraged if your first attempt doesn’t yield a forest of new plants. Each cutting is a learning opportunity. Enjoy the process, celebrate every new root, and soon you’ll have more of these gorgeous climbers to adorn your space with. Happy propagating!
Resource: