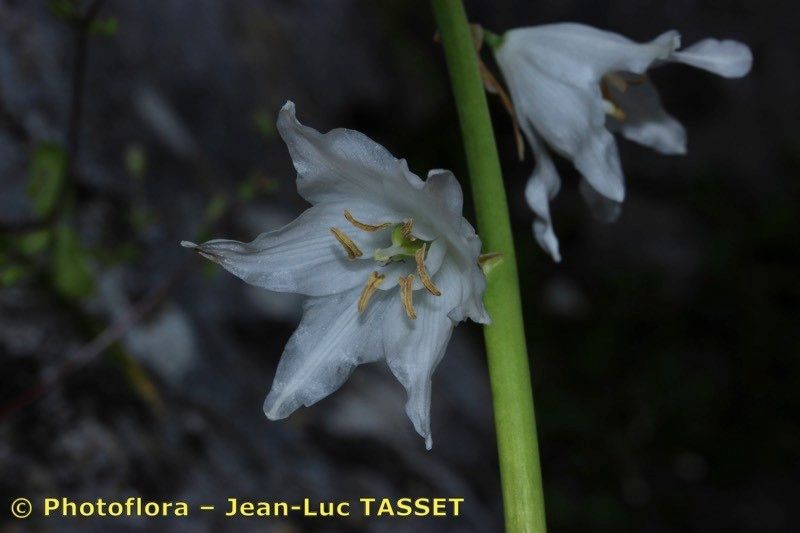
Hey there, fellow garden enthusiasts! Today, we’re diving into the wonderful world of propagating Ornithogalum reverchonii. If you’re like me, these elegant beauties, with their star-like blooms, have captured your heart. There’s something truly magical about nurturing a tiny piece of a plant into a whole new, thriving specimen. It’s a process that connects us more deeply with our garden, and honestly, it’s incredibly rewarding.
Now, if you’re new to the propagation game, Ornithogalum reverchonii might present a slight curveball. It’s not the absolute easiest plant to start from scratch, but with a little patience and the right approach, you’ll find success. Think of it as a delightful challenge that makes the eventual payoff even sweeter!
The Best Time to Start is Now… Well, Almost!
For Ornithogalum reverchonii, the sweet spot for propagation is generally during its active growing season, which usually means late spring or early summer. This is when the plant is full of energy and ready to put on a growth spurt. You’ll want to work with healthy, established plants. Trying to propagate when it’s dormant or stressed is like asking a sleepy cat to run a marathon – it’s just not going to happen.
Supplies You’ll Need: Your Propagation Toolkit
Gathering your tools before you begin makes the whole process much smoother. Here’s what I usually have on hand:
- Sharp, clean pruning shears or a sharp knife: For making clean cuts. Sterilize them with rubbing alcohol between cuts to prevent disease.
- Well-draining potting mix: A good blend often includes peat moss, perlite, and maybe some coarse sand. For Ornithogalum, I like a mix that’s a bit gritty.
- Small pots or trays: Clean containers with drainage holes are essential!
- Optional: Rooting hormone powder: This can give your cuttings a helpful boost.
- Watering can with a fine spray or mister: Gentle watering is key.
- Labels and a marker: Don’t forget to label your creations!
Propagation Methods: Let’s Get Our Hands Dirty!
The most reliable way to propagate Ornithogalum reverchonii is through division. This happens naturally as the bulbs produce offsets, or “bulbils,” around the base of the main bulb.
Division (Bulbil Separation):
- Digging Up: Gently unearth your Ornithogalum reverchonii plant during its dormant period, typically after flowering has finished and the foliage has started to yellow and die back. You can also carefully dig around the edges of established clumps during the growing season if you’re feeling brave, but dormancy is safer.
- Cleaning: Brush away the excess soil from the bulb and its offsets. You’ll likely see small, pea-sized to marble-sized bulbils attached to the main bulb, often covered in papery husks.
- Separating: Carefully twist or gently pull the bulbils away from the mother bulb. Try to keep the basal plate (the small, flat area at the bottom where roots emerge) intact on each bulbil. If a few roots are still attached, that’s a bonus!
- Drying (Optional but Recommended): If you’ve had to break any roots, or if the bulbils feel a little moist, it’s a good idea to let them air dry in a cool, dry place for a day or two. This helps any cuts to callus over, reducing the risk of rot.
- Planting: Fill your small pots with your well-draining potting mix. Plant each bulbil about 1-2 inches deep, ensuring the basal plate is facing downwards. Don’t crowd them; give them a little breathing room.
- Watering: Water gently after planting. You want the soil to be moist but not waterlogged.
The “Secret Sauce”: Insider Tips from the Garden Patch
Based on years in the garden, here are a couple of things that have made a real difference for me:
- Think “Dry Feet”: Ornithogalum bulbs absolutely hate sitting in soggy soil. It’s the quickest way to rot them from the get-go. When you’re watering, make sure you’re not drowning them. A light, consistent moisture is far better than a deluge.
- Be Patient with Bulbils: Those tiny bulbils are like baby plants – they need time and encouragement. Don’t expect them to bloom in their first year. You’ll likely see foliage emerge, and that’s fantastic! It means they’re establishing their root system. It can take 2-4 years before they mature enough to flower. Just keep them happy and healthy, and the blooms will come.
Aftercare & Troubleshooting: Nurturing Your New Arrivals
Once your bulbils are planted, place your pots in a location that receives bright, indirect sunlight. Avoid harsh, direct sun, especially when they’re just starting out.
Watering: Keep the soil consistently lightly moist, but never soggy. Allow the top inch of soil to dry out slightly between waterings.
Signs of Trouble: The biggest culprit here is rot. If you notice your bulbil becoming mushy, dark, and emitting an unpleasant odor, it’s likely rotted. This is usually due to overwatering or poor drainage. Sadly, a rotted bulb is usually a goner.
If you see no growth after a few weeks, don’t despair. Some bulbils are just slower to get going. Ensure they have consistent moisture and are in a warm-ish spot.
Happy Propagating!
Propagating Ornithogalum reverchonii is a journey, not a race. It requires a bit of patience, a keen eye, and a gentle hand. But watching those new little bulbs develop and eventually burst into flower is one of the most satisfying rewards a gardener can experience. So go ahead, get your hands dirty, and enjoy the magic of creating new life in your garden!
Resource: