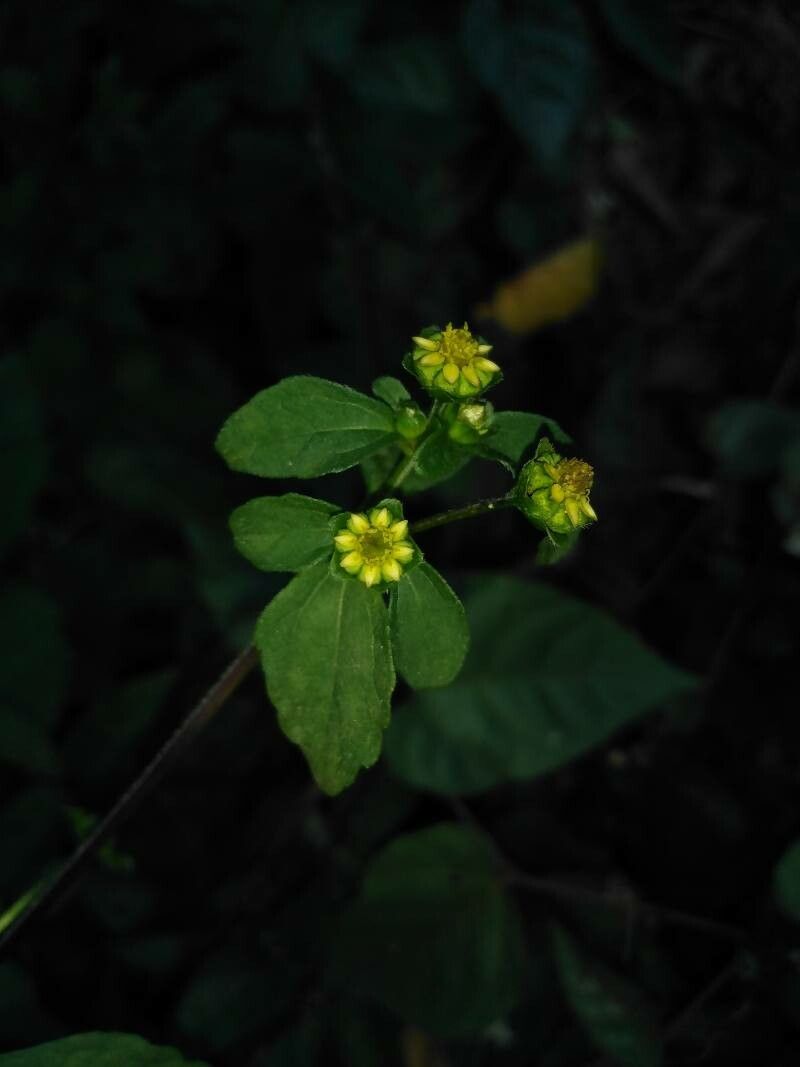
Hello fellow garden enthusiasts! It’s wonderful to have you here. Today, we’re diving into the cheerful world of Melampodium costaricense, often called the Costa Rican Melampodium. If you’re looking for a burst of sunshine yellow from spring until frost, and a plant that pollinators absolutely adore, you’ve found a winner. What’s even better is that this little beauty is surprisingly easy to propagate, making it a fantastic project for seasoned gardeners and beginners alike. Sharing these joyful plants with friends is one of my favorite garden rituals.
The Best Time to Start
For the highest success rate with Melampodium costaricense, I find that spring is absolutely the prime time to get started. As the days lengthen and the soil begins to warm, the plant is in full growth mode. Taking cuttings then means they have plenty of energy to root quickly. You can also have success with cuttings taken in early summer, but avoid the heat of late summer if possible, as stressed plants can be slower to establish.
Supplies You’ll Need
Gathering your tools beforehand makes the whole process smoother, doesn’t it? Here’s what I usually have on hand:
- Sharp pruning shears or a clean knife: For making clean cuts.
- Small pots or seed trays: For your new baby plants.
- Well-draining potting mix: A standard seedling mix is perfect. You can also add a bit of perlite to improve drainage even further.
- Rooting hormone (optional but recommended): This gives your cuttings a little boost.
- Plastic bags or a propagation dome: To create a humid environment.
- Watering can or spray bottle: For gentle watering.
Propagation Methods
Melampodium costaricense is a dream to propagate, mainly through stem cuttings. It’s straightforward and highly effective.
- Taking the Cuttings: In spring or early summer, look for healthy, non-flowering stems. Select a stem that is about 4-6 inches long. Using your sharp shears or knife, make a clean cut just below a leaf node (that little bump where a leaf emerges). Remove the bottom leaves from the cutting, leaving about 2-3 leaves at the top.
- Applying Rooting Hormone (Optional): If you’re using rooting hormone, dip the cut end of the stem into the powder or gel, tapping off any excess. This step isn’t strictly necessary for Melampodium, but it can speed things up.
- Planting Your Cuttings: Fill your small pots or trays with your prepared potting mix. Make a small hole in the center of the soil with your finger or a pencil. Gently insert the cut end of the stem into the hole, ensuring the leaf node from which you removed the leaves is below the soil surface. Firm the soil gently around the cutting.
- Creating Humidity: This is key! Water your cuttings gently. Then, cover the pots loosely with a plastic bag or place them under a propagation dome. This traps moisture and creates a mini-greenhouse effect, which is vital for root development. Make sure the leaves don’t touch the plastic if possible; if they do, you might need to prop up the bag slightly.
- Placement: Place your pots in a warm location with bright, indirect light. Avoid direct sun, which can scorch the tender cuttings.
The “Secret Sauce” (Pro Tips)
Here are a couple of little tricks I’ve picked up over the years that make a big difference:
- Warm Bottoms Up: If you have the option, placing your pots on a heated propagation mat can significantly speed up rooting. The warmth encourages root growth from below. It’s like a little spa treatment for your cuttings!
- Don’t Be Afraid to Mist: I like to lightly mist the foliage of the cuttings daily for the first week or two, in addition to keeping the soil moist. This helps prevent them from drying out while they’re working on developing roots.
Aftercare & Troubleshooting
Once your cuttings have been potted and are snug in their humid environment, check them regularly. You’ll know they’re rooting when you see new leaf growth or feel a gentle tug when you lightly tug on a cutting. This usually takes anywhere from 2 to 4 weeks.
When your new plants have developed a decent root system (you might see roots peeking out of the drainage holes), it’s time to gradually acclimate them to drier air. Remove the plastic bag or dome for increasing periods each day. Once they’ve handled a full day without it, you can transplant them into slightly larger pots or directly into your garden.
The most common issue you might encounter is rot. This usually happens if the soil stays too wet or if humidity is too high without adequate air circulation. If you see a cutting turning black and mushy, sadly, it’s likely lost. Remove it immediately to prevent the rot from spreading. Water sparingly, ensuring the soil can dry out slightly between waterings, and make sure there’s good airflow.
A Encouraging Closing
Propagating Melampodium costaricense is such a rewarding experience. It’s a fantastic way to multiply your garden’s cheer and share the joy with others. Be patient with your little cuttings; sometimes nature takes its time. Enjoy the process, the learning, and soon enough, you’ll have a whole patch of sunny yellow blooms to admire. Happy gardening!
Resource:
https://identify.plantnet.org/k-world-flora/species/Melampodium%20costaricense%20Stuessy/data