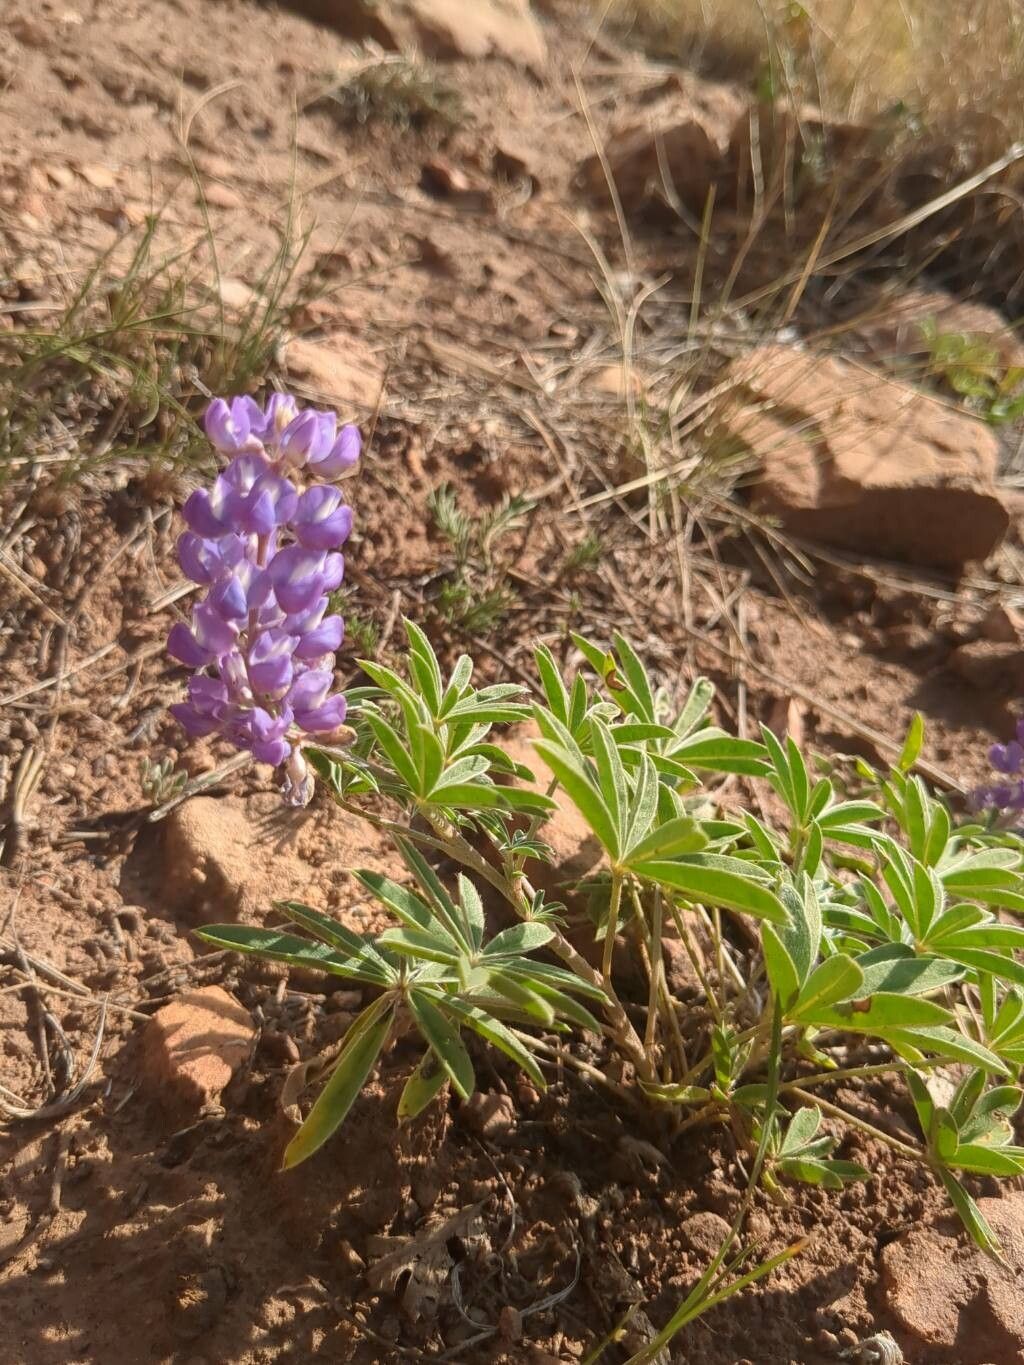
Hello, fellow garden enthusiasts! Today, we’re diving into the wonderful world of Lupinus hillii, often known as the Hill’s lupine or desert lupine. If you’ve ever seen these beauties gracing a sunny spot with their elegant, spiky blooms in shades of blue and purple, you know exactly why they capture our hearts. Propagating them is a fantastic way to fill your garden with more of their charm, and trust me, it’s a truly rewarding experience. Don’t worry, while some plants can be a bit finicky, Lupinus hillii is surprisingly approachable for beginners, which is wonderful news!
The Best Time to Start
For the highest chance of success, I always recommend starting your propagation efforts in late spring to early summer. This is when the plant is actively growing and has plenty of energy to dedicate to developing new roots. You’re looking for new, non-woody growth. Avoid trying to propagate from old, established stems or during the heat of summer, which can stress both the parent plant and your new cuttings.
Supplies You’ll Need
Here’s a quick rundown of what you’ll want to have on hand:
- Sharp pruning shears or a clean knife: For taking precise cuttings.
- A sterile potting mix: I like a blend of half peat moss and half perlite, or a good quality seed-starting mix. It needs to be light and well-draining.
- Rooting hormone (optional but recommended): This really gives your cuttings a boost. Look for one that’s good for herbaceous cuttings.
- Small pots or seed trays: With drainage holes, of course!
- Plastic bags or a propagation dome: To help maintain humidity.
- Watering can with a fine spray: To avoid disturbing your cuttings.
- A warm, bright location: But out of direct, harsh sunlight.
Propagation Methods: Let’s Get Our Hands Dirty!
While Lupinus hillii can indeed be grown from seed, I find stem cuttings yield the best results and are excellent for beginners. It’s a very satisfying process!
Taking Stem Cuttings:
- Select your stems: Look for healthy, new growth that’s about 3-4 inches long. You want stems that are flexible but not floppy. Gently bend one – if it snaps cleanly, it’s probably a good candidate.
- Make the cut: Using your clean shears or knife, make a clean cut just below a leaf node. This is the point where a leaf attaches to the stem, and it’s where roots are most likely to form.
- Prepare the cutting: Remove the lower leaves from the cutting, leaving just two or three sets of leaves at the tip. This reduces water loss and prevents leaves from rotting in your potting mix.
- Apply rooting hormone (if using): Dip the cut end of the stem into the rooting hormone powder, tapping off any excess.
- Plant your cutting: Moisten your chosen potting mix. Make a small hole in the center of the pot with your finger or a pencil. Gently insert the cut end of the stem into the hole, and firm the soil gently around it.
- Water gently: Give your cutting a light watering with the fine spray.
- Create a humid environment: Cover the pot with a plastic bag, securing it loosely around the rim, or place it under a propagation dome. This “mini-greenhouse” will keep the humidity high, which is crucial for preventing the cutting from drying out.
- Place in a bright spot: Put your cuttings in a location that receives bright, indirect light. A warm spot is ideal.
The “Secret Sauce” (Pro Tips)
Here are a couple of things I’ve learned over the years that really make a difference:
- Don’t let those precious leaves touch the soil! If any leaves are touching your potting mix, they’re just begging to rot. Trim them off before planting.
- Bottom heat is your friend. If you can, place your pots on a seed propagation mat. This gentle warmth from below encourages root development and significantly speeds up the process. You don’t need it too hot, just consistently warm.
Aftercare & Troubleshooting
Once your cuttings have been planted, patience is key!
- Keep the soil consistently moist but not soggy. Check the moisture level by touching the surface of the soil. If it feels dry, water gently.
- Watch for condensation on the inside of your plastic bag or dome. This is a good sign that your humidity is right. If there’s no condensation, you might need to mist it lightly.
- Look for signs of rooting. After a few weeks, you might notice new leaf growth appearing at the tip of your cutting. This is your best indicator that roots have formed! You can also give a very gentle tug – if there’s resistance, roots are likely there.
- Signs of trouble: The most common issue is rot. If your cutting turns mushy, black, or slimy, it’s likely rotted. This is usually caused by too much moisture and not enough air circulation or warmth. If you see this, unfortunately, it’s best to discard the cutting and start fresh, making sure your soil is well-draining and humidity is balanced.
A Little Patience Goes a Long Way
Propagating Lupinus hillii is a wonderful way to double your joy in the garden. Don’t be discouraged if your first few attempts aren’t perfect – we all start somewhere! Enjoy the process of nurturing these little life forms, and soon you’ll be rewarded with more of those stunning lupines gracing your space. Happy gardening!
Resource:
https://identify.plantnet.org/k-world-flora/species/Lupinus%20hillii%20Greene/data