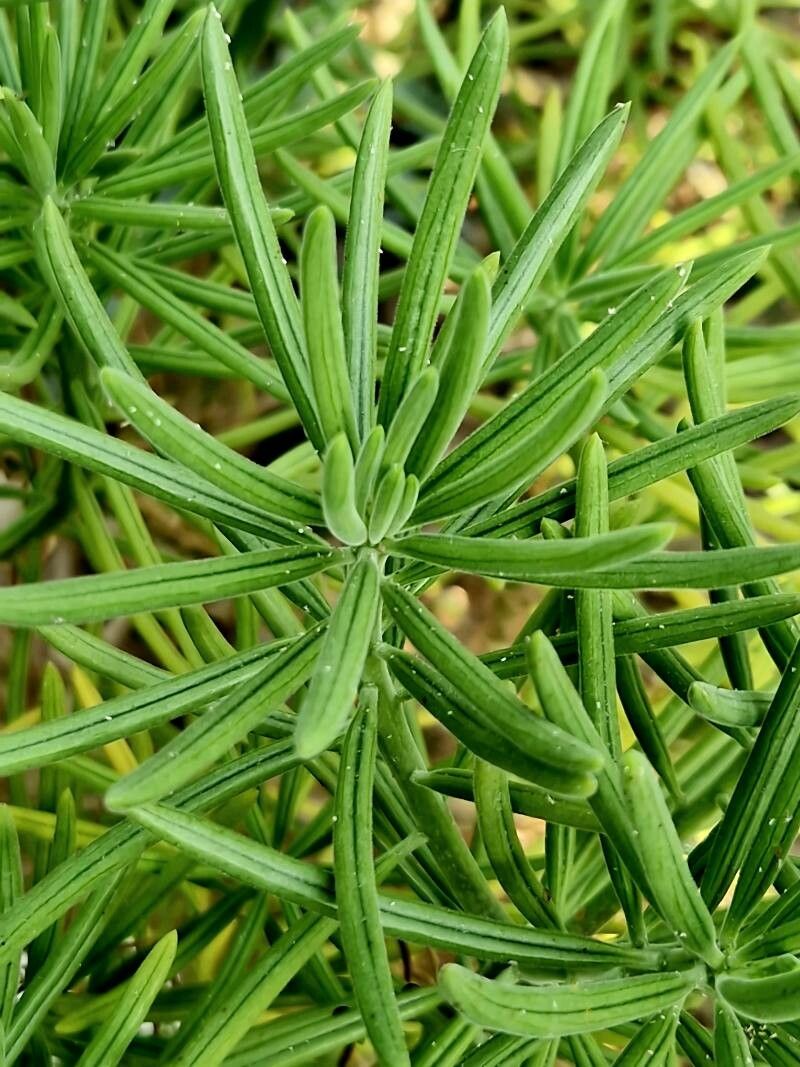
Oh, hello there! Come on in, pull up a chair. I’m so glad you’re interested in propagating Kleinia barbertonica. It’s a real gem, isn’t it? Those bright green, finger-like leaves just seem to glow, and they add such a unique texture to any collection. Plus, watching a tiny little cutting transform into a thriving plant is one of the greatest joys of gardening, if you ask me. And the good news? Kleinia barbertonica is wonderfully forgiving, making it a fantastic choice for beginners. You’ll be surprised at how easily you can fill your home with these cheerful succulents.
The Best Time to Start
When it comes to getting those new plants going, timing is everything. For Kleinia barbertonica, I find the late spring or early summer is absolutely perfect. This is when the plant is actively growing, full of energy, and ready to put out roots. You’ll have the best success if you take cuttings when the plant isn’t stressed, so avoid doing it during extreme heat or cold. Think of it as their prime time for growth and renewal.
Supplies You’ll Need
Before we get our hands dirty, let’s gather our tools. Having everything ready makes the process so much smoother.
- Sharp pruning shears or a clean knife: For making clean cuts.
- Potting mix: A well-draining succulent or cactus mix is ideal. You can also make your own by mixing potting soil with perlite or pumice.
- Small pots or seed trays: Whatever you have on hand will work, just make sure they have drainage holes.
- Rooting hormone (optional but recommended): This can give your cuttings a little boost.
- Watering can or spray bottle: For gentle watering.
- Labels: To keep track of your new plants, especially if you’re propagating more than one variety.
Propagation Methods
Kleinia barbertonica is a social plant, happily sharing its pieces to create new life. Here are the best ways to get started:
Stem Cuttings: My Go-To Method
This is my absolute favorite way to propagate Kleinia barbertonica, and it’s incredibly straightforward.
- Take your cuttings: Using your sharp shears, select a healthy stem that’s at least 3-4 inches long. Make a clean cut just above a leaf node. These nodes are the little swellings where leaves emerge.
- Let them callus: This is a crucial step! Place your cuttings in a dry, airy spot away from direct sunlight for about 3-7 days. You want the cut end to form a dry, protective “skin.” This prevents rot when you plant them. I usually just lay them on a piece of newspaper on my counter.
- Plant your cuttings: Once callused, dip the cut end into rooting hormone (if you’re using it). Then, gently insert the cuttings into your prepared, dry potting mix. Don’t bury them too deep; just enough so they stand upright. Give them a little wiggle to help the soil make contact with the cut end.
- Water sparingly: After planting, I like to wait a day or two before giving them their first drink. Water lightly, just enough to moisten the soil. Overwatering at this stage is the quickest way to invite rot.
Water Propagation: A Visual Treat
If you enjoy watching the roots emerge, water propagation is a fun option, though I find stem cuttings in soil usually yield stronger plants overall.
- Prepare your cutting: Take a healthy stem cutting as described above (you can skip the callusing step for water propagation).
- Place in water: Put the cut end of the stem into a small jar or vase filled with water. Make sure that no leaves are submerged in the water, as they will rot.
- Change water regularly: Change the water every few days to keep it fresh and prevent bacterial growth.
- Watch for roots: You should start to see small white roots appearing in a few weeks. Once the roots are about an inch long, it’s time to transplant them into soil.
The “Secret Sauce” (Pro Tips)
Over the years, I’ve picked up a few tricks that really make a difference. These aren’t complicated, but they’re worth remembering.
- Don’t be afraid of dry soil: While it feels counterintuitive, letting your newly planted cuttings dry out a bit between waterings is key to preventing rot. They’re looking for water in the soil, but they need that dry period to encourage strong root development.
- Bottom heat helps: If you have a seedling heat mat, placing your pots on it can significantly speed up root formation. It mimics the warmth of spring and gives those nascent roots a much-needed boost. I find it’s especially helpful if your house is a bit on the cooler side.
- Don’t over-handle: Resist the urge to tug on your cuttings to see if they have roots. This can break fragile new growth. Patience is truly a virtue here! I usually wait about 4-6 weeks before gently trying to see if there’s any resistance when I give a very light tug.
Aftercare & Troubleshooting
Once you see signs of new growth – tiny leaves or a noticeable increase in height – it means roots have formed! Congratulations!
Continue to water sparingly, allowing the soil to dry out between waterings. As the plant gets more established, you can gradually increase the watering frequency. When your cuttings are looking robust and feel secure in their pot, you can treat them like any other mature Kleinia barbertonica.
The most common issue you’ll encounter is rot. If a cutting turns mushy, black, or slimy at the base, it’s usually a sign of too much moisture. If you catch it early, you might be able to salvage a healthy section of the stem and try again, ensuring proper callusing and drier soil conditions. Sometimes, a cutting just doesn’t take; it’s part of the process, and we learn as we go.
A Encouraging Closing
So there you have it! Propagating Kleinia barbertonica is a beautiful, rewarding journey. Don’t be discouraged if your first attempt isn’t perfect. Every gardener has their share of casualties – it’s just part of learning to speak the language of plants. Be patient, enjoy the process, and before you know it, you’ll have a whole little army of these wonderful succulents to share with friends or fill your own sunny windows. Happy planting!
Resource: