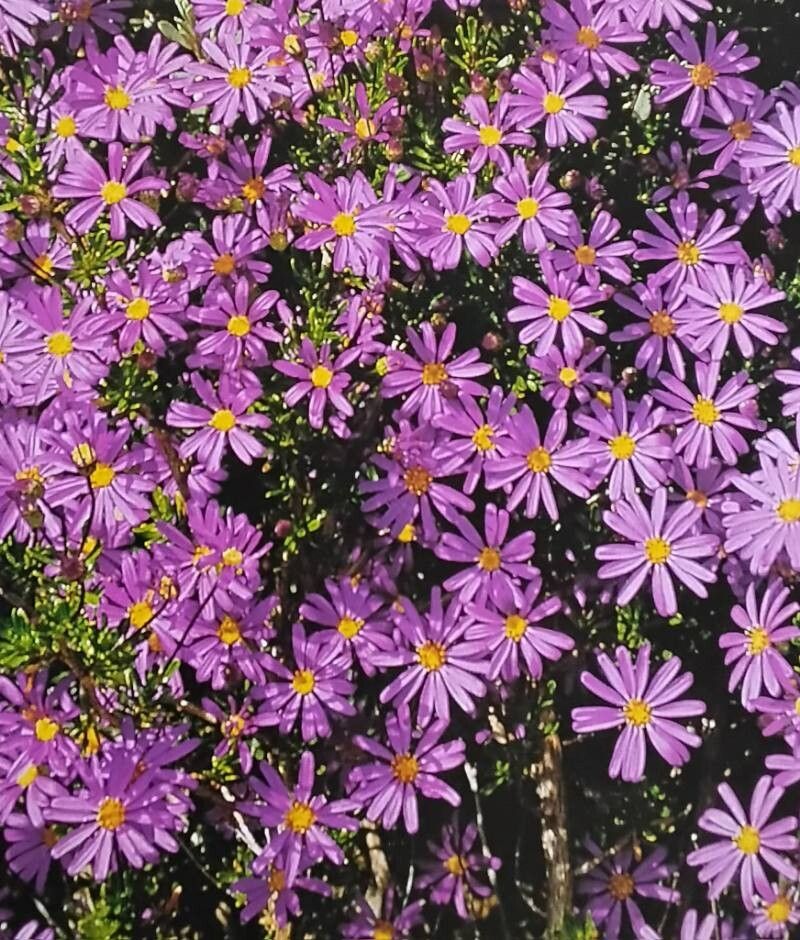
Oh, Felicia fruticosa! You know, those cheerful little daisy-like blooms always bring a smile to my face. With their delicate blue petals and sunny yellow centers, they’re just delightful, aren’t they? If you’re anything like me, once you fall in love with a plant, you want more of it, and propagating Felicia fruticosa is a wonderful way to fill your garden with this joy.
Now, I’ll be honest with you, this isn’t the absolute easiest plant for a complete novice to propagate, but it’s certainly not impossible with a little care and attention. Think of it as a rewarding challenge, a chance to really hone your gardening skills. The satisfaction of watching a tiny cutting transform into a thriving new plant? Priceless.
The Best Time to Start
For the best success with Felicia fruticosa, I always find late spring to early summer is the sweet spot. This is when the plant is actively growing, producing lovely new stems that are perfect for taking cuttings. You want to be looking for healthy, non-flowering shoots that are about 3-4 inches long and have a bit of flexibility to them. Avoid woody, old stems.
Supplies You’ll Need
Before we dive in, let’s make sure you have everything ready. Nothing makes me crazier than being halfway through a process and realizing I’m missing a key tool!
- Sharp pruning shears or a clean knife: For making those precise cuts.
- Rooting hormone (optional but recommended): A little boost can really help.
- Seed-starting mix or a light, well-draining potting mix: Something airy is crucial. I often use a mix of peat, perlite, and a touch of coarse sand.
- Small pots or trays: With drainage holes, of course!
- Plastic bags or a propagator lid: To create a humid environment.
- Watering can with a fine rose: For gentle watering.
- Labels: To remember what you’ve potted!
Propagation Methods
The most reliable way to propagate Felicia fruticosa, in my experience, is through stem cuttings. It’s straightforward and usually gives fantastic results.
Stem Cuttings How-To:
- Select Your Cuttings: As I mentioned, look for healthy, new growth. Grasp a stem firmly and twist or cut it cleanly from the parent plant. You’re aiming for cuttings that are about 3-4 inches long.
- Prepare the Cuttings: Remove the lower leaves from the stem, leaving just the top few. This prevents them from rotting when they’re in the soil. If your cutting is very long, you can even cut it in half horizontally.
- Apply Rooting Hormone (Optional): Dip the cut end of the stem into a small amount of rooting hormone powder or gel. Tap off any excess.
- Plant Your Cuttings: Make a small hole in your prepared potting mix with a pencil or your finger. Gently insert the cut end of the stem into the hole, ensuring the leaf nodes (where the leaves were) are buried.
- Water Gently: Water the soil thoroughly but gently, allowing any excess water to drain away.
- Create Humidity: This is key! Place a clear plastic bag over the pot or secure a propagator lid. This creates a mini-greenhouse effect, keeping the humidity high, which is essential for cuttings to root. Make sure the leaves don’t touch the sides of the bag if possible.
- Provide Bright, Indirect Light: Place your pots in a bright spot, but out of direct, hot sunlight.
The “Secret Sauce” (Pro Tips)
Now, for a couple of my little tricks that have helped me over the years. These aren’t strictly necessary, but they can make a world of difference.
- Bottom Heat is Your Friend: If you have a seedling heat mat, placing your pots on it can significantly speed up root development. It mimics the warmth of spring soil and encourages those roots to come out and play. You don’t need it scorching hot – just gently warm.
- Don’t Drown Them! While humidity is important, waterlogged soil is the fastest way to rot your precious cuttings. When you water, ensure the pot drains freely. I usually water mine thoroughly once initially, and then only water again when the top inch of soil feels dry to the touch. This is where checking the soil moisture is so important.
- Take More Than You Think You Need: Not every cutting will strike. It’s just the nature of the game. So, take a few extra cuttings than you actually plan to pot. That way, if a few don’t make it, you’ll still end up with a lovely batch of new plants.
Aftercare & Troubleshooting
Once you’ve potted your cuttings and they’re settling in, patience is key! You want to keep the soil consistently moist but not soggy. Continue to provide that bright, indirect light and that humid environment.
You’ll know your cuttings are rooting when you see new leaf growth and, if you gently tug on the cutting, you feel resistance – those roots are holding on! This can take anywhere from 3 to 6 weeks, sometimes longer.
The most common issue you might encounter is rot. If a cutting turns black and mushy, it’s usually a sign of too much moisture and not enough air circulation. Remove any affected cuttings immediately to prevent it from spreading. This is another reason why using a well-draining mix is so vital.
A Encouraging Closing
So there you have it! Propagating Felicia fruticosa is a deeply satisfying gardening endeavor. Don’t be discouraged if your first attempt isn’t perfect. Every gardener has had their share of cuttings that just didn’t take. Keep at it, enjoy the process of nurturing these little plants, and soon you’ll have a whole collection of these beauties to share and enjoy. Happy gardening!
Resource:
https://identify.plantnet.org/k-world-flora/species/Felicia%20fruticosa%20(L.)%20G.Nicholson/data