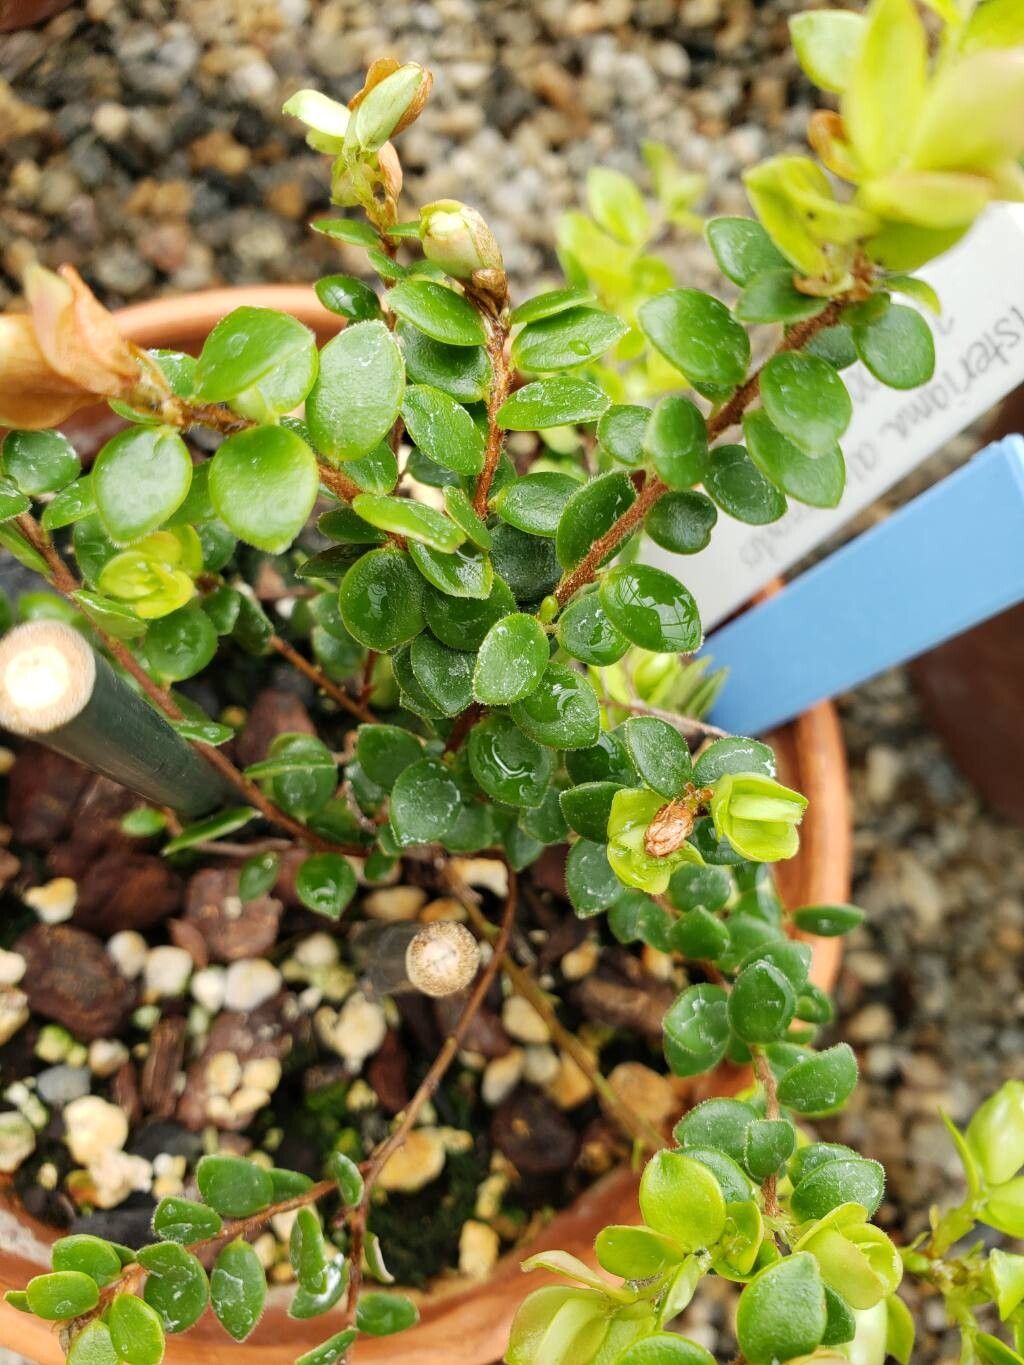
Hello fellow plant enthusiasts! I’m so excited to share a little bit about a plant that’s captured my heart over the years: Disterigma alaternoides. This beauty, with its delicate, bell-shaped flowers and lush foliage, brings a touch of the tropics right into our gardens or homes. Watching a tiny cutting develop into a new, thriving plant is one of the most rewarding experiences a gardener can have, and Disterigma is a wonderful subject for this journey. While it’s not the absolute easiest plant for a complete beginner, with a little care and attention, you’ll find success is very achievable.
The Best Time to Start
For the most vigorous growth and the highest chance of success, I always aim to take cuttings in the late spring or early summer. This is when the plant is actively growing and has plenty of energy to put into root development. Look for stems that are semi-hardwood – not brand new, soft growth, but not old, woody growth either. They should have a little flexibility but feel sturdy.
Supplies You’ll Need
Gathering your supplies beforehand makes the whole process much smoother! Here’s what you’ll want to have on hand:
- Sharp Pruning Shears or a Clean Knife: For making clean cuts.
- Rooting Hormone (Optional, but Recommended): A powder or gel will significantly boost your success rate.
- Well-Draining Potting Mix: I like a mix of equal parts peat moss or coco coir, perlite, and a little bit of sterilized compost. For Disterigma, a lighter mix is key to prevent waterlogging.
- Small Pots or Seedling Trays: With drainage holes!
- Plastic Bags or a Clear Dome: To create a humid microclimate.
- Watering Can or Mister: For gentle watering.
- Gloves (Optional): If you prefer to keep your hands clean.
- A Small Stakes or Wooden Skewers (Optional): To prop up the plastic bag.
Propagation Methods: Stem Cuttings
This is by far my favorite and most successful method for Disterigma. It’s straightforward and yields great results.
- Select Your Stems: On a healthy, established plant, choose several non-flowering stems. Look for those semi-hardwood ones I mentioned.
- Make the Cut: Using your sharp shears, make a clean cut just below a leaf node. A leaf node is where a leaf meets the stem; this is where roots are most likely to form. Aim for cuttings that are about 4-6 inches long.
- Prepare the Cutting: Gently remove the lower leaves, leaving just 2-3 at the top. This prevents them from rotting in the soil and reduces water loss. If your leaves are particularly large, you can even cut them in half horizontally.
- Apply Rooting Hormone: Dip the cut end of the stem into your rooting hormone, tapping off any excess.
- Plant the Cuttings: Fill your small pots with your well-draining potting mix. Make a small hole in the center with your finger or a pencil and insert the cutting, ensuring the leaf nodes you removed are below the soil surface. Gently firm the soil around the stem.
- Water Gently: Water thoroughly but gently, ensuring the soil is moist but not soggy.
- Create Humidity: Cover the pot with a clear plastic bag, securing it around the rim with a rubber band. You can use small stakes to prop up the bag so it doesn’t touch the leaves. Alternatively, a clear plastic dome works wonders. Place the pot in a warm spot with bright, indirect light.
The “Secret Sauce” (Pro Tips)
Over the years, I’ve picked up a few tricks that seem to make all the difference with my cuttings, especially for plants like Disterigma.
- Don’t Overcrowd: Give your cuttings space. Trying to cram too many into one pot increases the risk of fungal diseases spreading if one starts to struggle. Better to have a few healthy ones than many struggling ones.
- Bottom Heat is Your Friend: If you can, place your pots on a heated propagation mat. This gentle warmth from below mimics ideal soil temperatures for root development and can dramatically speed up the process. It’s like giving the roots a cozy, encouraging environment to grow.
- The Gentle Tap Test: Once you think your cuttings might be rooted (usually after 4-6 weeks), give them a very gentle tug. If you feel resistance, that’s a good sign roots have formed. If it pulls out easily, it’s not ready yet.
Aftercare & Troubleshooting
Once you see new leaf growth on your cutting, that’s usually a very good sign that roots have formed!
- Gradual Acclimation: Slowly start to remove the plastic bag or dome for an hour or two each day, gradually increasing the time until you can remove it completely. This helps the new plant adjust to the lower humidity of your home.
- Watering: Continue to keep the soil consistently moist but never soggy. Water when the top inch of soil feels dry to the touch.
- Transplanting: Once the new plant has a decent root system and is growing well, you can transplant it into a slightly larger pot with fresh potting mix.
What if things go wrong? The most common issue you’ll face is rot. If your cutting turns mushy, black, or starts to droop dramatically, it’s likely succumbed to rot. This is usually due to overwatering and poor air circulation. If you see this, remove the affected cutting immediately to prevent it from spreading. Sometimes, it’s just a matter of bad luck, and that’s okay! Don’t get discouraged; try again.
A Encouraging Closing
Propagating Disterigma alaternoides is a beautiful way to connect with nature and expand your plant collection. Be patient with your cuttings. They have their own timeline, and sometimes it feels like they’re taking forever. But when that first tiny leaf unfurls, or you see roots peeking out of the drainage hole, the satisfaction is immense. Enjoy the process, learn from each attempt, and before you know it, you’ll be sharing your homegrown Disterigma with friends! Happy gardening!
Resource:
https://identify.plantnet.org/k-world-flora/species/Disterigma%20alaternoides%20(Kunth)%20Nied./data