Hello fellow plant lovers!
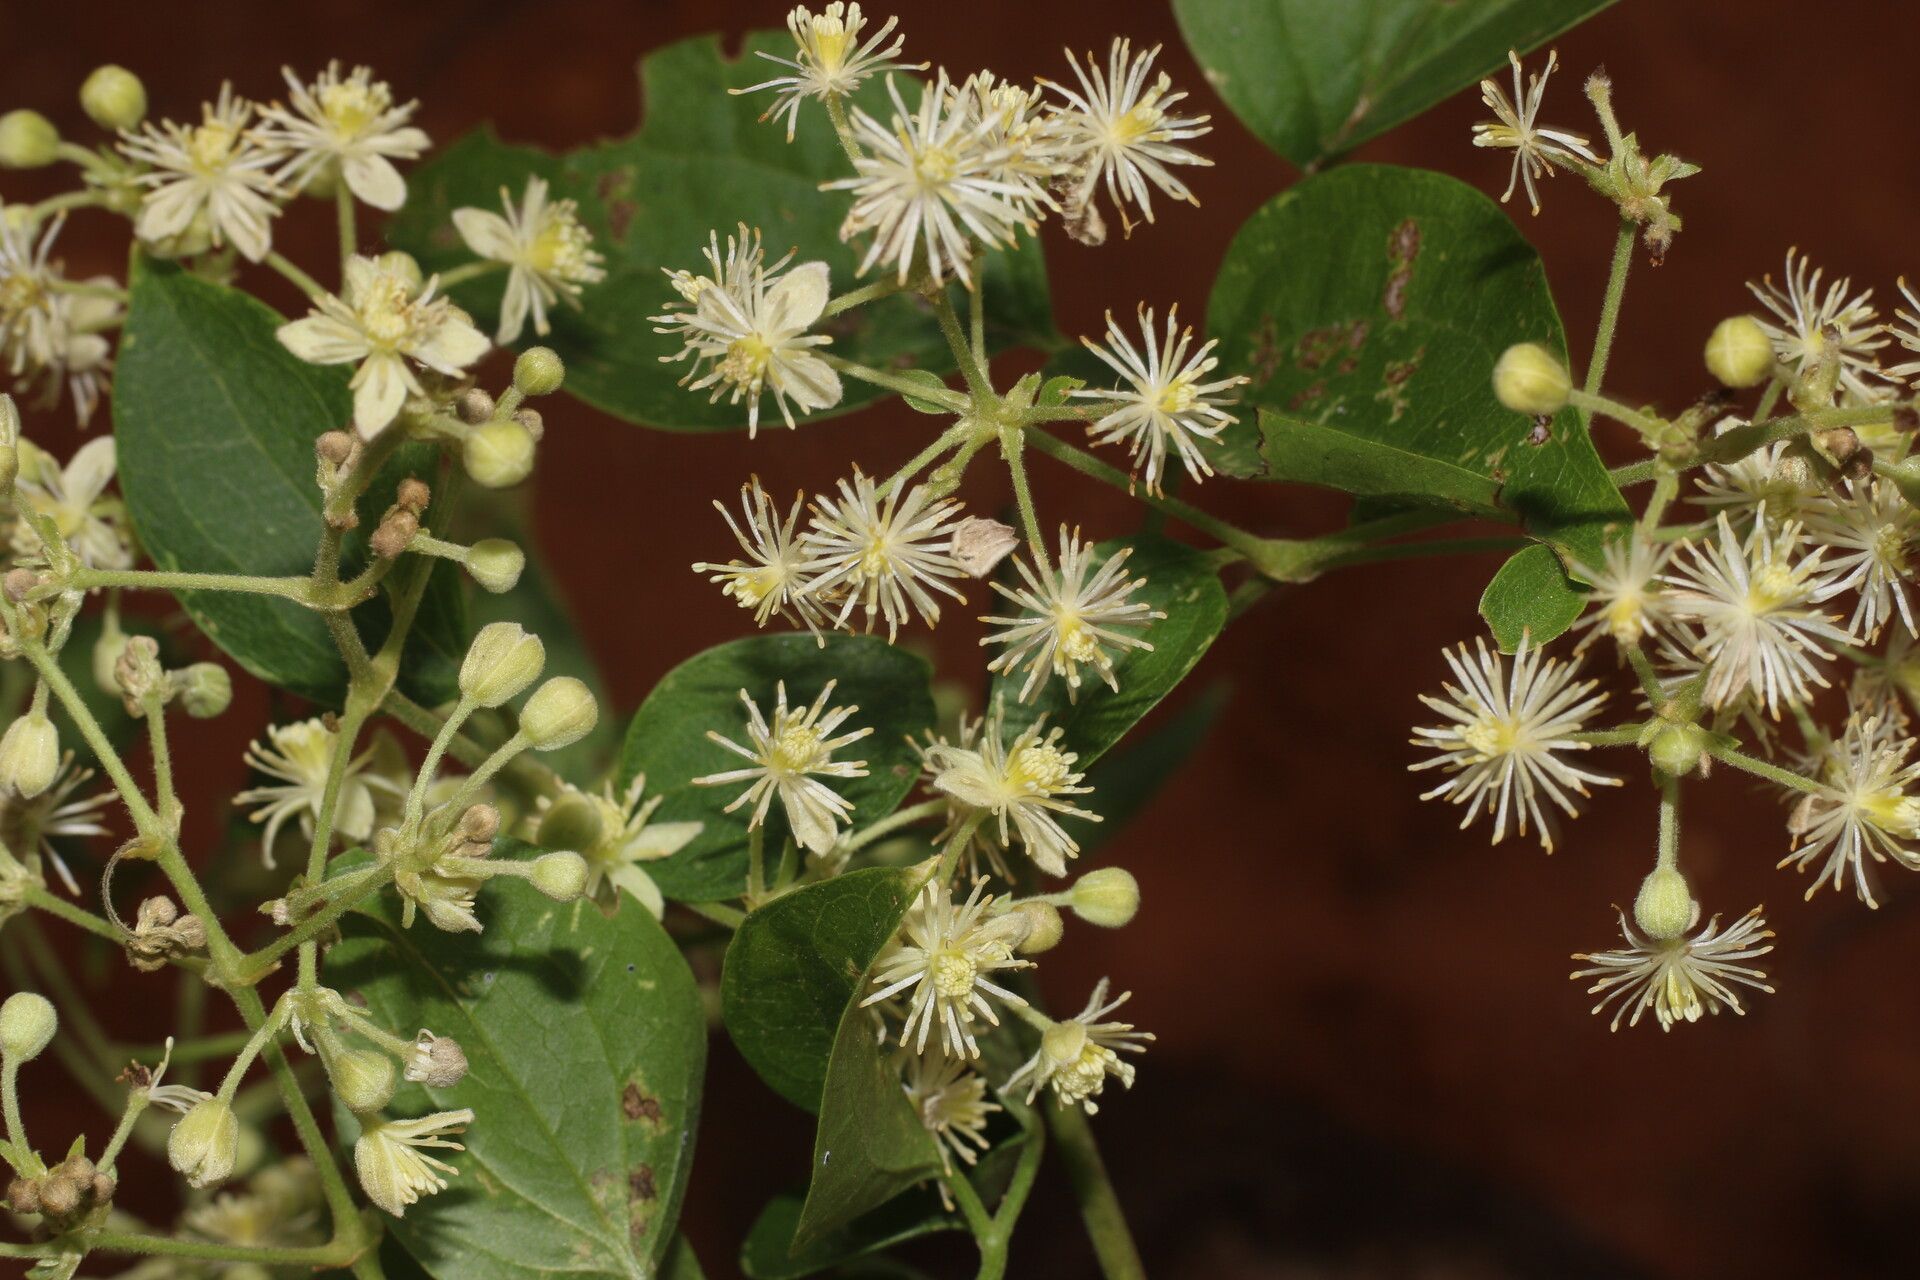
Today, we’re diving into the wonderfully wild world of Clematis acapulcensis, the Mexican virginbower. If you’ve ever been captivated by its delicate, starry white flowers that cascade down in late summer and into fall, you’re in for a treat. Propagating these beauties is such a rewarding way to expand your garden, or even to share the magic with friends. Now, I’ll be honest, Clematis acapulcensis can be a little more finicky than some of your common houseplants, but with a bit of patience and the right approach, you’ll be well on your way to success. It’s definitely achievable for those willing to try!
The Best Time to Start
For the highest chance of success, I find that late spring to early summer, just after the plant has finished its initial flush of growth but before the real heat of the summer sets in, is absolutely prime time. You’re looking for healthy, yet not overly woody, stems. Younger, more pliable growth is your friend here.
Supplies You’ll Need
Gathering your tools beforehand makes the whole process so much smoother. Here’s what I typically have on hand:
- Sharp Pruning Shears or a Craft Knife: For clean cuts that heal quickly.
- Rooting Hormone: A powdered or liquid form will do. This is your secret weapon!
- Potting Mix: A well-draining mix is crucial. I usually use a blend of equal parts peat moss (or coco coir), perlite, and a bit of garden soil.
- Small Pots or Propagation Trays: With drainage holes, of course!
- Plastic Bags or a Clear Dome: To create a humid environment.
- Watering Can with a Fine Rose: For gentle watering.
- Labels: Don’t underestimate the need to remember what you’ve planted!
Propagation Methods
While dividing established plants can work for some clematis, for Clematis acapulcensis, I find stem cuttings to be the most reliable and rewarding method.
Here’s how I do it:
- Take Cuttings: Using your sharp pruning shears, select a healthy, non-flowering stem. Look for a section that’s about 4-6 inches long and has at least two sets of leaves. Make your cut just below a leaf node (where a leaf attaches to the stem). You want to get as close to the node as possible.
- Prepare the Cuttings: Gently remove the leaves from the bottom half of the cutting, leaving just one or two at the top. This prevents them from rotting in the soil. If the remaining leaves are very large, you can trim them in half to reduce water loss.
- Apply Rooting Hormone: Dip the bottom end of each cutting into your rooting hormone, tapping off any excess. This really kickstarts the root development.
- Plant Your Cuttings: Fill your pots or trays with your prepared well-draining potting mix. Make a small hole in the center of the soil with a pencil or your finger. Gently insert the prepared cutting into the hole, ensuring the rooting hormone remains on the cut end and it touches the soil. Firm the soil gently around the base of the cutting.
- Create a Humid Environment: Water the soil lightly. Then, either cover the pot with a clear plastic bag (making sure the leaves don’t touch the plastic directly) or place a clear dome over your tray. This traps humidity, which is vital for the cuttings to thrive before they develop roots.
The “Secret Sauce” (Pro Tips)
Here’s where a little bit of experience comes in handy!
- Bottom Heat is Your Best Friend: If you have a seedling mat or can place your pots on a warm surface (like a gently heated windowsill), this will significantly speed up the rooting process. Clematis roots love a bit of warmth to get going!
- Don’t Overwater, but Don’t Let Them Dry Out: This is a delicate balance. The soil should stay consistently moist but never soggy. If you poke your finger in and it feels dry, it’s time for a gentle watering. Too much water is the quickest way to invite rot.
- Patience with Leaf Drop: Sometimes, a cutting might start to drop its upper leaves. Don’t panic! As long as the stem itself looks firm and there’s no obvious rot, it might just be conserving energy to focus on root growth. Keep an eye out for new tiny leaf buds appearing.
Aftercare & Troubleshooting
Once you start to see new leafy growth appearing on your cuttings, that’s a fantastic sign! It means roots are developing underneath. Gradually begin to acclimate them to your greenhouse or home environment by opening the plastic bag or dome for increasing periods each day.
The most common issue you might encounter is rot. If you notice the stem turning mushy, black, or developing a foul smell, it’s likely succumbed to rot. This usually means the environment was too wet or not well-ventilated enough. Don’t be discouraged if this happens; just try again with improved air circulation and careful watering.
A Gentle Closing
Propagating clematis is a journey, not a race. It requires a bit of observation and a whole lot of hope. Don’t be afraid to experiment and learn from each attempt. The joy of seeing a tiny cutting unfurl its first new leaf, knowing you coaxed it into existence, is truly unparalleled. Happy propagating, and may your gardens bloom beautifully!
Resource:
https://identify.plantnet.org/k-world-flora/species/Clematis%20acapulcensis%20Hook.%20&%20Arn./data