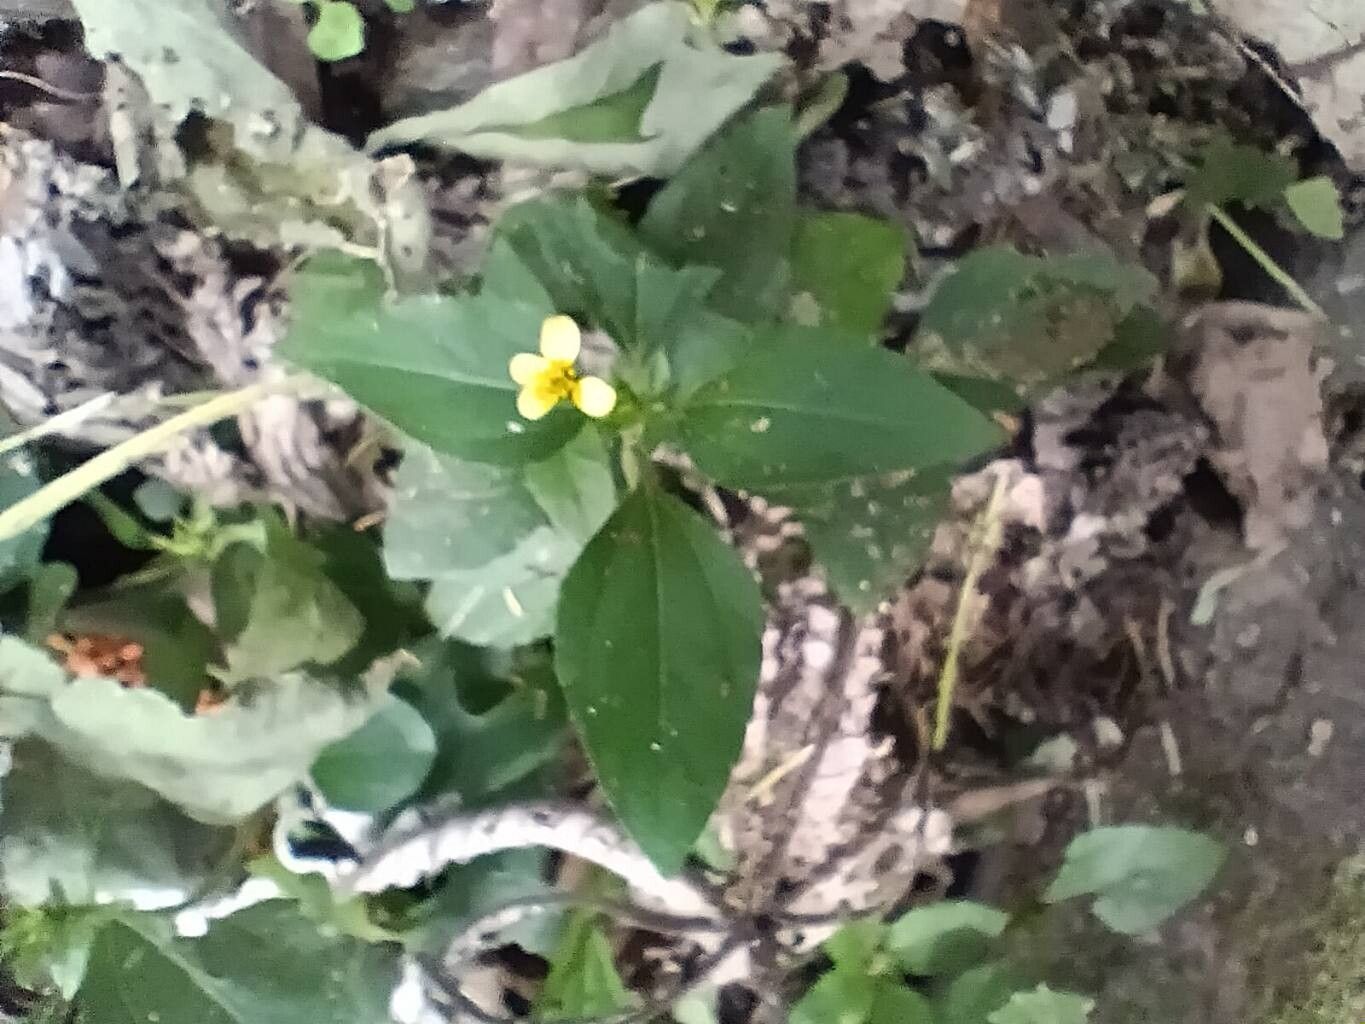
Hey there, fellow garden enthusiasts! Today, I want to chat about a plant that’s stolen a little piece of my heart: Calyptocarpus wendlandii. You might know it by its common name, the Velvet Leaf, and let me tell you, that name is spot on. Its leaves are just this irresistible, fuzzy texture, and when they catch the light, it’s pure magic. Plus, it rewards us with these charming little yellow daisy-like flowers that look like sunshine sprinkled across its foliage.
Now, if you’re thinking of adding more of this beauty to your life, you’ll be happy to know that propagating Calyptocarpus wendlandii is a truly rewarding experience, and it’s surprisingly easy, even for those just dipping their toes into the world of plant propagation. You’ll be amazed at how quickly you can fill your home or garden with new little velveteen wonders!
The Best Time to Start
When it comes to getting the most bang for your propagation buck, I find that late spring through early summer is your sweet spot. This is when the plant is actively growing and has plenty of energy to dedicate to putting out new roots. However, I’ve had success with cuttings taken in other warmer months too, so don’t be afraid to experiment if the timing isn’t perfect. Just aim for when your plant is looking robust and happy, not stressed.
Supplies You’ll Need
Before we get our hands dirty, let’s gather our tools. Here’s what you’ll want to have on hand:
- Sharp Pruning Shears or a Clean Knife: For making clean cuts.
- Rooting Hormone (Optional but Recommended): This gives your cuttings a little boost.
- Small Pots or Propagation Trays: About 3-4 inches is usually a good size.
- Well-Draining Potting Mix: I like a blend of peat moss, perlite, and a little bit of compost. You can often find commercially available seed-starting or succulent mixes that work wonderfully.
- Watering Can or Spray Bottle: For gentle watering.
- Clear Plastic Bags or a Propagation Dome: To create a humid environment.
- Labels and a Marker: To keep track of your new green babies!
Propagation Methods: Let’s Get Growing!
The easiest and most successful way I’ve found to propagate Calyptocarpus wendlandii is through stem cuttings. It’s straightforward and yields fantastic results.
Stem Cuttings:
- Select Your Cuttings: Look for healthy, non-flowering stems on your mature plant. You want stems that are firm but not woody. Aim for pieces about 4-6 inches long, with at least two to three sets of leaves.
- Make the Cut: Using your sharp pruning shears or knife, make a clean cut just below a leaf node (where a leaf attaches to the stem). This is where the plant is most likely to sprout roots.
- Prepare the Cutting: Gently remove the lower leaves, leaving just the top set or two. This prevents them from rotting in the soil.
- Apply Rooting Hormone (Optional): Dip the cut end of the stem into rooting hormone, tapping off any excess. This step isn’t strictly necessary for Calyptocarpus wendlandii, but it can speed up the process.
- Plant Your Cuttings: Make a small hole in your prepared potting mix with your finger or a pencil. Insert the cut end of the stem into the soil, ensuring the remaining leaves are above the soil line. Gently firm the soil around the stem.
- Water Lightly: Water the soil gently until it’s evenly moist, but not waterlogged.
- Create Humidity: Cover the pot with a clear plastic bag or a propagation dome. Make sure the bag doesn’t touch the leaves. You can use stakes to keep it propped up. This traps moisture and creates a greenhouse effect that encourages rooting.
Water Propagation (A Simpler Option):
If you prefer a no-soil approach to start, water propagation is a great alternative.
- Prepare Cuttings: Follow steps 1-3 for stem cuttings above.
- Place in Water: Fill a clean glass or jar with fresh water. Place the stem cuttings in the water, making sure the leaf nodes are submerged but not the leaves themselves.
- Find a Bright Spot: Place the container in a bright location, away from direct, intense sunlight.
- Change Water Regularly: Change the water every few days to keep it fresh and prevent bacterial growth. You’ll start to see tiny white roots emerging from the nodes within a few weeks.
- Transplant: Once the roots are about an inch long, you can carefully transplant them into soil, following the same potting instructions as for stem cuttings.
The “Secret Sauce” (Pro Tips)
Now, for a couple of little tricks I’ve picked up along the way that really seem to make a difference:
- “Don’t Let the Leaves Touch the Water!” This is absolutely crucial if you’re water propagating. Any leaves submerged in water will quickly start to rot, which can kill your cutting before it even has a chance to root. Keep those leaves high and dry!
- “Bottom Heat is Your Friend.” If you can provide a little warmth from below, your cuttings will be so grateful. A heating mat designed for seedlings can significantly speed up root development. It mimics the warmth of spring soil and really encourages those roots to get moving. Just place your pots on top of it.
Aftercare & Troubleshooting
Once you start seeing those first signs of new growth or a healthy root system emerging, that’s your cue!
- Acclimatization: If you used a plastic bag or dome, gradually introduce your new plant to drier air. Start by removing the cover for an hour or two each day, increasing the time until the cover is completely removed. This prevents shock.
- Watering: Water your new plants when the top inch of soil feels dry to the touch. Be careful not to overwater, as this is a common cause of problems.
- Light: Place your young plants in a bright, indirect light location. Direct sun can still be too harsh for tender new growth.
Now, what if things don’t go as planned? Don’t get discouraged!
- Rotting: If your cuttings turn black and mushy at the base, it’s usually a sign of overwatering or poor drainage. Make sure your soil mix is airy and only water when necessary.
- No Roots: If after several weeks you see no signs of rooting, it might be that the cutting wasn’t viable, the conditions weren’t right, or it just needs more time. Don’t be afraid to try again!
A Little Patience, A Lot of Joy
Propagating Calyptocarpus wendlandii is such a satisfying way to expand your collection. There’s a special kind of joy in nurturing a tiny cutting into a thriving plant. Be patient with the process, observe your cuttings closely, and most importantly, enjoy the journey. Happy propagating!
Resource:
https://identify.plantnet.org/k-world-flora/species/Calyptocarpus%20wendlandii%20Sch.Bip./data