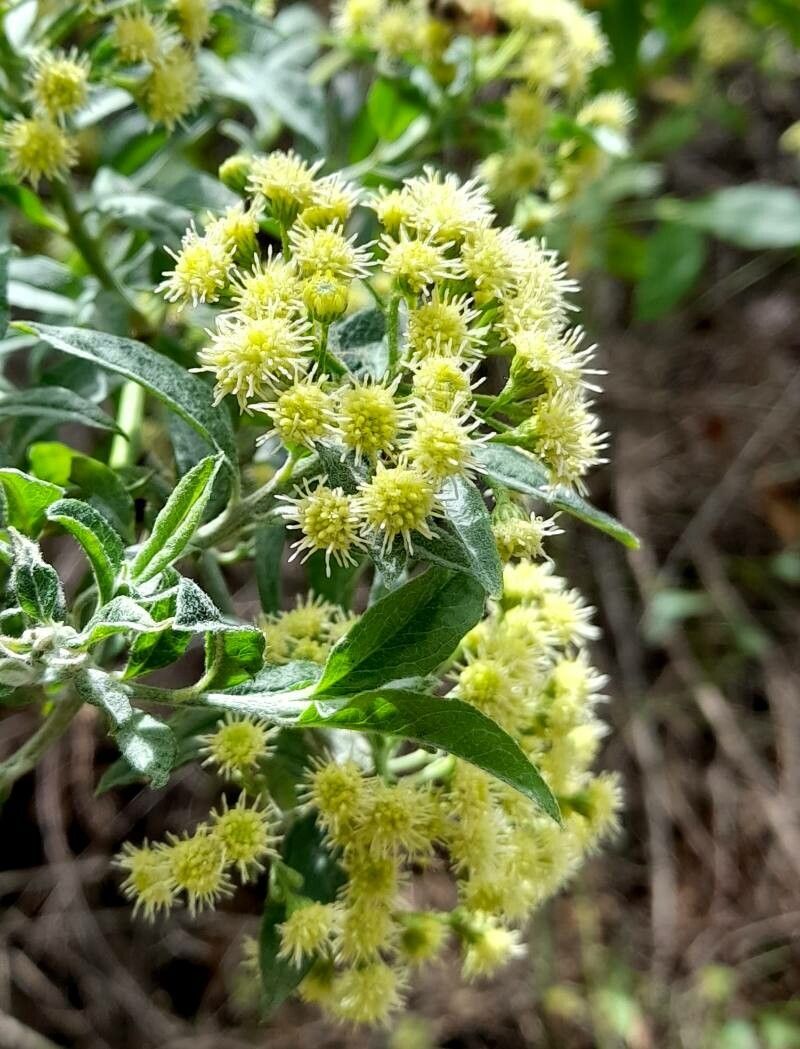
Oh, Baccharis pentlandii! What a beauty. I’ve always loved its delicate, airy foliage and the way it dances in the breeze. It’s one of those versatile plants that can add a touch of wild charm to any garden, or even look striking in a container. If you’ve admired it and thought, “I wish I had more of those!”, you’re in luck. Propagating this lovely shrub is surprisingly doable, and deeply satisfying. For beginners, I’d say it’s moderately easy – a little patience and attention, and you’ll be rewarded.
The Best Time to Start
For Baccharis pentlandii, my absolute favorite time to take cuttings is in late spring to early summer. This is when the plant is in its active growth phase. The new, pliable stems are more likely to root readily. Avoid trying to root very hard, woody stems from older growth, or anything that looks weak or stressed. You want vibrant, healthy material.
Supplies You’ll Need
Here’s what you’ll want to have on hand:
- Sharp pruning shears or a clean knife: For making precise cuts.
- Rooting hormone (optional but recommended): Look for one specifically for softwood or semi-hardwood cuttings.
- Small pots or seed trays: With good drainage holes.
- A well-draining potting mix: I love a blend of equal parts perlite, peat moss, and a good quality potting soil. You can also use a specialized seed-starting mix.
- A clear plastic bag or a propagation dome: To create a mini-greenhouse effect.
- Watering can with a fine rose spray: To avoid disturbing your cuttings.
- Labels and a marker: So you know what you’ve propagated and when!
Propagation Methods
I find stem cuttings are the most reliable way to increase my Baccharis pentlandii collection.
Stem Cuttings:
- Select your cuttings: Look for healthy, upright stems that are about 4-6 inches long. Make a clean cut just below a leaf node (where a leaf attaches to the stem).
- Prepare the cuttings: Gently remove the leaves from the bottom two-thirds of the cutting. If the remaining leaves are very large, you can cut them in half to reduce water loss.
- Apply rooting hormone (if using): Dip the cut end of the stem into the rooting hormone and tap off any excess. This step really gives them a boost!
- Plant the cuttings: Make a small hole in your potting mix with a pencil or your finger. Insert the cutting into the hole, ensuring the leaf nodes are buried under the surface. Gently firm the soil around the stem.
- Water gently: Water thoroughly but carefully, ensuring the soil is moist but not waterlogged.
- Create a humid environment: Cover the pot or tray with a clear plastic bag or propagation dome. This helps retain moisture, which is crucial for rooting. Poke a few small holes in the bag for ventilation.
- Provide bright, indirect light: Place your cuttings in a location that receives bright, indirect sunlight. Avoid direct sun, as it can scorch the tender cuttings.
- Be patient! It can take anywhere from 3 to 6 weeks for roots to form. Check them gently by giving them a slight tug; if there’s resistance, they’ve rooted.
The “Secret Sauce” (Pro Tips)
Beyond the basics, here are a couple of things I’ve learned over the years that make a big difference:
- Bottom heat is your friend: If you have a heated propagator mat, using it can significantly speed up rooting. The gentle warmth encourages root development from below. Just be sure it’s not too hot – you don’t want to cook your cuttings!
- Don’t overcrowd: Give your cuttings a little breathing room in their pot. Too many cuttings packed too closely can lead to poor air circulation and increase the risk of fungal diseases. They need space to develop a strong root system.
Aftercare & Troubleshooting
Once you see new growth on your cuttings, that’s a good sign roots are forming!
- Gradually introduce them: Slowly start to acclimate your rooted cuttings to normal room conditions by opening the plastic bag or propagation dome for longer periods each day over a week.
- Watering: Water when the top inch of soil feels dry. Avoid letting them sit in soggy conditions.
- Transplanting: Once they have a good root system and are showing robust top growth, you can transplant them into individual pots.
- Troubleshooting: The most common issue you’ll face is rot. If a cutting turns black and mushy, it’s likely rotted due to too much moisture and not enough air circulation. This is why a well-draining mix and some ventilation are so important. If you see mold, remove the affected cutting immediately and improve airflow.
Propagating Baccharis pentlandii is such a rewarding journey. It’s like coaxing new life from a beloved plant. Don’t get discouraged if a few don’t make it – that’s just part of learning. Keep trying, and enjoy the magic of watching tiny cuttings transform into established plants. Happy gardening!
Resource:
https://identify.plantnet.org/k-world-flora/species/Baccharis%20pentlandii%20DC./data