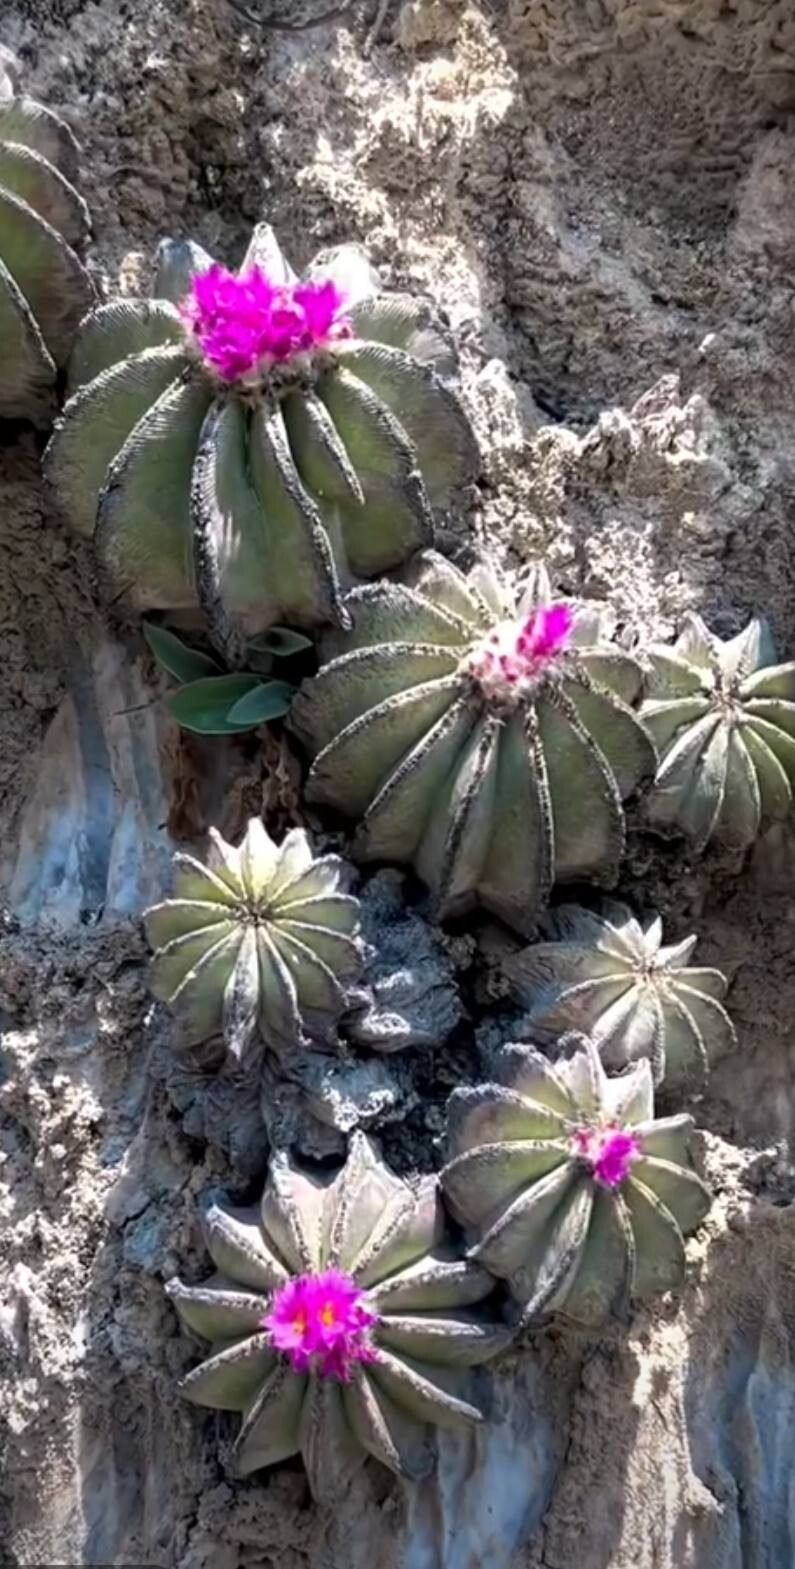
Oh, hello there! Grab your mug, let’s chat about Aztekium hintonii. I’ve had these beauties gracing my greenhouse for years, and there’s just something so captivating about their intricate, almost architectural forms. They’re like tiny desert sculptures, and getting them to put out new babies feels like a real accomplishment. Now, if you’re new to the propagation game, I’ll be honest, Aztekium hintonii can be a bit of a challenge. They’re not your everyday pothos, but that’s part of the charm, right? The reward when you see that first root emerge is truly special.
The Best Time to Start
For Aztekium hintonii, the sweet spot for propagation is definitely during their active growing season. Think late spring through summer. This is when they’re feeling their most vigorous and have the energy to put into forming new roots. Trying to propagate them when they’re dormant is like asking someone to run a marathon after a long nap – they just won’t be as successful.
Supplies You’ll Need
Don’t worry, it’s not a mile-long list! Here’s what I always have on hand:
- Sharp, sterile pruning shears or a keen knife: Cleanliness is key to preventing nasty infections.
- A well-draining potting mix: I like a blend of coarse sand, perlite, and cactus/succulent soil. Think gritty, not soggy.
- Rooting hormone powder (optional but helpful): Gives your cuttings a little boost.
- Small pots or trays: Whatever you have that’s clean and adequately sized for tiny cuttings.
- A spray bottle: For gentle misting.
- A little patience! (This one’s essential!)
Propagation Methods
While there are a few ways to go about it, my go-to for Aztekium hintonii is stem cuttings. They’re generally the most reliable.
- Prepare Your Cutting: With your sterile shears or knife, carefully make a clean cut below a node (that’s where a leaf attaches to the stem). You want a piece that’s at least an inch or two long, and ideally has a few leaves.
- Letting it Callus: This is a crucial step! Don’t rush to stick your cutting in soil. Instead, lay it on a clean paper towel in a bright, dry spot for a few days. You want to see a dry, callous over where you made the cut. This prevents rot when it hits the soil.
- Apply Rooting Hormone (Optional): Once callused, you can dip the cut end into rooting hormone powder. Tap off any excess.
- Planting Your Cutting: Gently insert the callused end into your well-draining potting mix. You don’t want to shove it in too deep; just enough to keep it upright. I usually plant a few cuttings at once, just in case not all of them take.
- The Waiting Game: Place the pot in a bright location, but out of direct, intense sunlight. Think bright, indirect light.
The “Secret Sauce” (Pro Tips)
Now, for a couple of tricks I’ve picked up over the years that really make a difference:
- Bottom Heat is Your Friend: I almost always use a heating mat under my propagation trays. Aztekium hintonii roots much faster when the soil is gently warmed from below. It mimics the warmth of their native habitat.
- Misting, Not Drowning: While you want to keep the soil slightly moist, never let it get waterlogged, especially before roots form. A light misting every few days is usually enough. Overwatering is the fastest way to a soggy end for your cutting.
- Don’t Be Afraid to Gently Tug: Once you think roots have formed (usually after a few weeks to a couple of months, depending on conditions), I like to give a cutting the tiniest, gentlest tug. If you feel any resistance, that’s a good sign roots are developing and anchoring it. If it pulls out easily, it’s probably not ready.
Aftercare & Troubleshooting
Once you see that first sign of root development – maybe a tiny bit of new growth, or that gentle tug resistance – you’re on your way! Continue to water sparingly. I usually wait until the potting mix is almost dry before watering again. As the plant grows and matures, you can gradually acclimate it to more light and a slightly more regular watering schedule.
The most common pitfall is rot. If your cutting starts to look mushy, discolored, or just sad and deflated, it’s likely succumbed to rot. This usually happens due to overwatering or not allowing the cutting to callus properly. If you catch it early, you might be able to salvage a healthy portion of the stem, re-callus it, and try again. Don’t beat yourself up if it happens; it’s part of the learning process!
Keep Going, Gardener!
Propagating Aztekium hintonii is a journey, not a sprint. There will be moments of doubt, and sometimes your efforts won’t pan out. But with a little care, the right conditions, and a lot of patience, you’ll soon be rewarded with your very own little Aztekium babies. Enjoy the process, learn from each attempt, and celebrate those tiny roots when they finally appear! Happy propagating!
Resource: