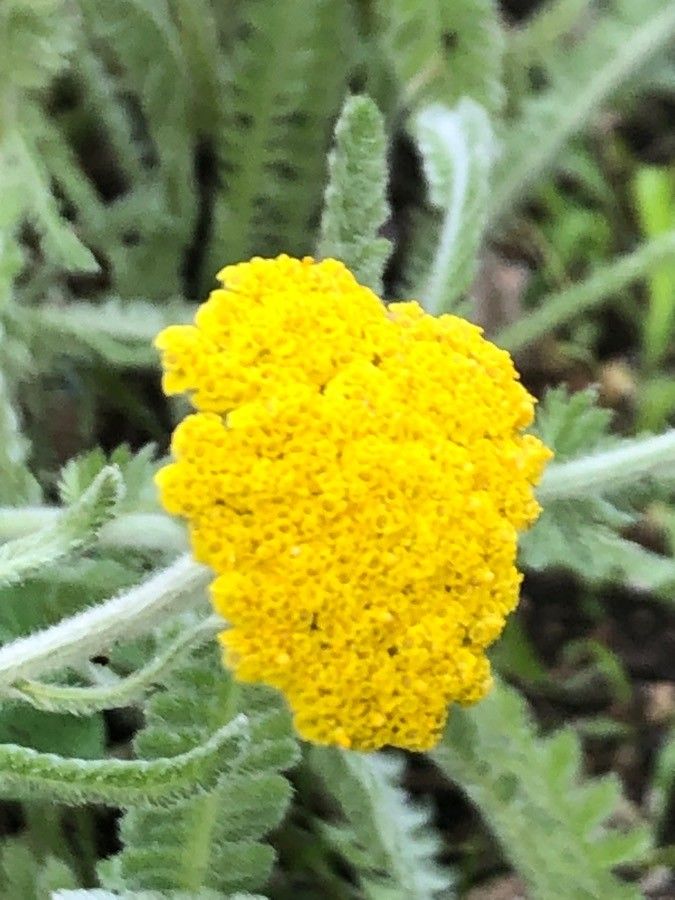
Oh, hello there! Pull up a chair, let’s chat about a truly wonderful plant – Achillea coarctata. If you haven’t met it yet, imagine delicate, feathery foliage, often a soft green or even silvery, topped with clusters of cheerful, daisy-like flowers in shades of cream, yellow, or sometimes even a soft pink. Yarrow, as it’s commonly known, is a tough cookie, unfussy and always reliable in the garden. And the best part? You can easily have more of it! For me, propagating yarrow is incredibly rewarding. It’s a fantastic plant to start with if you’re new to the world of plant propagation. Truly, it’s a joy to watch a tiny cutting transform into a thriving plant.
The Best Time to Start
When it comes to Achillea coarctata, I find the sweet spot for propagation is generally in late spring to early summer. This is when the plant is actively growing and has plenty of energy to put into developing new roots. Look for stems that are somewhat firm but not yet woody – they call these semi-hardwood cuttings. If you miss this window, don’t despair! You can also have success with softwood cuttings in early spring, or even tackle division in early fall, just as things begin to cool down but before the first hard frost.
Supplies You’ll Need
Before we get our hands dirty, let’s gather our supplies. You won’t need much, just the essentials:
- Sharp pruning shears or a clean knife: For taking clean cuts.
- Rooting hormone (optional, but recommended): This really gives your cuttings a boost!
- Small pots or a seed tray: With drainage holes, of course.
- Propagation mix or a well-draining potting soil: I like a 50/50 blend of perlite and coco coir, or a good quality seed-starting mix. Avoid heavy garden soil; it just holds too much moisture.
- A watering can with a fine rose: For gentle watering.
- Labels and a permanent marker: To keep track of what’s what!
- A plastic bag or a clear dome: To create a humid environment for your cuttings.
Propagation Methods
Let’s dive into the fun part! Here are my go-to methods for Achillea coarctata:
1. Stem Cuttings: My Personal Favorite
This is usually my first port of call for yarrow.
- Step 1: Take your cuttings. Using your clean shears, select healthy stems and cut pieces about 4-6 inches long. Make your cut just below a leaf node (where a leaf attaches to the stem).
- Step 2: Prepare the cuttings. Gently remove the lower leaves from the cutting, leaving just the top couple of leaves. You can also pinch off any flower buds; these just drain energy from root development.
- Step 3: Apply rooting hormone. Dip the cut end into your rooting hormone, tapping off any excess.
- Step 4: Plant them up. Insert the cuttings into your prepared pots, making sure the nodes where you removed the leaves are buried in the soil.
- Step 5: Water gently. Give them a good, gentle watering.
- Step 6: Create humidity. Cover the pots loosely with a plastic bag or a clear dome. This is crucial to keep the humidity high and prevent the cuttings from drying out.
2. Division: The “Instant Gratification” Method
If you have an established clump of yarrow, division is wonderfully simple.
- Step 1: Dig up the plant. In the fall or early spring, carefully dig up the entire clump.
- Step 2: Gently separate. You can often pull the root ball apart with your hands. If it’s a bit tougher, use a spade or two forks back-to-back to gently tease apart sections of the plant, ensuring each section has roots and some new growth.
- Step 3: Replant immediately. Plant the divisions back into your garden or into pots, watering them in well.
The “Secret Sauce” (Pro Tips)
Now, for a few little tricks I’ve picked up over the years:
- Bottom heat is your friend! If you’re using stem cuttings and want to speed things up, pop your pots on a propagation mat or a gently warmed windowsill. This encourages root formation from below.
- Don’t let those leaves touch the water! If you decide to try water propagation (which can work for yarrow, but is often less successful than soil), make sure the leaves are above the water line. Any submerged leaves will just rot and potentially infect the whole cutting.
- A little air circulation goes a long way. While you need humidity, completely sealing the cuttings can lead to fungal issues. Occasionally lifting the plastic bag for a few minutes each day helps to exchange air and prevents things from getting too stagnant.
Aftercare & Troubleshooting
Once you start to see signs of new growth – tiny new leaves emerging – that’s a good indicator that roots are forming!
- Gradually acclimate. Once rooted, you can start to gradually remove the plastic bag or dome over a week or so, allowing the new plants to get used to the ambient air.
- Water consistently. Keep the soil consistently moist but not waterlogged. You’ll know they need watering when the top inch of soil feels dry to the touch.
- Signs of trouble. The most common issue you’ll encounter is rot. If your cutting turns mushy or black and falls apart, it’s likely rotted. This usually happens from too much moisture and not enough air circulation. Don’t be disheartened if a few don’t make it; it’s all part of the learning process! Yellowing leaves can sometimes mean they’re not getting enough light, or they’re too wet.
A Encouraging Closing
There you have it! Propagating Achillea coarctata is a simple pleasure, a wonderful way to multiply your garden’s beauty. Be patient with your new little plants; they’re working their magic underground. Enjoy the quiet satisfaction of nurturing them, and soon you’ll have an abundance of cheerful yarrow to share or to fill every corner of your garden. Happy propagating!
Resource:
https://identify.plantnet.org/k-world-flora/species/Achillea%20coarctata%20Poir./data