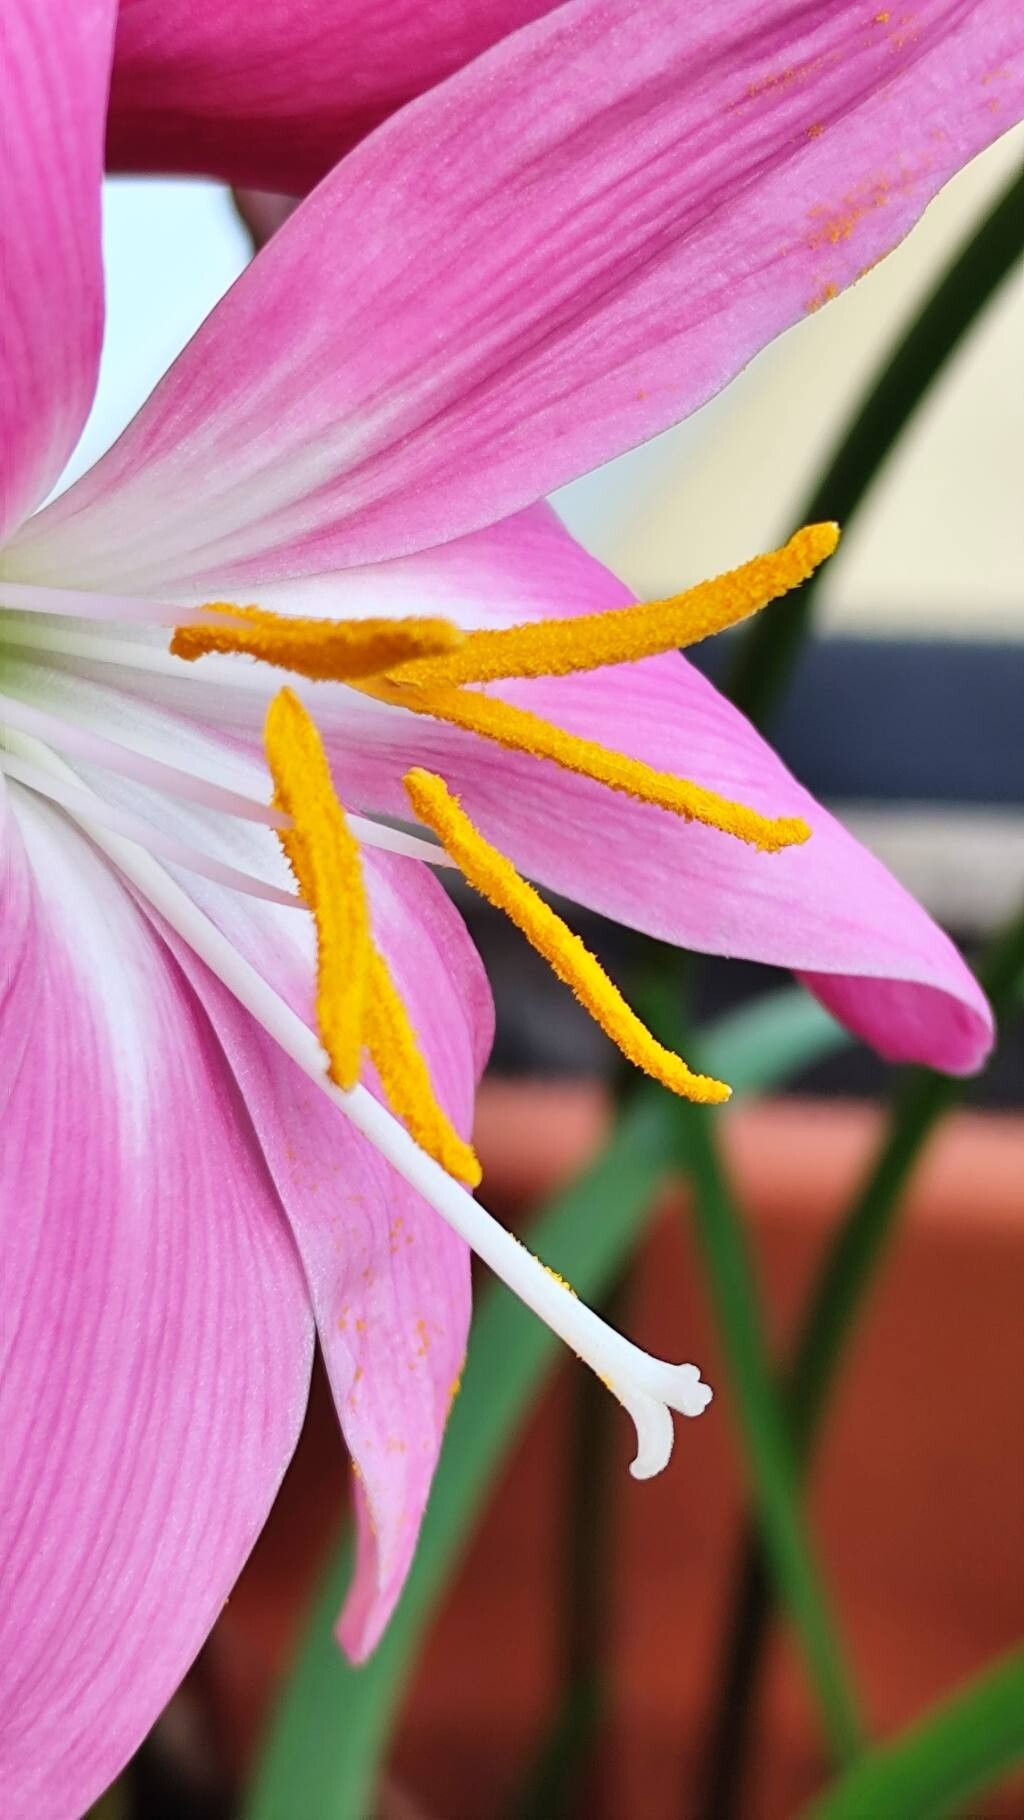
Oh, hello there, fellow plant lover! Grab a mug, settle in, and let’s chat about one of my absolute favorite little gems: Zephyranthes carinata, often called the Pink Rain Lily. Aren’t they just magical when they burst into bloom, seemingly out of nowhere after a good rain? That sudden splash of vibrant pink is just pure garden joy. And the best part? They’re surprisingly easy to get more of! If you’re just starting your plant journey, this is a fantastic one to try your hand at. You’ll be sharing them with friends in no time.
When the Stars Align: The Best Time to Propagate
Timing is everything, as they say, and with Rain Lilies, it’s no different. The ideal moment to coax new life from your established plants is after they’ve finished flowering, typically in late summer or early fall. You’ll notice the foliage starts to mellow out and the plant is done putting its energy into blooms. This is when the bulbs are nice and plump, storing up energy for the next season, making them prime candidates for division.
Your Propagation Toolkit: What You’ll Need
Don’t worry, you don’t need a fancy laboratory for this! Here’s a simple list of what will make your propagation project a breeze:
- A clean, sharp trowel or small spade: For gently lifting the bulbs.
- A good quality potting mix: I like a blend that drains well – something like a mix of peat moss, perlite, and a bit of compost works wonders.
- Small pots or trays: Whatever you have on hand will do, just make sure they have drainage holes.
- Watering can or spray bottle: For giving your new charges a gentle drink.
- (Optional) Rooting hormone powder: While not strictly necessary for these guys, it can give you a little boost of confidence.
- Labels and a pen: To keep track of what you’ve planted and when.
Unearthing New Treasures: Propagation by Division
The most straightforward way to propagate Zephyranthes carinata is through bulb division. These beauties naturally produce offsets, which are essentially baby bulbs that grow right alongside the parent bulb.
- Gently unearth: With your trowel, carefully dig around the clump of bulbs. Try not to damage them. You’re aiming to lift the entire cluster of bulbs out of the soil.
- Separate the babies: Once out, you can often see where the smaller offset bulbs are attached to the larger ones. Gently wiggle and pull them apart. If they’re a bit stubborn, a clean knife or even your fingers can help. Look for bulbs that are at least thumbnail-sized; these have the best chance of survival.
- Trim any damaged roots: If any roots were accidentally cut, give them a trim with clean shears.
- Plant them up: Fill your pots with your well-draining potting mix. Plant each new bulb a couple of inches deep, with the pointy end facing upwards. Give them a gentle watering.
The “Secret Sauce”: A Little Extra Love
Here are a couple of things I’ve learned over the years that really seem to help these little bulbs establish themselves:
- Don’t be afraid to let them dry out slightly between waterings: While they are “Rain Lilies,” they don’t appreciate sitting in soggy soil, especially when they’re trying to root. Let the top inch of soil dry out before you water again. This discourages rot.
- Give them a cozy head start with bottom heat: If you have a propagation mat or can place your pots on top of a gently warm appliance (make sure it’s not too hot!), the warmth can encourage root development. It mimics the warm soil they’d experience naturally.
Nurturing Your New Sprouts & What to Watch For
Once your new bulbs are planted, they’ll need a bit of tender loving care. Keep them in a spot with bright, indirect light. Water them when the top inch of soil feels dry. You might not see much action above ground for a little while, and that’s perfectly normal! They’re busy working on their root systems underground.
The most common issue you might encounter is bulb rot. This usually happens if the soil stays too wet for too long. You might notice the bulb turns mushy and dark, or the leaves might yellow and wither very quickly. If you suspect rot, gently dig up the bulb. If it’s mushy, it’s usually best to discard it to prevent it from spreading. Otherwise, let it air dry for a day or two and replant in fresh, drier soil.
Keep Planting, Keep Growing!
See? Not so daunting, is it? Propagating Zephyranthes carinata is a wonderful way to expand your collection and share these cheerful blooms. Be patient, trust your gut, and most importantly, enjoy the journey of watching new life emerge. Happy gardening!
Resource:
https://identify.plantnet.org/k-world-flora/species/Zephyranthes%20carinata%20Herb./data