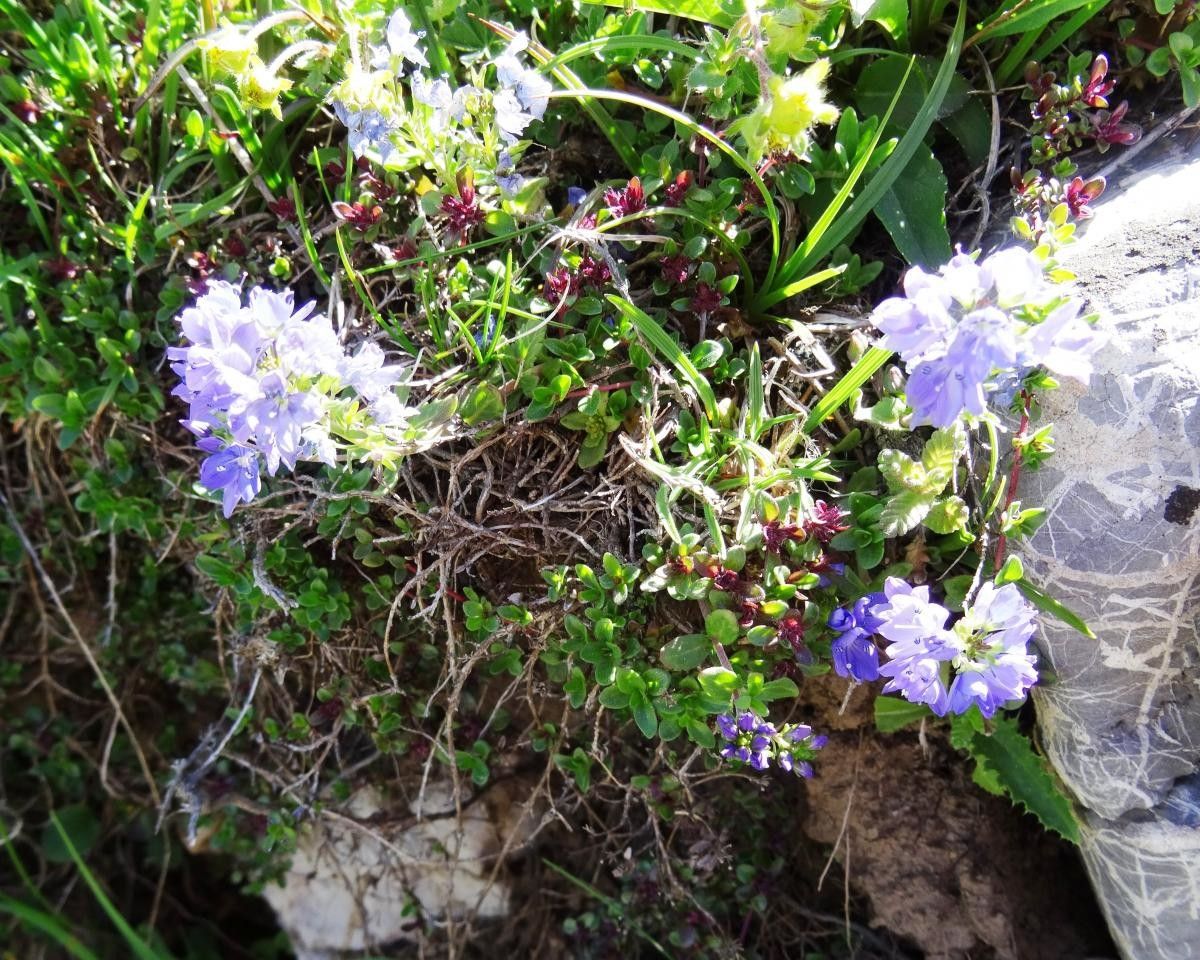
Oh, Veronica aragonensis! I’m so glad you asked about this beauty. If you’re looking for a plant that adds a touch of delicate charm and buzzes with pollinators, you’ve found a winner. Its tiny, spiky blooms are just delightful, and there’s a real satisfaction in coaxing new life from a beloved plant. Good news for us: Veronica aragonensis is generally a pretty forgiving plant to propagate, even for those just starting their gardening journey. Don’t be intimidated; it’s more fun than anything!
The Best Time to Start
For the highest success rate, I find that mid-spring to early summer is absolutely prime time. This is when the plant is actively growing and has plenty of energy to put into developing new roots. You’re looking for young, healthy shoots that haven’t flowered yet, or just starting to bud. Think vibrant green, not woody and old.
Supplies You’ll Need
Before we get our hands dirty, let’s gather our tools. It’s always best to be prepared!
- Sharp Pruning Shears or a Knife: For clean cuts that heal well.
- Rooting Hormone (Optional but Recommended): Especially beneficial for cuttings.
- Well-Draining Potting Mix: I like a blend of peat moss, perlite, and a little bit of compost. Or a dedicated seed-starting mix works wonders.
- Small Pots or Trays: With drainage holes, of course!
- Plastic Bag or Propagation Dome: To create a humid microclimate.
- Watering Can with a Fine Rose: For gentle watering.
- Labels and a Marker: To keep track of your babies!
Propagation Methods
Let’s dive into the ways we can grow more of these lovely Veronicas. Stem cuttings are my go-to for this plant, and they work like a charm.
Stem Cuttings:
- Take Your Cuttings: Using your clean shears, take 3-4 inch cuttings from healthy, non-flowering shoots. Make the cut just below a leaf node (where the leaves attach to the stem).
- Prepare the Cuttings: Gently remove the lower leaves from the cuttings. You want a bare stem section to insert into the soil.
- Apply Rooting Hormone: Dip the cut end of each stem into rooting hormone, tapping off any excess. This stuff really encourages root development, so don’t skip it if you have it!
- Pot Them Up: Fill your small pots with your well-draining mix. Make a small hole in the center of the soil with your finger or a pencil and insert the cutting. Gently firm the soil around the stem.
- Water Gently: Water the soil thoroughly but carefully, so you don’t dislodge the cuttings.
Water Propagation (Alternative):
This method can also work for Veronica aragonensis, though I find cuttings in soil are often more robust in the long run.
- Prepare Cuttings: As above, take 3-4 inch cuttings and remove the lower leaves.
- Place in Water: Put the cuttings in a clean jar or glass of water. Ensure none of the leaves are submerged. This is crucial to prevent rot.
- Change Water Regularly: Change the water every few days to keep it fresh and oxygenated.
- Watch for Roots: You’ll start to see tiny white roots emerging from the nodes. Once these roots are about an inch long, you can transplant them into pots with well-draining soil.
The “Secret Sauce” (Pro Tips)
Here are a few extra bits of wisdom I’ve picked up over the years that can really tip the scales in your favor.
- Bottom Heat is Your Friend: If you can, place your potted cuttings on a heated propagator mat. This gentle warmth from below helps to stimulate root growth, making the process much faster and more successful.
- Don’t Mist Too Much: While humidity is important, over-misting can encourage fungal diseases. Covering the pots with a plastic bag or propagation dome and opening it for a few minutes each day to allow for air circulation is usually enough. You want to keep the soil moist, not soggy.
- Patience with the Pots: When you’ve planted your cuttings, resist the urge to constantly tug them to see if they have roots. Give them at least 3-4 weeks before you gently try to pull one to feel for resistance. That’s your sign of a healthy root system!
Aftercare & Troubleshooting
Once you see those lovely little roots forming, it’s time to give your new Veronicas a bit of TLC.
- Gradual Acclimatization: If you used a plastic bag or dome, slowly start to introduce your new plants to the regular garden air over a week or so. Open the cover for longer periods each day.
- Watering: Continue to water them when the top inch of soil feels dry. They’re still young and need consistent moisture but avoid waterlogging.
- Light: Give them bright, indirect light. Too much direct sun can scorch their tender new leaves.
- Troubleshooting – Rot: The most common problem you might encounter is rot, often seen as a mushy, black stem at the soil line. This is usually due to overwatering or poor air circulation. If you see this, sadly, that cutting is likely lost. Remove it immediately and check the moisture levels of your other cuttings.
A Little Encouragement
Growing plants from cuttings is a journey, a beautiful dance with nature. Don’t get discouraged if not every cutting takes. Some plants are just a little pickier than others. Keep trying, observe your plants, and enjoy the process of watching new life emerge from your efforts. Happy propagating!
Resource:
https://identify.plantnet.org/k-world-flora/species/Veronica%20aragonensis%20Stroh/data