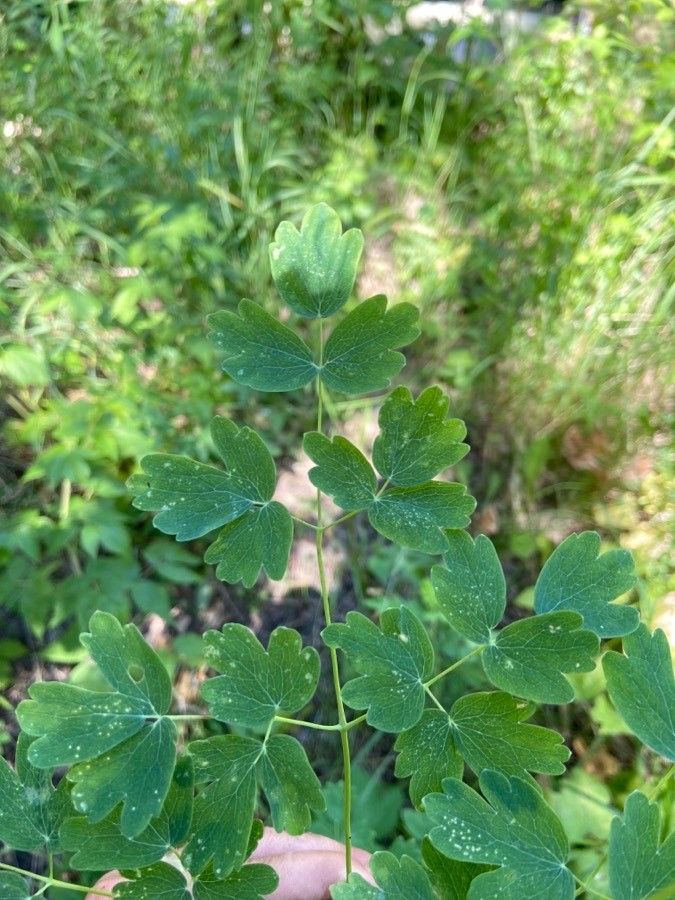
Hello, fellow plant enthusiasts! Today, I want to chat about a truly special plant that has brought me so much joy over the years: Western Meadow Rue, or Thalictrum occidentale. If you’ve ever seen this delicate beauty gracing a shady nook or a woodland garden with its ethereal wisps of lavender-pink flowers, you know exactly why I’m so smitten. Propagating it yourself is a wonderfully rewarding experience, almost like coaxing a little piece of magic into existence. Now, I’ll be honest, Thalictrum can be a little particular, so it might not be the absolute easiest plant for a complete beginner, but with a little care and attention, you’ll be rewarded with lovely new specimens.
The Best Time to Start
For Western Meadow Rue, late spring or early summer is your golden window. This is when the plant is actively growing and has plenty of energy to dedicate to new roots. You’re looking for young, non-flowering shoots. If you wait until the plant is already putting out a lot of flowers, it’s focusing its energy on blooms, not on making babies.
Supplies You’ll Need
Here’s what you’ll want to have on hand:
- Sharp, clean pruning shears or a sharp knife: Essential for making clean cuts.
- Rooting hormone (optional but recommended): A helpful boost for new cuttings. Look for one specifically for stem cuttings.
- Propagation pots or trays with drainage holes: Small pots are perfect for starting out.
- A well-draining potting mix: I like a blend of equal parts peat moss, perlite, and a little bit of compost. This provides good aeration and moisture retention.
- A clear plastic bag or propagation dome: To create a humid environment for your cuttings.
- Watering can with a fine rose: For gentle watering.
- Labels and a marker: To keep track of what you’ve planted and when.
Propagation Methods
The most reliable way I’ve found to propagate Western Meadow Rue is through stem cuttings. It’s straightforward and yields great results.
- Take Cuttings: In late spring or early summer, select healthy, non-flowering stems that are about 4-6 inches long. Using your clean shears, make a cut just below a leaf node (where a leaf attaches to the stem). This is where the magic of root formation is most likely to happen.
- Prepare the Cuttings: Gently remove the lower leaves from the cutting, leaving just a couple of leaves at the top. This directs the plant’s energy towards root development rather than leaf maintenance. If the remaining leaves are very large, you can even cut them in half to reduce water loss.
- Apply Rooting Hormone: Dip the cut end of the stem into your rooting hormone, tapping off any excess. This step is crucial for encouraging robust root growth.
- Plant the Cuttings: Fill your small pots or trays with your prepared potting mix. Make a hole in the center of the mix using a pencil or your finger. Carefully insert the cutting into the hole, ensuring the nodes where you removed leaves are below the soil surface. Gently firm the soil around the stem.
- Water Gently: Water the cuttings thoroughly but gently, allowing excess water to drain away.
- Create a Humid Environment: Cover the pots with a clear plastic bag, securing it around the rim with a rubber band, or place them under a propagation dome. This traps moisture and creates the humid environment cuttings need to thrive.
- Provide the Right Conditions: Place the pots in a bright location that receives indirect sunlight. Avoid direct sun, as this can scorch the tender cuttings. A spot on your kitchen counter or in a bright corner of a room is usually ideal.
The “Secret Sauce” (Pro Tips)
Here are a couple of my tried-and-true tricks for extra success:
- Don’t Let Leaves Touch the Water: Even though we’re not doing water propagation here, this applies to the humidity. If your leaves are touching the sides of the plastic bag, they can develop fungal issues. Try to space them out or prune them back a bit if needed.
- Bottom Heat is Your Friend: While not strictly necessary, placing your propagation tray on a gentle heating mat can make a world of difference. It encourages root development much faster by keeping the soil consistently warm, mimicking the conditions of a natural summer propagation bed.
Aftercare & Troubleshooting
Once your cuttings have rooted – you’ll usually see new leaf growth after a few weeks – it’s time to transition them. Gradually acclimate them to drier air by opening the plastic bag a little each day for a few days before removing it completely. Keep the soil consistently moist but not soggy.
The most common sign of failure is rotting. If you see your cutting turn mushy and black, it’s usually due to too much moisture and not enough air circulation. Don’t be discouraged; just toss the failed cutting and try again! Another sign is wilting that doesn’t recover. If your cutting looks completely limp and lifeless after a couple of weeks, it might not have rooted.
A Little Patience, A Lot of Reward
Propagating Western Meadow Rue takes a bit of patience, but seeing those tiny roots emerge and watching your new plants grow is incredibly satisfying. Don’t be afraid to experiment, and remember that every gardening journey has its bumps. Enjoy the process, and soon you’ll have beautiful Western Meadow Rue to share (or keep all to yourself!). Happy growing!
Resource:
https://identify.plantnet.org/k-world-flora/species/Thalictrum%20occidentale%20A.Gray/data