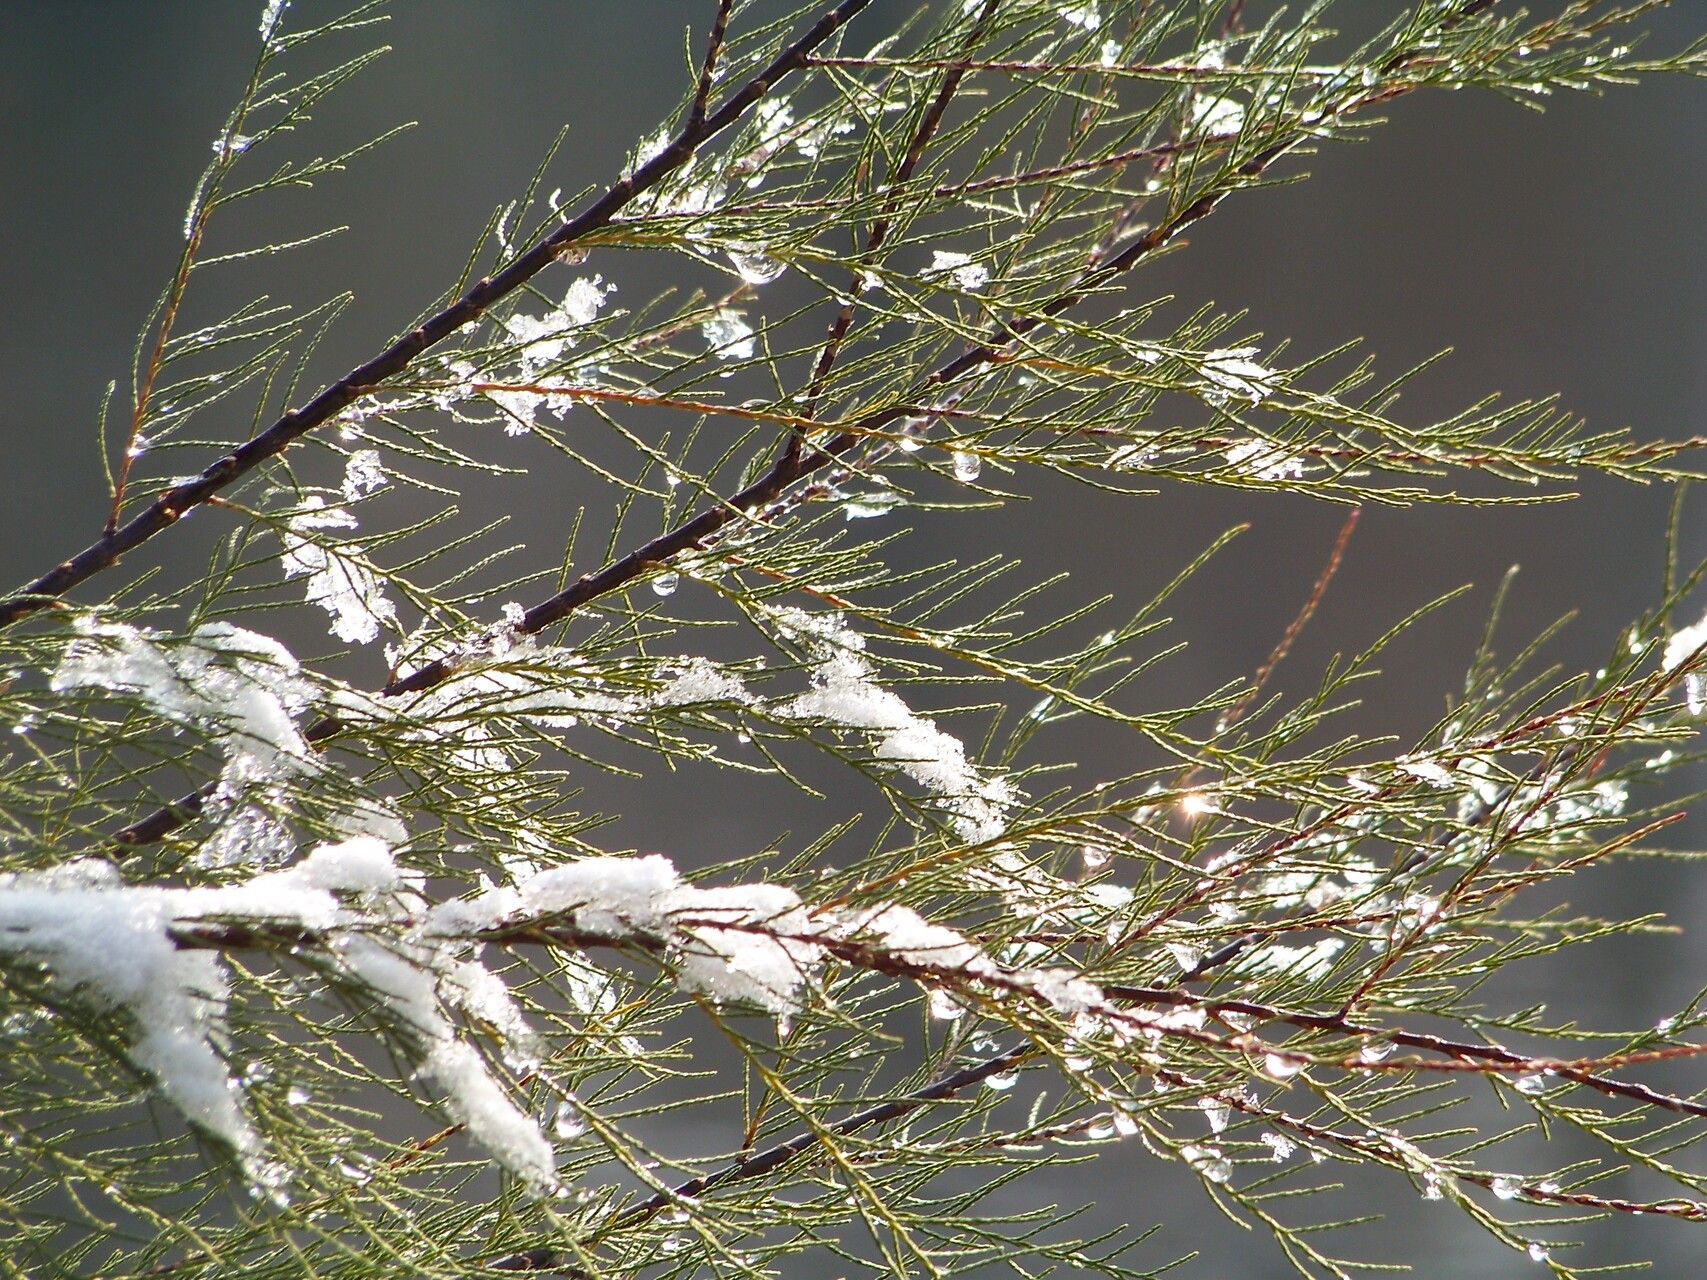
Hello there, fellow garden enthusiasts! It’s so wonderful to connect with you today. If you’ve ever admired those wispy branches and delicate, almost feathery foliage of the Tamarix aphylla, you’re not alone. This plant, often called Athel Tree or Tamarisk, brings a delightful airy charm to any landscape. Its graceful form and resilience make it a real treat, and there’s nothing quite as satisfying as coaxing a new life from a seemingly ordinary branch. For those of you just dipping your toes into propagation, I’m happy to report that Tamarix aphylla is genuinely quite beginner-friendly. You’ll be creating your own little trees before you know it!
The Best Time to Start
When it comes to getting the best results with Tamarix aphylla, timing is everything. I’ve found that late spring to early summer is your absolute sweet spot. This is when the plant is actively growing and has plenty of energy to dedicate to forming new roots. Look for stems that are semi-hardwood – they’ll snap cleanly when bent, rather than just bending limply (that’s too soft) or breaking into brittle pieces (that’s too hard).
Supplies You’ll Need
Before we dive into the fun part, let’s make sure you have your toolkit ready.
- Sharp Pruning Shears or a Knife: For clean cuts, which are crucial for healthy root development.
- Rooting Hormone: While not always strictly necessary for Tamarix, it can give your cuttings a helpful boost. I prefer a powder form.
- Well-Draining Potting Mix: A 50/50 blend of perlite and peat moss or coco coir works beautifully. You want good aeration.
- Small Pots or Seedling Trays: Clean containers are key to preventing disease.
- Watering Can or Spray Bottle: For gentle watering.
- Clear Plastic Bag or Dome: To create a humid environment.
Propagation Methods
Tamarix aphylla is a champ when it comes to stem cuttings, and it’s the method I recommend most often. Here’s how I do it:
- Take Your Cuttings: Using your clean pruners, select healthy stems from your mature Tamarix. Aim for pieces about 6 to 8 inches long. Make your cut just below a leaf node – that’s where the magic happens for root formation.
- Prepare the Cuttings: Gently remove the lower leaves from the cutting, leaving just a couple of sets at the top. This prevents them from rotting when they’re in the propagation medium. If you’re using rooting hormone, dip the cut end into the powder, tapping off any excess.
- Plant Your Cuttings: Fill your pots or trays with your prepared potting mix. Make a small hole with a pencil or your finger and gently insert the base of each cutting. Firm the soil around it so it stands upright.
- Create a Humid Environment: Water the soil gently. Then, cover the pots with a clear plastic bag, securing it at the rim with a rubber band, or use a clear plastic dome. This traps humidity, which is vital for the cuttings to stay hydrated while they grow roots.
The “Secret Sauce” (Pro Tips)
Now, here are a couple of things I’ve learned over the years that really make a difference:
- Avoid Leaf Rot: If you’re water propagating (which is also an option for Tamarix, though I find soil faster), crucially, ensure no leaves touch the water. Submerged leaves will rot and can take your cutting down with them. Just have the stem immeresed.
- Warm Feet, Happy Roots: If you have the luxury, using bottom heat can dramatically speed up the rooting process. A seedling heat mat placed under your pots provides gentle warmth that encourages root development. You can often find these affordably at garden centers.
Aftercare & Troubleshooting
Once your cuttings have rooted, you’ll start to see new growth emerging from the top. A good sign is some gentle tug resistance when you lightly pull on the cutting.
- Gradual Acclimation: Once roots are established (usually after 4-6 weeks, sometimes longer), it’s time to gradually acclimate your new plants to normal conditions. Start by opening the plastic bag for a few hours each day, slowly increasing the time until they are fully exposed.
- Watering Needs: Keep the soil consistently moist but not waterlogged. Overwatering is the most common culprit for failure, leading to root rot. Soft, mushy stems or a blackening at the base are clear indicators of trouble.
- Light: Place your propagating plants in a bright spot with indirect sunlight. Direct sun can scorch delicate new growth.
And there you have it! Propagating Tamarix aphylla is a wonderfully rewarding journey. Be patient with your little cuttings; sometimes nature takes its own sweet time. The joy of nurturing a new plant from scratch is a feeling that never gets old. Happy gardening, everyone!
Resource:
https://identify.plantnet.org/k-world-flora/species/Tamarix%20aphylla%20(L.)%20H.Karst./data