Hello there, fellow garden enthusiasts! Today, we’re diving into the wonderfully rewarding world of propagating Symphyotrichum puniceum, also known as the Purple-stemmed Aster. If you’re looking to fill your garden beds with these vibrant beauties, or simply want to share their charm with friends, you’ve come to the right place. These native asters bring such a gorgeous burst of late-season color to our landscapes, and trust me, having more of them is always a good thing.
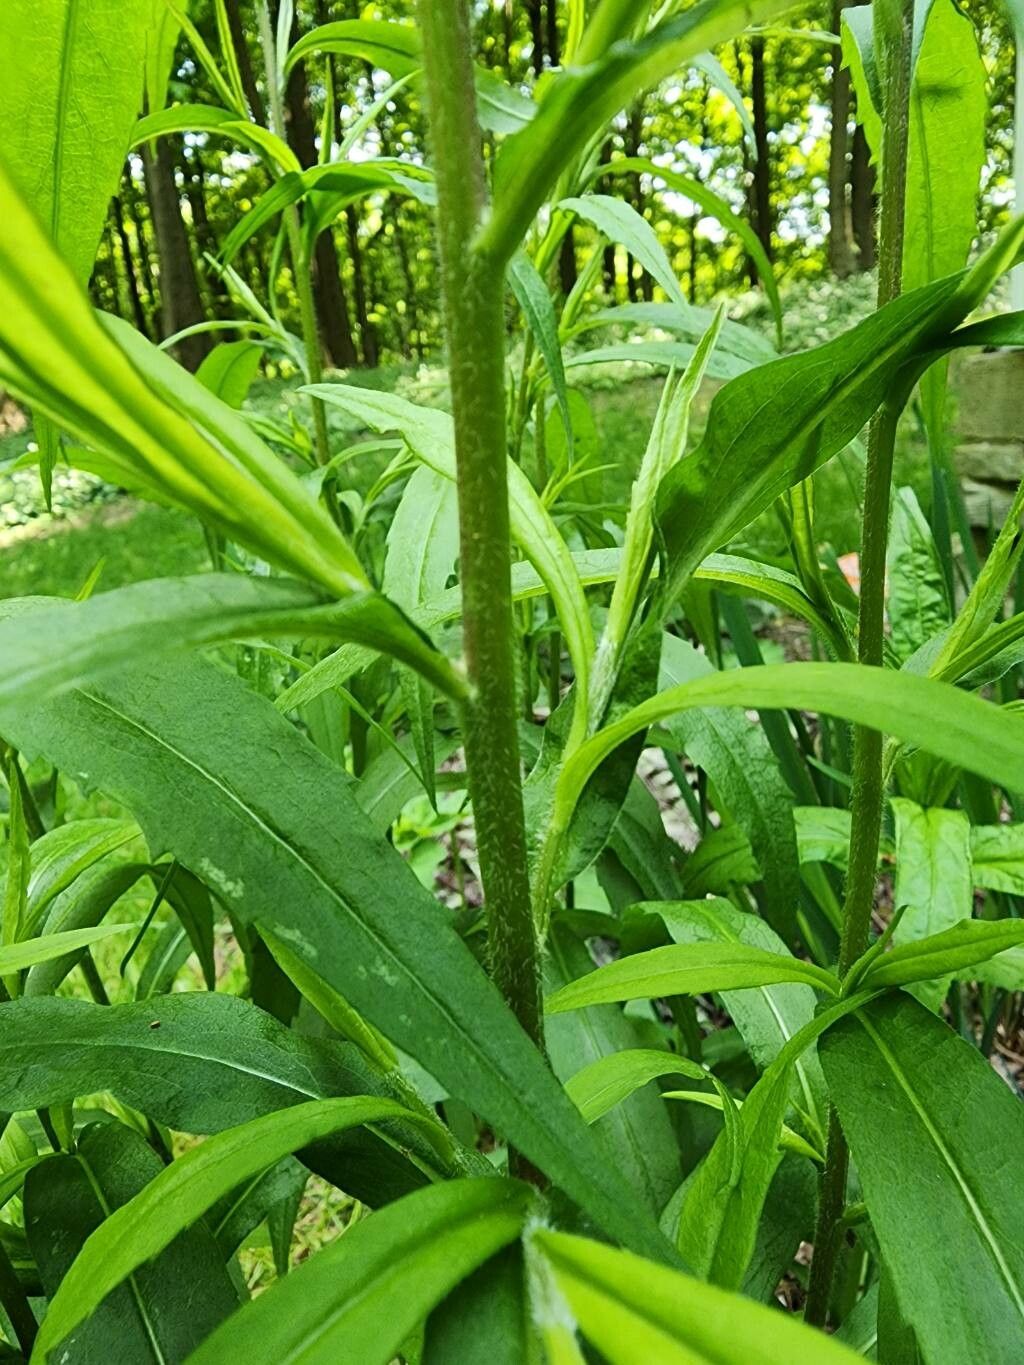
The beauty of the Purple-stemmed Aster lies in its tall, often purplish stems topped with cheerful daisy-like flowers in shades of lavender and violet. They’re a magnet for pollinators, too! I’ve found Symphyotrichum puniceum to be a pretty straightforward plant to propagate, making it a fantastic choice for those newer to the plant-parenting game. With a little guidance, you’ll be creating new asters in no time.
The Best Time to Start
For Symphyotrichum puniceum, the sweet spot is definitely late spring to early summer, as new growth is really taking off. This is when the plant is actively producing lush, pliable stems that have the best chance of rooting. You can also divide established clumps in the very early spring as soon as the ground thaws and before significant new growth appears.
Supplies You’ll Need
Here’s what you’ll want to have on hand for successful propagation:
- Sharp Pruning Shears or a Knife: Clean, sharp tools are essential for making clean cuts.
- Rooting Hormone (Optional but Recommended): This isn’t strictly necessary for asters, but it can give your cuttings a helpful boost. Look for a powder or gel.
- Potting Mix: A good, well-draining mix is key. I like a blend of equal parts peat moss or coco coir, perlite, and a bit of compost.
- Small Pots or Containers: Clean pots with drainage holes are a must.
- Plastic Bag or Propagator Lid: This will help maintain humidity around your cuttings.
- Watering Can or Spray Bottle: For gentle watering.
- Labels: To keep track of what you’ve planted!
Propagation Methods
Let’s get our hands dirty! Here are a couple of the most effective ways to multiply your Symphyotrichum puniceum.
Stem Cuttings
This is my go-to method for asters.
- Take Your Cuttings: In late spring or early summer, select healthy, non-flowering stems. Look for stems that are semi-hardwood – they should be firm but still have a bit of flexibility. Using your sharp shears, cut pieces about 4-6 inches long, making the cut just below a leaf node (where a leaf attaches to the stem).
- Prepare the Cuttings: Gently remove the leaves from the bottom half of the cutting. Leave just a couple of leaves at the top to help with photosynthesis. If you’re using rooting hormone, dip the cut end into the hormone, tapping off any excess.
- Plant Your Cuttings: Fill your small pots with your prepared potting mix and moisten it. Make a small hole with a pencil or your finger in the center of each pot. Insert the cut end of the aster stem into the hole, firming the soil gently around it.
- Create a Humid Environment: Water each pot gently. Then, place the pots into a clear plastic bag, securing it with a rubber band, or cover them with a propagator lid. This will create a mini-greenhouse effect.
- Place in Bright, Indirect Light: Find a spot that gets plenty of bright, but not direct, sunlight. Avoid placing them in intense afternoon sun, which can scorch the delicate cuttings.
Division
This is best done for established aster clumps.
- Dig Up the Clump: In early spring, before new growth is vigorous, dig up your aster plant. You can do this carefully with a spade or garden fork.
- Divide the Roots: Gently shake off excess soil. You’ll see that the plant naturally wants to grow outwards and may have several distinct sections. You can use your hands, a clean spade, or even a sharp knife to split the root ball into smaller sections, making sure each section has healthy roots and at least a few stems or buds.
- Replant Immediately: Plant the divided sections back into well-prepared soil in your garden, or pot them up as you would a new plant. Water them well.
The “Secret Sauce”
Here are a couple of little tricks I’ve picked up over the years:
- Don’t Be Afraid to Pinch Back: For those stem cuttings, once you see a bit of new growth at the top, go ahead and pinch off the very tip. This encourages the plant to branch out, resulting in a bushier, more robust new plant.
- Bottom Heat is Your Friend: While not always necessary, placing your pots on a heated propagation mat can significantly speed up root development for stem cuttings. It mimics the warmth of summer soil and gives those roots a real kickstart.
Aftercare & Troubleshooting
Once your cuttings have rooted (you can gently tug on a stem, and if there’s resistance, they’ve likely rooted!), it’s time for babying them.
- Acclimate Gently: Carefully remove the plastic bag or propagator lid for a few hours each day, gradually increasing the time until the cuttings are used to the surrounding air.
- Water Wisely: Keep the soil consistently moist but not waterlogged. Overwatering is the quickest way to invite problems. Yellowing leaves can be a sign of too much or too little water, so check the soil moisture.
- Transplant When Ready: Once your new asterlings have a good root system and are starting to look strong, you can transplant them into larger pots or their permanent garden spots.
The most common issue you might encounter is rot, which is almost always due to overwatering or poor drainage. If you see stems going mushy or turning black at the base, it’s a tough sign, and you might need to discard them and start again. Sometimes, unfortunately, even with the best care, a cutting just doesn’t take. Don’t get discouraged!
A Little Patience Goes a Long Way
Propagating plants is a beautiful journey, a little like watching a plant grow up from infancy. It takes a touch of patience, a bit of observation, and a whole lot of love. Don’t be afraid to experiment, and most importantly, enjoy the process of nurturing new life. Happy gardening!
Resource: