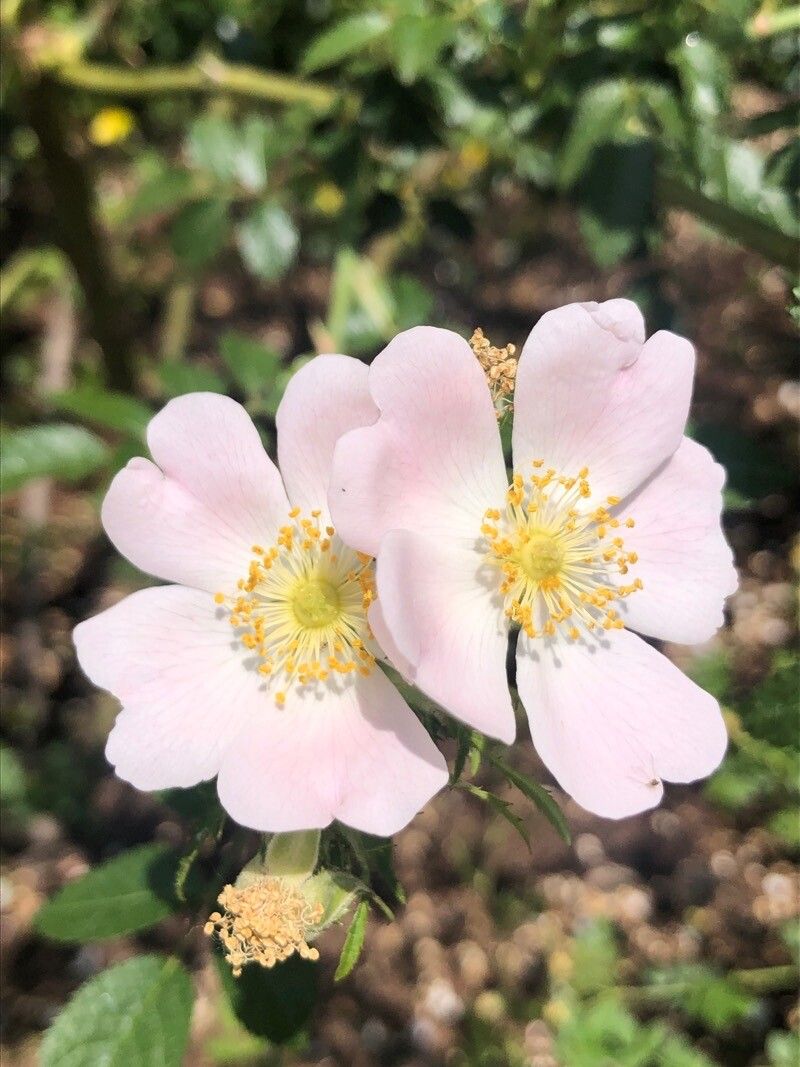
Oh, Rosa deseglisei! What a beauty. I’ve spent years coaxing new Rosas from cuttings, and there’s just something wonderfully satisfying about watching a tiny wisp of a stem transform into a thriving plant. If you’re drawn to the delicate charm of this rose, you’re in for a treat. Propagating it can be a bit of a project, but I promise, with a little patience, you’ll be rewarded. It’s not the absolute easiest for a first-timer, but it’s definitely achievable, and oh-so-worth-it!
The Best Time to Start
For Rosa deseglisei, late spring to early summer is your sweet spot. You want to work with semi-hardwood cuttings. These have started to firm up but are still flexible enough to root. Think of it as the rose saying, “Okay, I’m grown up a bit, but I’m still open to new beginnings!”
Supplies You’ll Need
- Sharp pruning shears or a clean utility knife: For making precise cuts.
- Rooting hormone powder or gel: This really gives your cuttings a boost.
- A well-draining potting mix: I like a blend of peat moss, perlite, and a little coarse sand. You can also buy specific propagation mixes.
- Small pots or trays with drainage holes: Cleanliness is key here, so wash them thoroughly.
- A plastic bag or a clear propagation dome: To create a humid environment.
- Optional: Bottom heat mat: This can significantly speed up rooting.
Propagation Methods
We’ll focus on stem cuttings, which is my tried-and-true method for most roses, including Rosa deseglisei.
- Take Your Cuttings: On a cool morning, select healthy, non-flowering shoots from your established Rosa deseglisei. You’re looking for stems that are about 4-6 inches long. Make your cut just below a leaf node (where a leaf attaches to the stem). This is where the magic happens for root formation.
- Prepare the Cuttings: Gently strip off the lower leaves. If the remaining leaves are large, I like to cut them in half. This reduces water loss through transpiration. Remove any flower buds you might see; they will only drain energy from the cutting.
- Apply Rooting Hormone: Dip the cut end of each stem into your rooting hormone, tapping off any excess.
- Plant the Cuttings: Fill your small pots with the potting mix and gently water it so it’s moist but not soggy. Make a small hole in the center of each pot with a pencil or your finger. Insert the cutting, ensuring the hormone-coated end is in contact with the soil. Firm the soil gently around the base of the stem.
- Create a Humid Environment: Water the soil again very lightly. Then, cover the pot with a clear plastic bag, securing it around the rim with a rubber band or tape. Alternatively, place the pots under a propagation dome. Make sure the leaves do not touch the plastic. If they do, you might need to prop the bag up with a few small sticks.
The “Secret Sauce” (Pro Tips)
- Don’t get too excited about watering the soil before planting. You want it moist, yes, but waterlogged soil is the enemy of happy cuttings. It can lead to rot before roots even have a chance to form.
- Bottom heat is a game-changer. If you have a heat mat, place your pots on it. This warmth encourages root development from below, helping those little root hairs get going much faster.
- Clear away any fallen leaves from under your cuttings. Seriously, debris can harbor fungal issues. Keep their little workspace clean and tidy!
Aftercare & Troubleshooting
Once your cuttings are planted and covered, place them in a bright spot away from direct, scorching sunlight. Check them every few days. The soil should remain consistently moist but not wet. You’ll know roots are forming when you see new leaf growth, or if you gently tug on a cutting and feel resistance. This usually takes anywhere from 4 to 8 weeks, sometimes longer.
The main thing to watch out for is rot. If a cutting turns black and mushy, it’s probably gone too soon. This is often due to overwatering or poor air circulation. Remove any affected cuttings immediately. If the leaves start to wilt significantly and the soil is moist, it might be a sign of underwatering or that the cutting didn’t take.
A Encouraging Closing
Growing new plants from cuttings is a journey. It requires observation, a touch of patience, and a good dose of hope. Don’t be discouraged if not every cutting thrives; that’s part of the learning process. Celebrate the successes, learn from the challenges, and most importantly, enjoy the quiet magic of nurturing new life. Happy propagating!
Resource:
https://identify.plantnet.org/k-world-flora/species/Rosa%20deseglisei%20Boreau/data