Hello fellow plant lovers!
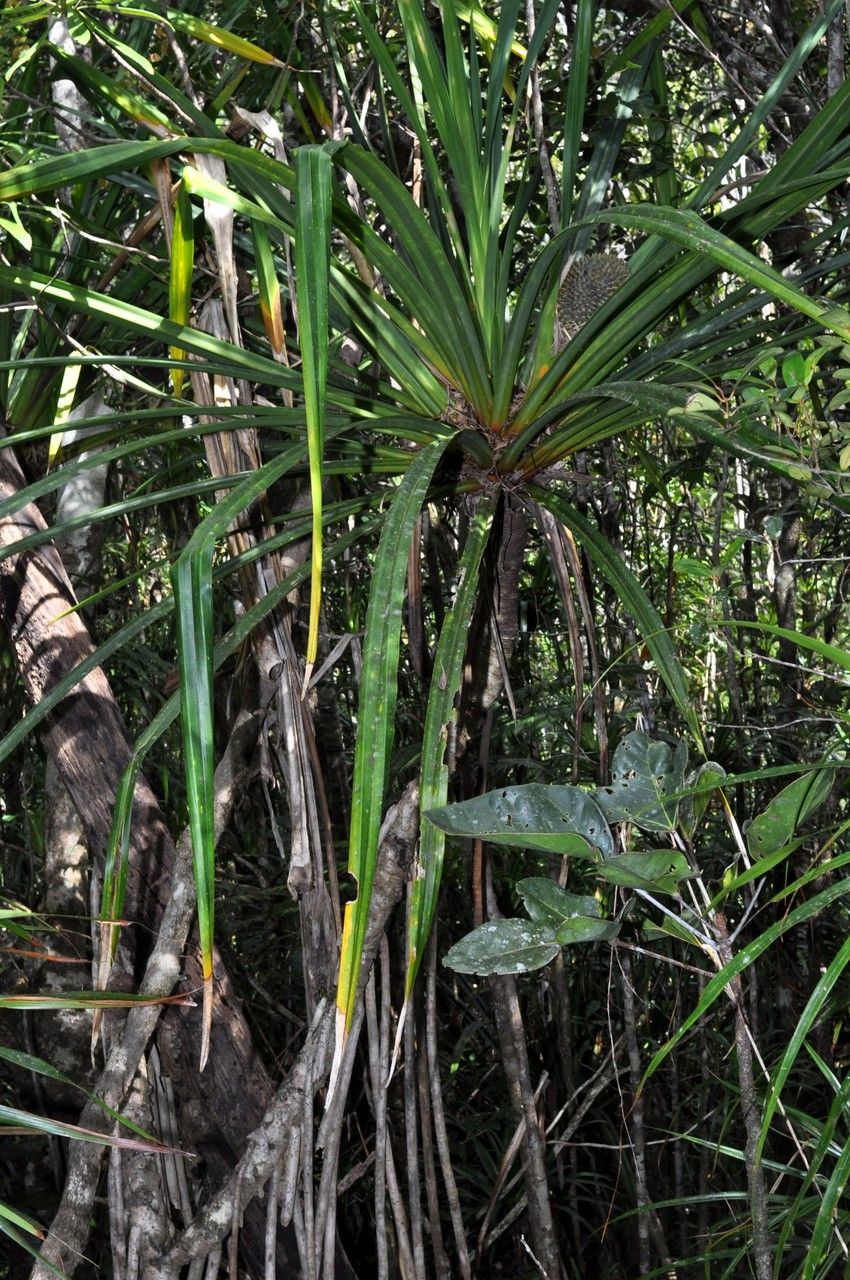
If you’ve ever admired a Pandanus sphaerocephalus – those gorgeous, architectural plants with their spiky leaves and unique aerial roots – you’ve likely wondered how to get more of them. They’re such statement pieces, adding a tropical flair to any space. The good news is, propagating them is a truly rewarding endeavor, and while it requires a little patience, it’s definitely something you can master. For beginners, I’d say it’s moderately easy, but with these tips, you’ll be creating a Pandanus family in no time.
The Best Time to Start
When it comes to getting new Pandanus sphaerocephalus plants going, I find my success rate skyrockets when I propagate during the spring or early summer. This is when the plant is actively growing and has the most energy to put into developing new roots. Aim for when your parent plant is looking robust and healthy, not stressed from a recent move or extreme temperatures.
Supplies You’ll Need
Gathering your tools upfront makes the whole process smoother. Here’s what you’ll want to have on hand:
- Sharp, clean pruning shears or a strong knife: For making clean cuts.
- Rooting hormone (optional, but recommended): Helps encourage faster root development.
- Well-draining potting mix: A mix of regular potting soil with added perlite or orchid bark works wonderfully. You want something that dries out fairly quickly.
- Small pots or propagation trays: Ensure they have drainage holes.
- Clear plastic bags or a propagation dome: To maintain humidity.
- Water: For moistening the soil and for water propagation.
- Gloves: The leaves can be a bit prickly!
Propagation Methods
Pandanus sphaerocephalus is best propagated through a couple of reliable methods. I’ve had the most luck with sectioning the main stem and also dividing larger plants.
1. Stem Cuttings (The Most Common Way)
This is my go-to method. It’s straightforward and effective.
- Select a healthy stem: Look for a mature stem that’s at least 6-8 inches long.
- Make a clean cut: Using your sharp shears or knife, cut the stem cleanly just below a leaf node. A leaf node is where a leaf emerges from the stem.
- Remove lower leaves: Gently pull off the bottom few leaves. This exposes more of the stem for root development and prevents leaves from rotting in the soil.
- Apply rooting hormone (optional): If you’re using rooting hormone, dip the cut end into the powder or gel, tapping off any excess.
- Plant the cutting: Fill your small pot with your well-draining potting mix. Make a hole in the center of the soil, insert the cut end of the stem, and firm the soil around it.
- Water lightly: Give the soil a gentle watering. You want it moist, but not waterlogged.
- Create humidity: Cover the pot with a clear plastic bag, securing it with a rubber band. You can also use a propagation dome.
- Place in bright, indirect light: Avoid direct sunlight, which can scorch the developing cutting. A bright windowsill is usually perfect.
2. Division (For Mature Plants)
If you have a larger, well-established Pandanus sphaerocephalus that’s starting to get crowded or produce pups (baby plants), division is a great option.
- Remove the plant from its pot: Gently tip the parent plant out of its container onto its side. If it’s root-bound, you might need to run a knife around the edges of the pot.
- Identify natural divisions: Look for sections of the plant that have their own roots and growing points. You might see them naturally separating.
- Separate the divisions: Using your hands or a clean knife, carefully separate the plant into smaller sections. Try to keep as many roots attached to each division as possible.
- Pot up the divisions: Pot each division individually into its own pot filled with well-draining potting mix.
- Water and place: Water each pot thoroughly and place them in bright, indirect light. The parent plant will also appreciate being repotted or having its root ball loosened.
The “Secret Sauce” (Pro Tips)
Here are a couple of little tricks I’ve learned over the years that really make a difference:
- Bottom heat is your friend! Pandanus love warmth, and placing your pots on a heated propagation mat can significantly speed up root formation. You’ll see a noticeable difference, especially with stem cuttings.
- Don’t let those leaves touch the water or damp soil. With stem cuttings especially, if any of those lower leaves droop down and sit in moist soil or water, they’re almost guaranteed to rot. Keep them trimmed and the plant upright.
Aftercare & Troubleshooting
Once your little Pandanus starts to show signs of growth – usually new leaves emerging from the top – or if you gently tug on a cutting and feel resistance (meaning roots have formed), it’s time for a little closer attention.
Watering: Continue to water consistently, allowing the top inch of soil to dry out between waterings. Avoid letting it sit in soggy soil.
Fertilizing: Once you see active new growth, you can introduce a diluted, balanced liquid fertilizer, maybe once every 4-6 weeks during the growing season.
Common Issues: The most frequent problem you’ll encounter is rot, usually due to overwatering. You’ll see the stem turn mushy and brown, or yellowing leaves that then go limp. If you see this, act fast. Try to cut away any affected parts with a clean knife and repot in fresh, dry soil. Sometimes, it’s just too far gone, and that’s okay. We learn from every plant!
A Rewarding Journey
Propagating Pandanus sphaerocephalus might feel like a slow process at first, but trust me, the satisfaction of nurturing a new plant from a cutting or division is immense. Be patient with your new propagations, give them the light and warmth they crave, and before you know it, you’ll have a whole collection of these stunning architectural beauties. Happy growing!
Resource: