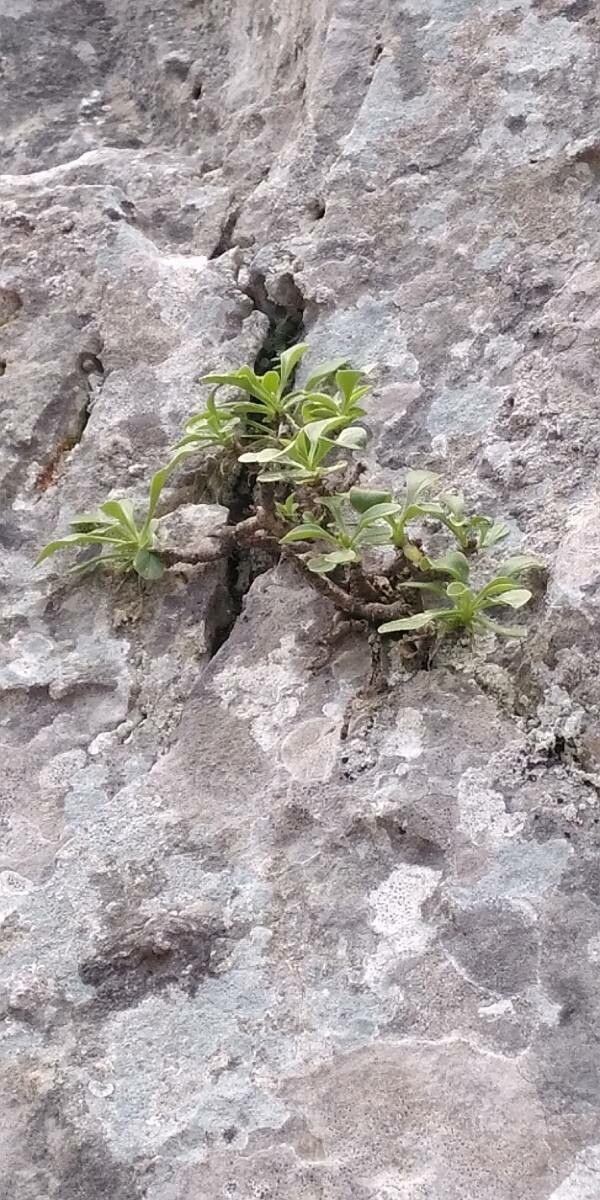
Oh, Hormathophylla pyrenaica! If you’ve ever seen this charming little alpine hugger, you know exactly why I’m so excited to chat about it today. It’s got this wonderful, almost architectural look, with its silvery foliage and delicate, starry flowers that can just brighten up any rock garden or sunny border. And the best part? Bringing more of these beauties into your garden yourself is incredibly satisfying.
Now, for those of you just starting out, Hormathophylla pyrenaica can be a tad tricky. It’s not impossible, not at all, but it does appreciate a bit of specific handling. Think of it less like a pothos and more like a finicky houseguest you’re delighted to host. But don’t let that deter you! With a little attention to detail, you’ll be rewarded with plenty of new plants.
The Best Time to Start
For Hormathophylla pyrenaica, late spring to early summer is generally your golden ticket. You’re looking for young, vigorous growth that’s just beginning to firm up. These are often called “semi-hardwood cuttings.” Avoid taking cuttings from woody, mature stems or from completely soft, new growth. You want that happy medium – flexible enough to root, but sturdy enough to hold its shape.
Supplies You’ll Need
Gathering your tools beforehand makes the whole process so much smoother. Here’s what I usually have on hand:
- Sharp, sterile pruning shears or a sharp knife: Clean cuts are key to preventing disease.
- Rooting hormone: A powdered or liquid rooting hormone will give your cuttings a significant boost.
- Well-draining potting mix: A mix specifically formulated for succulents or cacti is perfect. You can also make your own by combining 50% perlite with 50% good quality potting soil.
- Small pots or seed trays: Choose containers with drainage holes.
- Plastic bag or propagation dome: This helps maintain humidity.
- Watering can or spray bottle: For gentle watering.
- Labels and a marker: So you don’t forget what’s what!
Propagation Methods
I find that stem cuttings are the most reliable way to go with Hormathophylla pyrenaica. It’s straightforward and generally yields the best results.
- Select Your Cuttings: Gently pinch or snip a healthy stem, about 3-4 inches long. Look for a piece of growth that’s new but has started to firm up – it shouldn’t bend easily. Remove any flowers or flower buds.
- Prepare the Cuttings: Carefully remove the lower leaves from the stem, leaving a few at the very tip. This prevents them from rotting when you put them in the soil.
- Apply Rooting Hormone: Dip the cut end of the stem into your rooting hormone. Make sure it’s well-coated. Tap off any excess.
- Planting: Make a small hole in your prepared, well-draining potting mix with a pencil or your finger. Insert the hormone-coated end of the cutting into the hole, about an inch deep. Gently firm the soil around it.
- Water and Cover: Water gently to settle the soil. Then, cover the pot or tray with a plastic bag or propagation dome to create a humid environment. You can also use chopsticks or skewers to build a little tent over the pot, keeping the plastic from touching the leaves.
The “Secret Sauce” (Pro Tips)
Here are a couple of things I’ve learned over the years that make a difference:
- Bottom Heat is Your Friend: Hormathophylla pyrenaica absolutely loves a bit of gentle warmth from below. Placing your pots on a propagation mat set to a low temperature (around 70-75°F or 21-24°C) can dramatically speed up root development. It mimics the warmth of summer soil without drying out the top too quickly.
- Don’t Overwater, But Don’t Let Them Dry Out: This is a delicate balance. You want the soil to be consistently moist but never soggy. Mist the cuttings lightly every few days if the soil surface looks dry, and check the humidity under the cover. If you see condensation dripping heavily, air it out for a few hours.
Aftercare & Troubleshooting
Once your cuttings have rooted – and you can often tell by gently tugging on them and feeling resistance, or by seeing new growth – it’s time for them to graduate.
- Gradual Acclimation: Slowly remove the plastic cover over a week or two, allowing the new plant to adjust to lower humidity.
- New Potting: Pot your rooted cuttings into their own small pots with the same well-draining mix.
- Light and Water: Keep them in bright, indirect light initially, then gradually introduce them to more direct sun as they grow stronger. Water when the top inch of soil feels dry.
Now, what if things go wrong? The most common culprit is rot. If your cuttings turn mushy or black at the soil line, it’s usually a sign of too much moisture and not enough air circulation. In this case, unfortunately, it’s best to discard them and start again. Another sign of failure is if they shrivel and dry out completely – this means they didn’t establish roots before drying out. This can happen if the humidity wasn’t high enough or if they were in too sunny an environment too soon.
A Encouraging Closing
Don’t get discouraged if your first few attempts aren’t perfect. Every gardener has had their share of cuttings that didn’t make it. The key is to keep trying, observe your plants, and learn from each experience. There’s immense joy in nurturing a tiny cutting into a thriving plant. So, grab your shears, get your hands in the soil, and enjoy the wonderful process of bringing more Hormathophylla pyrenaica into your world! You’ve got this.
Resource: