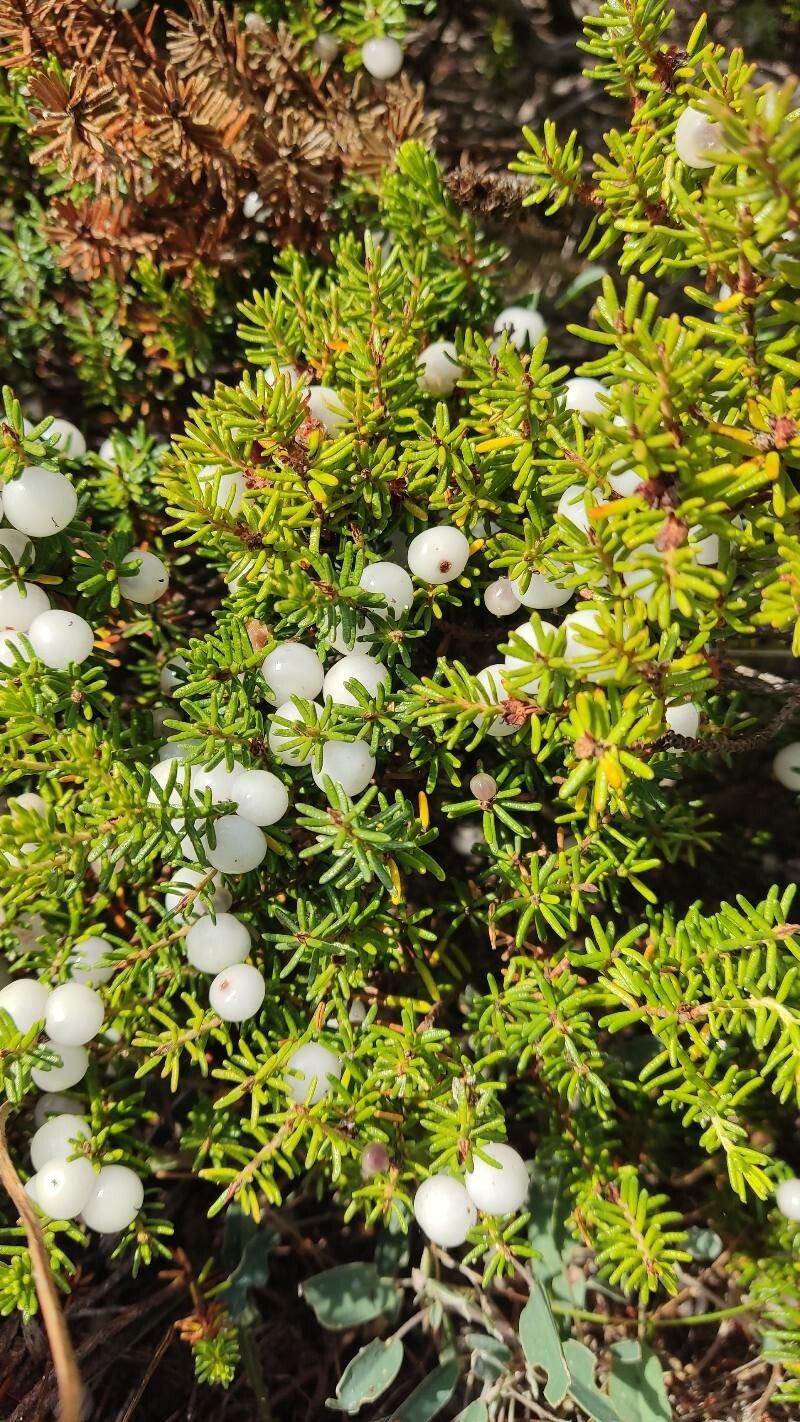
Hello fellow garden lovers! I’m so glad you’ve stopped by. Today, we’re diving into the wonderful world of propagating Corema album, also known as white broom or Fena de Portugal. This charming little shrub, with its delicate white flowers and evergreen foliage, adds such a unique touch to any garden. Honestly, seeing a tiny cutting I nurtured myself burst into life is one of my greatest joys. While Corema album can be a little particular, it’s by no means impossible for determined beginners. With a bit of patience and the right approach, you absolutely can succeed!
The Best Time to Start
For the best chance of success with Corema album, I always recommend taking stem cuttings in late spring to early summer, right after the plant has finished its main flowering flush. This is when the new growth is semi-hardwood – it’s firm enough to hold its shape but still flexible enough to root. Avoid taking cuttings from old, woody stems or very soft, new growth. Think of it like getting your timing just right for the perfect bloom; it’s similar with propagation.
Supplies You’ll Need
Here’s what I usually gather before I get started:
- Sharp, clean pruning shears or a sharp knife: Crucial for clean cuts that heal better.
- Rooting hormone (powder or gel): This is a must for Corema album. It really gives those cuttings a boost.
- A well-draining potting mix: I like a blend of perlite, coarse sand, and a little peat moss for good aeration and moisture retention. You can also use a specialized succulent or cactus mix.
- Small pots or seed trays with drainage holes: Nothing too big; we want the roots to feel snug.
- A clear plastic bag or a propagation dome: To create a humid environment around your cuttings.
- Water: For keeping things moist.
- A spray bottle: For misting.
Propagation Methods
Stem cuttings are by far the most reliable method for Corema album. Here’s how I do it:
- Take Your Cuttings: Select healthy stems that are about 4-6 inches long. Using your clean shears, make a clean cut just below a leaf node (where the leaves attach to the stem). This is where a lot of the rooting hormones are concentrated.
- Prepare the Cuttings: Gently remove the lower leaves from the bottom 2-3 inches of the stem. You want to expose leaf nodes, as this is where roots will emerge. You can leave the top few leaves on, but if they are very large, you might want to trim them in half to reduce water loss through transpiration.
- Apply Rooting Hormone: Dip the cut end of each stem into the rooting hormone, ensuring the bottom inch or so is well-coated. Tap off any excess.
- Plant Your Cuttings: Fill your small pots with your prepared well-draining mix. Make a small hole in the center of the mix with a pencil or your finger. Gently insert the hormone-coated end of the cutting into the hole, ensuring it’s firm enough to stand upright. Firm the mix gently around the base of the cutting.
- Water and Cover: Water the mix thoroughly until you see water draining from the bottom. Then, cover the pot with a clear plastic bag or place it under a propagation dome. This creates a mini-greenhouse effect, keeping the humidity high, which is vital for cuttings.
The “Secret Sauce” (Pro Tips)
Here are a few things I’ve learned over the years that make a big difference:
- Bottom Heat is Your Friend: Corema album loves a bit of warmth from below. Pop your pots on a heated propagator mat. This encourages root formation from the bottom up. It’s like giving them a warm hug to get them started!
- Don’t Let the Leaves Touch the Water: If you opt to try water propagation (though I find cuttings in soil are more successful for this plant), it’s absolutely crucial that no leaves are submerged. Rot sets in very quickly. Just the stem end should be in the water.
- Provide Indirect Light: Place your cuttings in a bright spot, but out of direct sunlight. Too much sun can scorch young cuttings or dry out the humidity dome too quickly. A north-facing window or a spot a few feet from a bright east or west window is usually perfect.
Aftercare & Troubleshooting
Once your cuttings are planted, the real waiting game begins! Keep the potting mix consistently moist but not soggy. Mist the leaves occasionally if you notice them looking a bit parched inside the dome. Check for rooting by gently tugging on a cutting after about 6-8 weeks. If there’s resistance, you’ve got roots!
The most common issue you’ll encounter is rot. If you see mushy, black stems or the leaves are wilting and discolored, it’s likely rot. This usually happens from overwatering or poor drainage. Unfortunately, at that point, it’s usually best to discard the affected cutting and learn from it. Ensure good air circulation once roots appear by briefly opening the dome each day.
A Little Patience Goes a Long Way
Propagating Corema album is a journey. Some cuttings might take longer than others, and some may not make it. Don’t be discouraged! Each attempt teaches you more. Enjoy the process, celebrate your successes, and remember that those tiny new plants are a testament to your green-thumb skills. Happy propagating, everyone!
Resource:
https://identify.plantnet.org/k-world-flora/species/Corema%20album%20(L.)%20D.Don/data