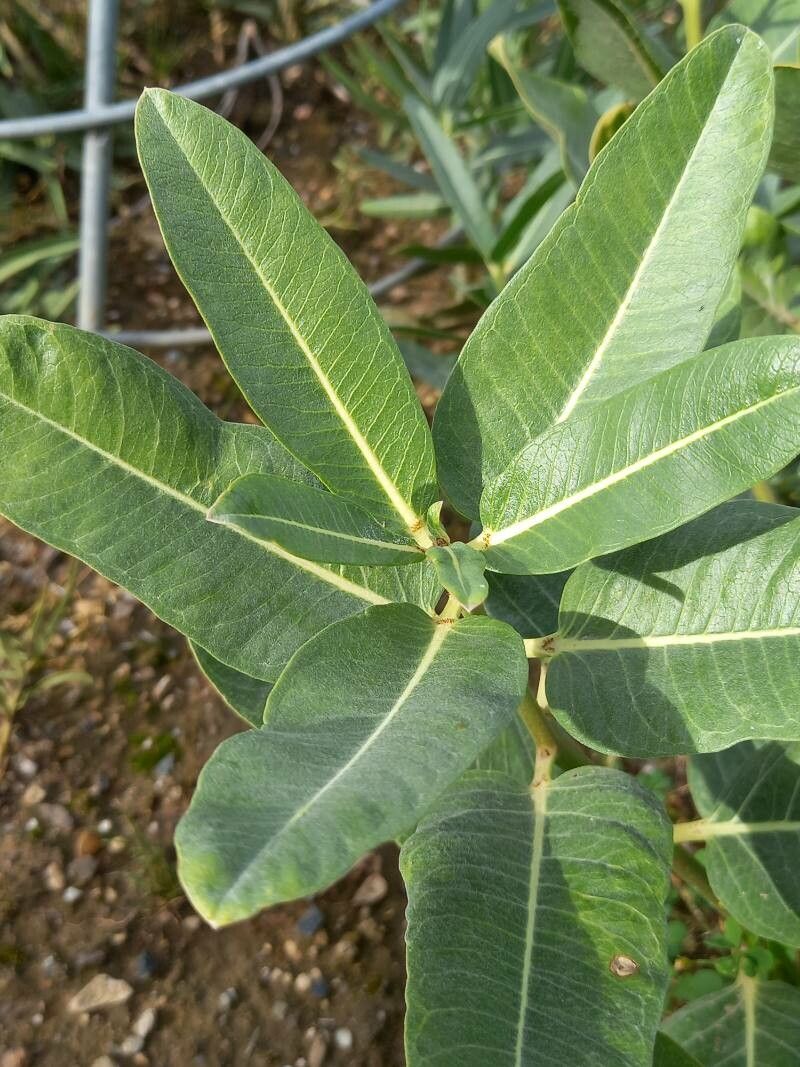
Hello, fellow garden enthusiasts! Today, we’re diving into the wonderful world of propagating Asclepias hallii, also known as Hall’s milkweed. If you’ve ever admired the delicate beauty of this native wildflower, with its lovely pinkish-purple blooms and its crucial role as a monarch butterfly host plant, then you’re in for a treat. Growing more of these beauties from your existing plants is incredibly rewarding. Now, I’ll be honest, Asclepias hallii can be a tad fussier than some of its milkweed cousins, but with a bit of care, you’ll be enjoying success. Don’t let that deter you; it’s a fantastic learning experience!
The Best Time to Start
For the highest chance of success with Asclepias hallii, late spring to early summer is your golden window. This is when the plant is actively growing and has plenty of energy to put into developing new roots. You’ll want to take cuttings from healthy, non-flowering stems. Trying to propagate too early in the spring, before the plant is robust, or too late in the season, when it’s winding down, can lead to disappointing results.
Supplies You’ll Need
Before we get our hands dirty, let’s gather our ingredients for success:
- Sharp, clean pruners or a sharp knife: Essential for making clean cuts without damaging the plant.
- Rooting hormone (optional but recommended): A powdery or liquid hormone can give your cuttings a helpful boost.
- Well-draining potting mix: A good seed-starting mix or a blend of peat moss, perlite, and sand works wonders. Avoid heavy, waterlogged soil.
- Small pots or trays: Clean containers with drainage holes are a must.
- Plastic bags or a propagator: To create a humid environment for your cuttings.
- Watering can with a fine rose nozzle: For gentle watering.
- Labels and a marker: To keep track of what you’ve planted and when!
Propagation Methods
Let’s get down to the nitty-gritty! While some milkweeds are easily propagated by seed, Asclepias hallii can be a bit more challenging to germinate direct from seed for beginners. Stem cuttings are often a more reliable route.
Stem Cuttings:
- Take Your Cuttings: On a bright morning, select a healthy stem. Using your clean pruners or knife, make a cut just below a leaf node (where a leaf joins the stem). Aim for cuttings that are 4-6 inches long.
- Remove Lower Leaves: Gently strip off the leaves from the bottom half of the cutting. This prevents them from rotting in the soil and encourages root formation.
- Apply Rooting Hormone: If you’re using rooting hormone, dip the cut end of the stem into the powder or liquid, tapping off any excess.
- Plant Your Cuttings: Fill your small pots with your well-draining potting mix. Gently insert the cut end of each cutting into the soil, about an inch deep. Make sure the remaining leaves are not touching the soil surface.
- Water Gently: Water thoroughly but gently, allowing excess water to drain away.
- Create Humidity: Place a plastic bag over the pot to create a mini-greenhouse effect. You can also use a clear propagator. Ensure the bag doesn’t touch the leaves if possible; you might need to prop it up with skewers.
- Provide Light and Warmth: Place the potted cuttings in a bright spot that receives indirect light. Avoid direct sunlight, which can scorch the young cuttings. A little bit of bottom heat from a seedling heat mat can speed things up, but it’s not strictly necessary.
The “Secret Sauce” (Pro Tips)
Here are a few little tricks I’ve picked up over the years that can really make a difference:
- Don’t Let Those Leaves Touch the Water! If you opt to try water propagation (where you initially place cuttings in water), make sure no leaves are submerged. Leaves sitting in water will rot, which can spell disaster for your cutting before it even has a chance to root.
- Bottom Heat is Your Friend: While not essential, providing gentle bottom heat (around 70-75°F) from a propagation mat can significantly speed up root development. This mimics the warmth of spring soil and gives your cuttings a real head start.
- Watch for White Tips: When you start to see small, white tips emerging from the cut end of the stem (visible if you carefully lift a cutting or from drainage holes), that’s a sure sign roots are forming! It’s a beautiful sight.
Aftercare & Troubleshooting
Once you start seeing signs of new growth or feel resistance when you gently tug on a cutting, it’s time to transition your new Asclepias hallii plants.
- Acclimatize Slowly: Gradually remove the plastic bag or lid over a week or two. This helps the young plants adjust to lower humidity.
- Water Consistently: Keep the soil moist but not soggy. Overwatering is the most common culprit for failure. Watch for wilting leaves as a sign they need a drink.
- Transplanting: Once the roots are well-established and the plant is a few inches tall, you can carefully transplant them into slightly larger pots with your regular potting mix.
- Troubleshooting Rot: If your cutting turns black and mushy, it’s likely succumbed to rot. This is often due to too much moisture and poor air circulation. Discard affected cuttings and ensure your new attempts have better-draining soil and adequate ventilation.
A Encouraging Closing
Propagating a plant like Asclepias hallii is a journey, and like any good garden project, it requires a bit of patience. Don’t get discouraged if your first few attempts aren’t perfect. Every gardener has had plants that didn’t make it! Celebrate the successes, learn from the challenges, and most importantly, enjoy the process of nurturing new life. You’ll be rewarded with more of these beautiful plants and, of course, more happy visitors to your garden. Happy propagating!
Resource:
https://identify.plantnet.org/k-world-flora/species/Asclepias%20hallii%20A.Gray/data